In this post my friend Sharon Biggs Waller, a historical novelist, shares her recipe and method for making homemade butter. Rich, delicious butter can be made using heavy cream and a few simple kitchen items. No churn is required. Read on for the method, or watch the video for a tutorial!
Whenever I tell people I make my own butter they tend to look at me in wonder. “Making butter? Sounds like alchemy,” one person said. Invariably I’m asked if I use a butter churn.
Although the idea of sitting on my porch using an old-fashioned churn appeals to my inner Little House on the Prairie, I don’t collect enough cream from my dairy goat to use such a device, nor do I possess the funds to buy one.
The truth is, butter is a simple thing to make with ordinary kitchen tools, and you don’t even need to own a goat or a cow. You can make butter with store-bought whipping cream. But before we get into the details, let’s talk a bit about the history of butter.
People have been making butter for centuries throughout Europe and Asia. Humans initially used butter as a way of preserving the fat in milk.
Butter rose to prominence as a spread and cooking fat in northern Europe during the Middle Ages, when it was eaten by peasants. The upper classes also ate it periodically, because it was the only animal fat allowed by Rome on days when meat was forbidden. In the 16th century it was allowed during Lent.
In the early days, it took a little while to get enough cream to churn, and so it was collected over various days. Because the milk in these small old-timey dairies was not refrigerated, the lactic acid bacteria inherent in dairy would ferment slightly.
This cultured butter has a very tangy and rich flavor, and is my personal favorite. Spread cultured butter on sourdough bread or a crusty baguette and you’ll know what heaven tastes like. Most butters made in Europe still taste this way, although they are made from pasteurized cream inoculated with lactic acid.
Uncultured butter made from straight-up pasteurized cream is called sweet cream butter, and is what we’re used to in the United States. Pasteurization of the cream kills the lactic acid bacteria, however butter made from such cream lasts longer. True cultured butter, made from raw cream, turns rancid after ten days.
If you want your butter to taste cultured, Ricki Carroll, author of the book Home Cheese Making, advises using unpasteurized cream and letting it ripen at room temp (72 degrees) for several hours. Or use pasteurized cream, let it sit for 12 to 24 hours, add mesophilic starter and let the cream set out overnight before churning.
If you’d like to taste European-style butter without making your own, try the brand Plugrá. Although technically not a cultured butter, Plugrá uses natural flavors from cultured milk.
At its very essence, making butter requires nothing more than agitation. What you’re doing is separating the fat from the milk.
You can use a blender, a stand mixer or hand mixer, or just shake by hand (if your child has a lot of energy, enlist their help; kid-power goes a long way!).
I usually use my stand mixer with the whip attachment for making butter. I’ve also used a blender in the past and it worked just as well. If you use a stand mixer, be sure to place a kitchen towel over the mixer and the bowl to stop the buttermilk from flinging all over your kitchen, which will happen when the butter globules form.
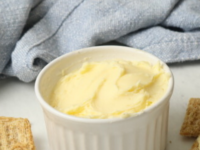
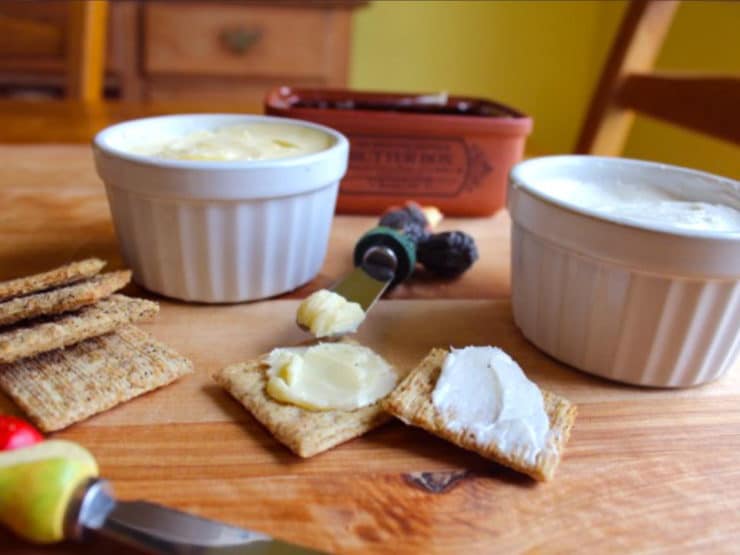
You’ll notice in the pictures below that some of the butter is white, not yellow. That’s because I have a herd of goats, so I usually use the cream we collect to make my homemade butter.
Goat’s milk is white because it doesn’t have the beta carotene that causes the yellowish blush in cow milk. A goat turns the carotene present in her fodder into vitamin A, which is colorless.
Here is the process for making homemade butter, step-by-step!
Recommended Products:
We are a participant in the Amazon Services LLC Associates Program, an affiliate advertising program designed to provide a means for us to earn fees by linking to Amazon.com and affiliated sites. As an Amazon Associate I earn from qualifying purchases.

How to Make Homemade Butter
Ingredients
- 1 pint heavy whipping cream
- Large bowl of ice water
- Salt to taste (optional)
- Stand mixer, hand mixer or blender, or a jar with a tight fitting lid
Instructions
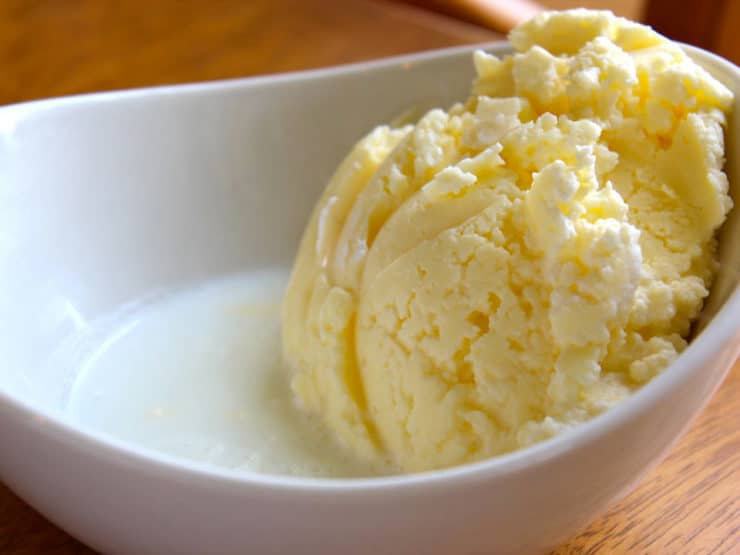
- Pour a pint of heavy cream or whipping cream into your device or into a jar with a tight-fitting lid. If using a machine, turn on low speed, then raise to medium speed. If you're using a jar, start shaking (you'll need some serious elbow grease if doing it by hand). First, the cream will turn into whipped cream with soft, then stiff peaks. Keep going until the cream breaks. If you’re shaking the cream by hand, you’ll hear a sloshing, then you’ll begin to feel something more solid hit the sides of the jar. If you’re using a stand mixer, you’ll see the butter clinging to the beater. This usually takes anywhere from 5 to 10 minutes -- by hand may take longer. In this process, you are separating the butterfat from the liquid.

- Once the butter has solidified, pour off the buttermilk and save it for baking (or drink it!). Scoop the butter into a bowl. Rinse the butter by pouring ice water over it and pressing the remaining buttermilk out with a small spatula or a spoon. Pour off the water and repeat the process. Keep rinsing and squishing the butter with the ice water until the water runs clear. Then add some salt if you like and work that through the butter.
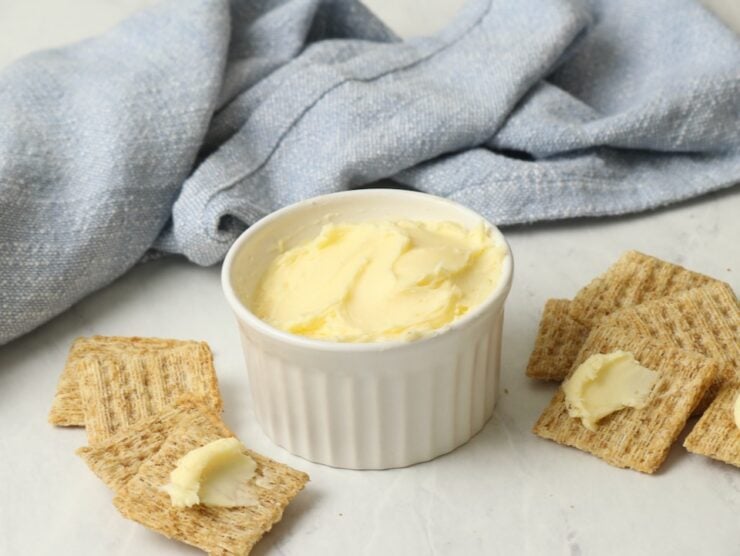
- There you have it-- old-fashioned butter, no churn required! Spread on toast, corn on the cob, a baked potato, or whatever you like and enjoy!


Nutrition

tried this recipe?
Let us know in the comments!
Research Sources
Belanger, Jerry (2001). Storey’s Guide to Raising Dairy Goats. Storey Publishing, North Adams, MA
Carroll, Ricki (2002). Home Cheese Making: Recipes for 75 Homemade Cheeses. Storey Publishing, North Adams, MA
McGee, Harold (2004). On Food and Cooking: The Science and Lore of the Kitchen. Scribner, New York, NY


First time of making it and absolutely loved it – the taste and the fun of making it!
Hey Tori, I actually used this recipe but stopped at the whipped stage, added honey and cinnamon for a perfect whipped “butter” to top rolls with. Everyone loved them and said it was better then the butter from a local steakhouse that uses a similar tasting whipped butter. So those in the reviews who didn’t go long enough, it still a great butter to use with or without the honey and cinnamon. Took about 5-6 minutes on my Kitchen Aid stand mixer with the whisk attachment, just before separation. Delicious on some yeast rolls.
I’ve just quit working and now manage our farm and family as a stay at home ‘farm’ mom. I’m nearly 40 & I’ve never actually done ‘farm’ life despite living on one for ~5 years. I’m so excited to try this recipe as whipped honey butter, and feed my family real homestead butter! Thanks for sharing.
Reminds me of growing up , my grandparents and aunts use to make their on back in the 50’s and 60’s. They use to milk the cows put cheese cloth over the top of a big jar and separate the milk from the cream
O M G … Thank you so much for this! I’m a butter finatic and this is the bomb! I added a little salt while mixing (after it started getting solid). It is delicious!
Love making my own butter, using your instructions – thank you! I know you have answered this before, but I’ve seen you have two different answers? How long can we store the butter in freezer? Also how long can you keep in the refrigerator?
About how long is the butter good for? I’m learning to make everything I can myself and would love to make butter. I however, am the only one who really uses it hence the question.
It should be good for several weeks in the refrigerator.
I just made a batch of butter from whipping cream in a food processor. Much easier than shaking a jar. In no time the buttermilk separated from the butter. I put the butter in a colander to drain off the buttermilk. Set milk aside then I rinsed the butter in cold water until it was clear. Then I put in a musclin cloth in a colander and squeezed all the water out. Then I added salt to the butter squishing it with my hands. It is absolutely delicious. I already make my own yogurt and Kombucha and it’s amazing how easy these processes are with outstanding quality. If you want to leave your butter out on the counter put it in a French butter dish and you’ll have spreadable butter anytime. Butter will go bad after awhile in the butter dish. You just need to eat it up!
You used the sharp blade? in the cream? and it started separating? I would assume the processor would keep blending it together!?
These is the first time I made butter at home and it tasted better than the one we buy from outside.
How long will this butter keep?
It should keep several months if refrigerated.
This was fairly easy and quick. I think it took about 20 minutes in total to prepare.
I had an old whipping cream pint that needed used, and I just ran out of butter, so…
I made butter!
First try at this, and it turned out really well! I did use my bare hands right at the very end to squish the last bit of moisture out. I’ve also read somewhere you can lightly salt the rinsing water in place of just salting the butter itself.
I have been making my own food items since I moved from mother’s about 20,yrs ago I always salt my rinsing water lightly and its worked I like using sea salt grind in a pestle and mortar 1st then and to water very yummy ?
Hi Sharon,
I bought some heavy cream from Kroger and put some of it in the blender, and it came out what I would call fluffy after about 5-7 minutes. I’m not sure there was much water separated from the solid, though. It is good, but I’m not sure if this is how it’s supposed to be, given the description of the recipe and procedure. I’m afraid it might be thinner than what is meant. However, the picture above of the white butter does pretty much look like what mine looks like. It is far too thin to knead or any such thing, however.
Kevin, you should let it go longer. It wasn’t quite done yet.
can u use lactose free cream to make it ???
Hi Howard, Tori’s assistant Ashley here. I’m not sure of the chemistry behind this recipe, so unfortunately I cannot say whether or not a lactose free cream would work successfully. If you decide to give it a try, please let us know how it turns out!
I just made lactose-free butter this morning; it worked well! I bought cream, treated it with lactase, let it sit in fridge for 3 days (gently shaking daily to mix in the lactase), and followed this process to make butter today! I salted it at the end and it tastes amazing!
I think i did the same thing as Andrew. I was mixing it with a stand mixer and got distracted and didn`t pour off the buttermilk. Finally, i`ve got a creamy, fluffy mass. It tastes good, it’s creamy, butt fluffy. So the problem is i’ve overmixed it, actually mixed back the buttermilk and the butter. What to do now? Cool it? Mix it? Melt it and mix again?
(sorry for my bad english).
When I was in 2nd grade, we had a Thanksgiving meal and the teacher had all us kids bring in baby food jars and we used them to make butter. Before you get to the butter phase, you make whip cream (the big fluffy like you are talking about). I always consider that the middle of the process, if you keep at it you’ll notice that it will solidify and the buttermilk will start separating.
I forgot to add that ever since then, I’ve made butter this way for my family come Thanksgiving time. This will be my 23rd year doing it. Can’t wait until my kids are a little older t carry on the tradition 🙂
I made the butter using store-bought Heavy Whipping Cream, Ultra-Pasteurized. There is also “Whipping Cream, Pasteurized,” but the ingredients seem to read the same. I could not find real cream anywhere. I used a churn with a large glass bottom and a metal churn handle on the top holding wood paddles that almost touch the bottom. I followed the directions for the stand mixer and felt the mixture “break” after 7 minutes. I did not pour off the fat at that point because I thought I needed to keep mixing. It liquified. I have felt this before when I mixed it for regular whipping cream so I knew what had happened. I just kept mixing and it re-clumped in the next few minutes. I did the ice bath, poured off the “fat” into a glass jar for later use, squeezed out any water with my clean hands, and packed it into a dish. We’ve kept it on the counter for daily use and just finished it up after a week. I did not add salt. It was okay in taste (probably because it was ultra-pasteurized), nothing to rave about, but it was fun, historic, and I’ll do it again. The small quantity of “fat” was more like 2% milk. We could drink it fine, but we used it in pancake batter.
I just finished using a pint of the Ultra Pasteurized Whipping Cream that I needed to use up before the use by day. I put it in my Kitchen Aid Mixer and let it go for about 7 or 8 minutes. I scraped down the sides a couple of times. I poured the buttermilk into a jar for later use, put just a pinch of salt in my butter and crushed a clove of garlic after I did the ice water rinse several times. It has a good taste and was a good way to use up heavy cream.
If you can get unhomogenized milk you can let the cream separate and then use it.
How long with the butter and buttermilk be good for when made like this?
Hi Christina, Tori’s assistant Ashley here. Since neither of these contain preservatives they are best used right away. I wouldn’t wait more than 3 days to use the buttermilk and the butter will last about a week, a bit longer if you add salt.
I’m having a problem similar to Winston above, and I’m not quite sure how to deal with it. My wife and I were taking turns with the shaking (using the jar method), and I got distracted by the ice cream I was making. We passed the point at which I would pour off the buttermilk, and it has become a large mass similar to a mousse. Is there any way to walk it back from this? Or, do I just need to do something else with this and start over for butter?
Hi Andrew, Tori’s assistant Ashley here. It’s hard to say, but it may have gotten too warm during the shaking process or gone past the butter stage and unfortunately you can’t go back from this. I would suggest starting over.
It happened to me. There is a cure 🙂 I`ve found out what to do in this case – simply melt the mousse completely to be liquid again, then cool it in the refrigirator. It will separate to butter and buttermilk. Pour off the buttermilk and wash out the butter, add salt. Perfect!!
This looks great (and easy!) Does the bowl you mix in need to be chilled?
Hi Melissa, Tori’s assistant Ashley here. The bowl does not need to be chilled. 🙂
I did a google search for making butter and bookmarked this page. Finally made it today using the wire whisk on my kitchen aide mixer. Following the directions exactly as detailed. Everything came out wonderful! One question though – can you add the salt earlier while the cream is still blending?
Hi Rick, Tori’s assistant Ashley here. You should always wait until the end to add salt.
Two of my grandchildren and I made this for the first time to give them something to do. Made it in the mixer, came out wonderful and very tasty. We then made chocolate chip cookies. What a delight!
Did I over shake it if it looks like pudding or is that the whipping stage. It doesn’t stick to the walls of the jar, it just slides around like wet unaged cheese.
Keep going, it should firm up more to become butter. It takes time.
Hi, I realized what I did wrong. I guess I didn’t know what the buttermilk would look like because I think I overchurned it. I remember after it looked like whipped cream there was a lot of liquid and a lump on the inside. I kept churning and it ended up in the pudding stage. I think I probably shook for 20-30 min. After that I put it in the refrigerator because I didn’t know what to do and left it overnight. The next day it looks like storebought butter, but it still has the buttermilk in it. Is that okay?
Sorry, I thought of a solution that works well. All I did was get the refrigerated pudding butter and melted it just enough to scoop it out of the jar with a spoon. Then I put it in a bowl and did the ice water bath part to get the buttermilk out. Basically I skipped the step of pouring out the buttermilk. I added salt and now I have my butter! It is really good and I’ll have to try it again, now that I know what to do. Thanks for the great recipe!