
Learn how to cook chickpeas from dried and use them in a variety of recipes. I absolutely love chickpeas, also known as garbanzo beans.
These protein-packed legumes have a mild, nutty flavor that goes well in a variety of dishes, such as hummus, chickpea and kale soup, and chicken chickpea stew.

Because of the time involved in preparing dried chickpeas, most people resort to canned varieties. The trouble with canned chickpeas is that many contain additives for preservation, as well as high sodium content from added salt.
Making chickpeas from scratch is a much more natural way to go, and it’s surprisingly easy. This recipe, photo tutorial, and video will show you the whole process, step-by-step.
Why Soak Chickpeas?
Soaking chickpeas before cooking softens them and makes them easier to digest. You can do a quick soak (see below) or opt for an overnight soak.
Some prefer soaking them for a few days until they sprout, which may boost nutritional value. If sprouting, use cold water and change it twice a day to prevent bacteria.
For the best results, buy chickpeas from bulk bins with high turnover. Older beans can cook unevenly and stay tough.
Most recipes call for chickpeas that are soaked and boiled until tender (except falafel, which uses soaked but not cooked chickpeas). I often cook a big batch, then store extras in the fridge or freezer.
Homemade chickpeas taste better than canned, offer more control over salt, and can save you over 50%. Budget-friendly and flavorful!
Ingredients and Notes
Please be sure to scroll down to the recipe card for the complete details!
- Chickpeas (Garbanzo Beans) – I always make a large batch, using at least 4 cups of chickpeas. Make sure they’re dried!
- Salt – This is technically optional, but infuses the legumes with flavor, similar to cooking pasta.
How to Cook Dried Chickpeas
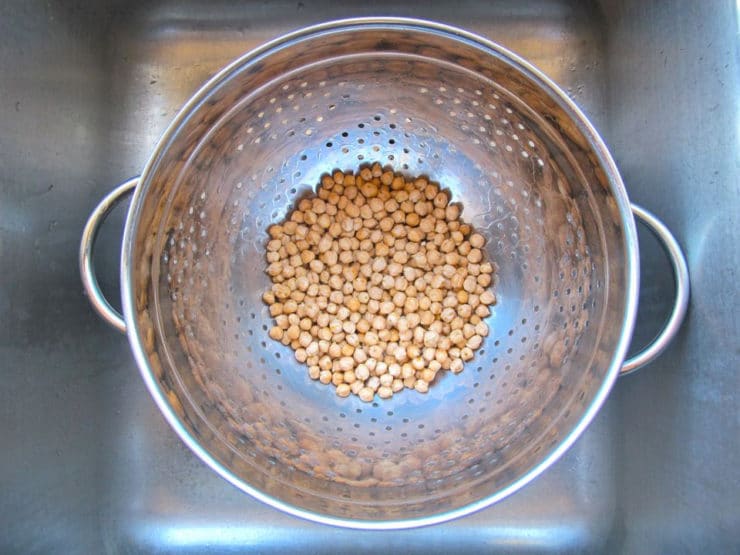
Before cooking, you will need to soak the chickpeas. For a quick soak, you’ll only need an hour. (See the recipe card below.) However, I recommend letting them soak overnight. Either way, make sure to drain and rinse the chickpeas before cooking. You can save the cooking liquid, known as aquafaba, to use in meringues or macarons.
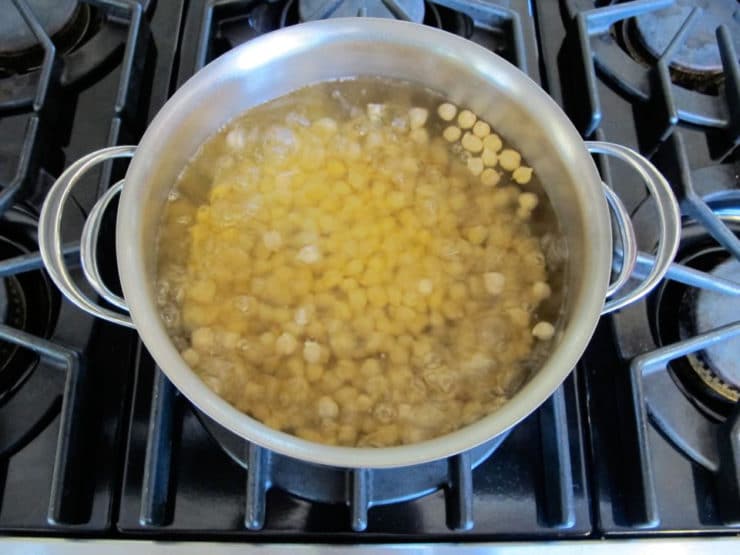
- Boil. Place the soaked chickpeas in a large pot, and cover them with several inches of water. Then, bring the cooking liquid to a boil, and reduce the heat to a simmer. Add salt, if desired.
- Simmer. Cook the chickpeas on the stovetop until they reach your desired tenderness.
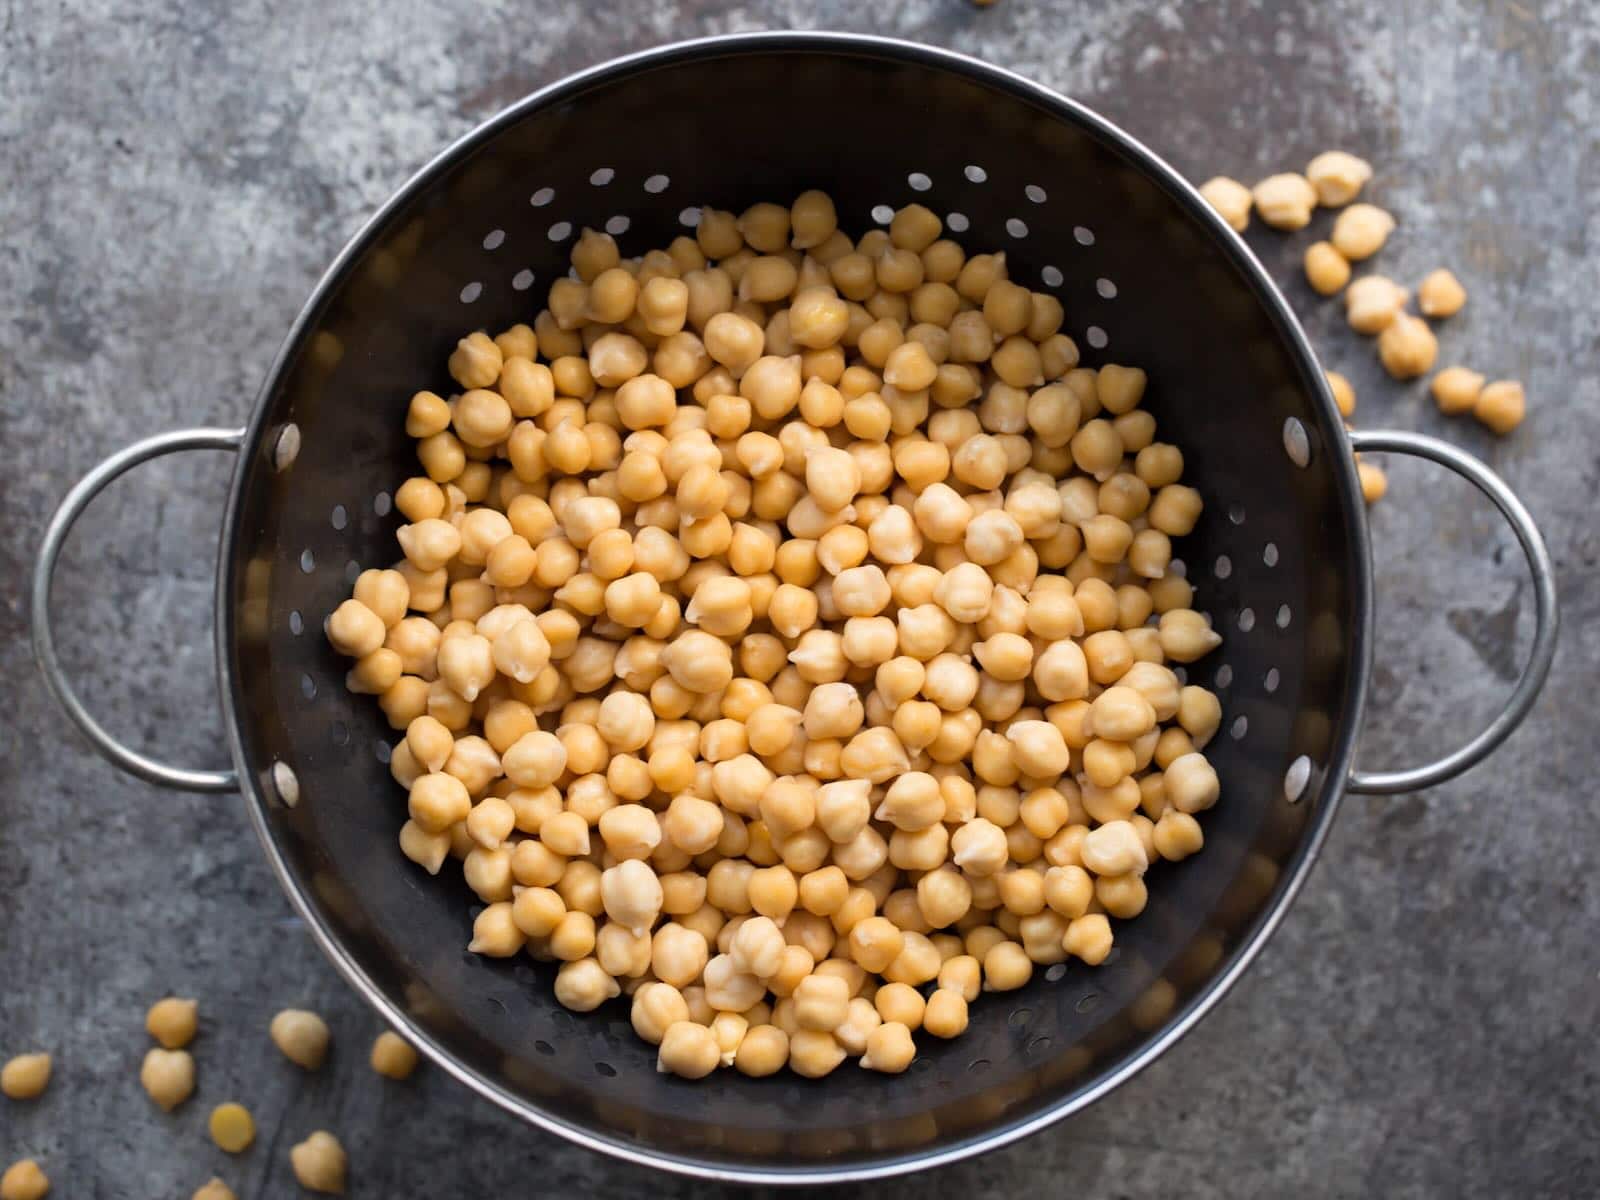
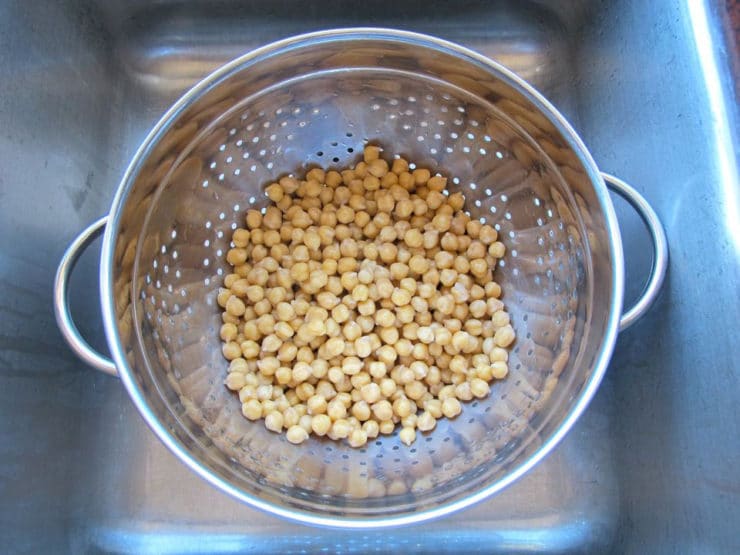
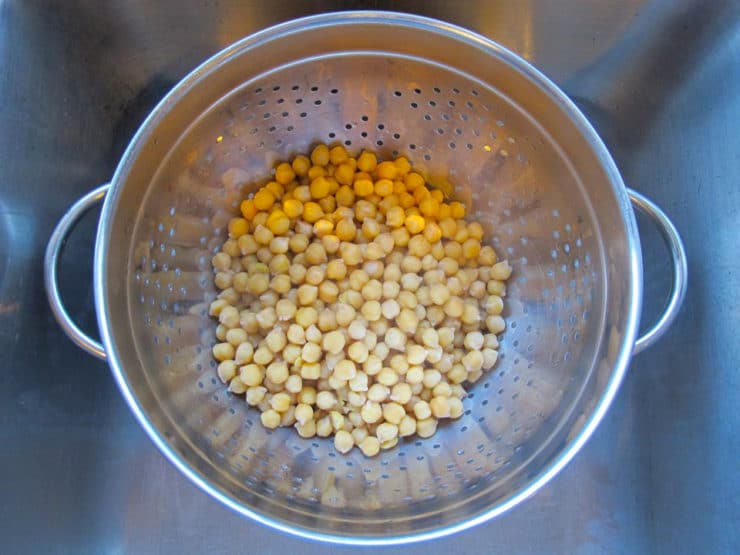
- Cool. Drain the colander, transfer the chickpeas to a large bowl, and set them aside to cool.
How to Soak, Cook, Freeze and Store Chickpeas
Ingredients
- 4 cups dried chickpeas (you may use more or less as needed– 4 cups dried equals roughly 12 cups cooked beans)
- Salt (optional)
Instructions
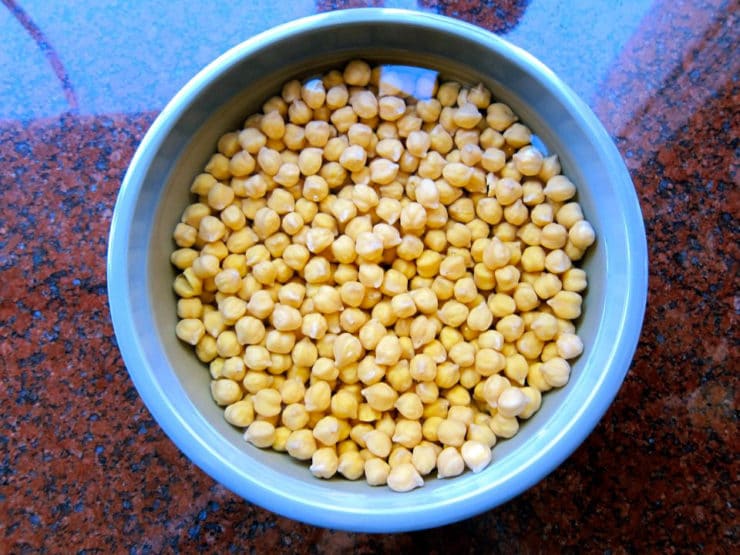
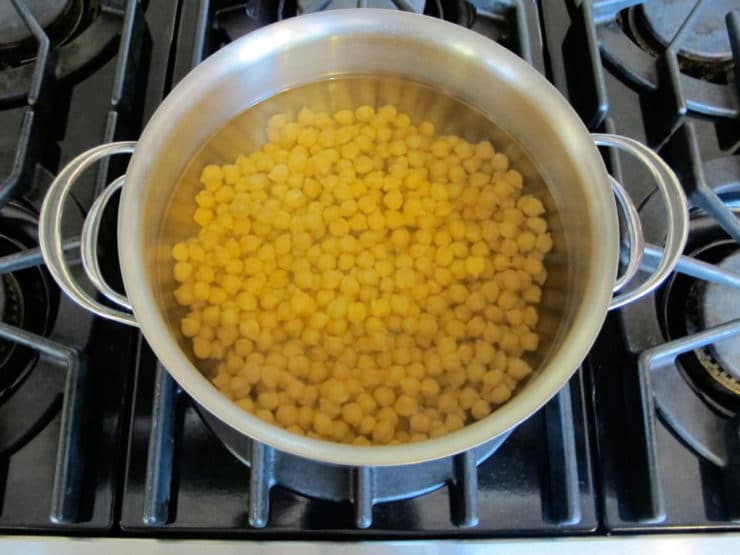
- Before cooking, you will need to soak the beans. You can soak them overnight, if you have the time. Place them in a large bowl and cover with cold water.

- The chickpeas will expand to over double their size, so make sure you cover by several inches of water to allow for expansion. Cover the bowl with a clean towel and let them soak overnight. Drain the water and rinse the beans before cooking.
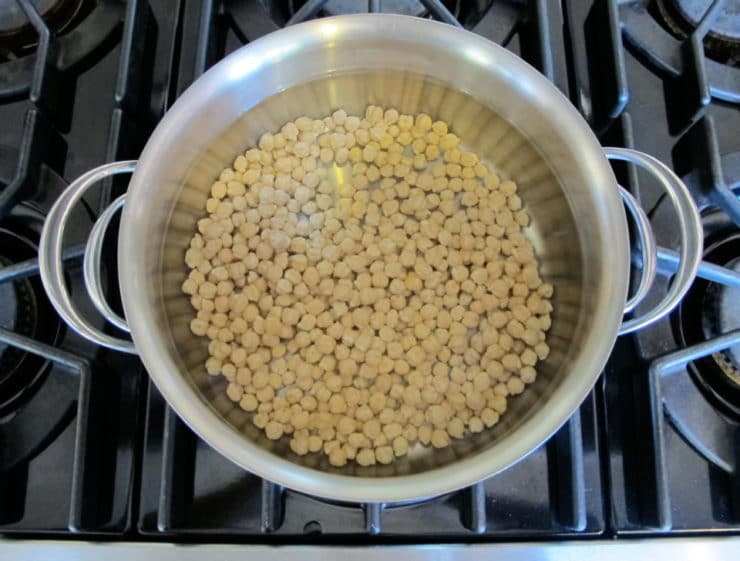
- To quick soak the beans, you will need 1 hour. Place the chickpeas into the bottom of a large pot and cover with water. The chickpeas will expand to over double their size, so make sure you cover by several inches of water to allow for expansion.

- Bring the chickpeas to a boil. Let them boil for 5 minutes.
- Remove from heat. Let the beans soak in the hot water for 1 hour.
- Drain the water and rinse the beans before cooking.
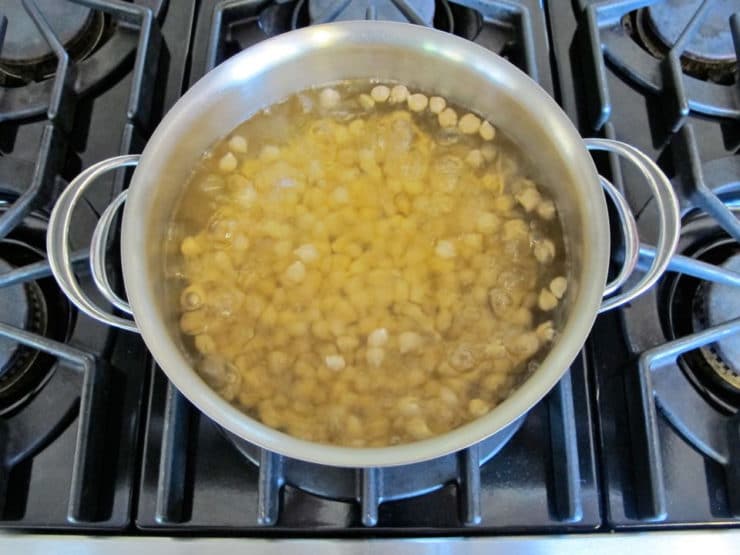
- When you are ready to cook your soaked beans, place them in a large pot and cover with several inches of water. I use about 1 quart of water per 1 cup of soaked beans. Bring to a boil, then reduce to a simmer. Add salt, if desired. I use about 1/8 teaspoon of salt for every 1 quart of water and 1 cup of soaked beans. You may like more salt to taste, or none at all to keep them "au naturel."
- Let the beans cook for 60-90 minutes until desired tenderness. Certain dishes require very tender beans (like hummus), while other dishes call for firmer beans (like stews and soups that need to be cooked over long periods of time). Adjust cooking time to achieve the desired tenderness for your purposes. If you are freezing the beans, keep in mind that they will freeze best if they are on the firmer side, rather than completely soft. As you cook them, the beans will continue to expand a bit. Keep an eye on the water level and add additional water as needed to keep the beans covered. When the beans are fully cooked, drain in a colander and allow to cool.
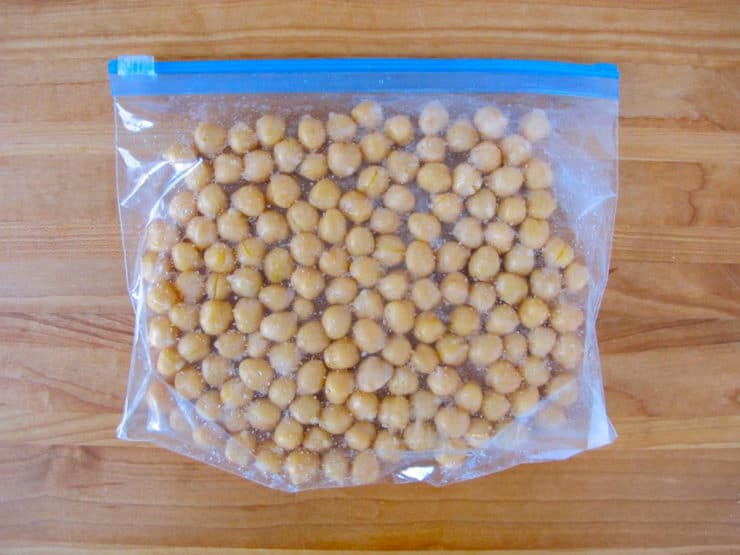
- To store cooked beans in the refrigerator, place them in a covered airtight container or a plastic zipper bag without any additional liquid. Cooked beans will keep 3-4 days in the refrigerator.To store the beans longer for future use, freeze them. Remove as much moisture as possible from the beans by patting them dry with paper towels. Place the beans in reusable freezer bags or plastic zipper bags spread out in single layers; you don't want to pile the beans on top of each other, or they will stick to each other. Freeze, laying the flat single layer down to keep the beans from freezing together. You can freeze several bags this way, one laying flat on top of another.
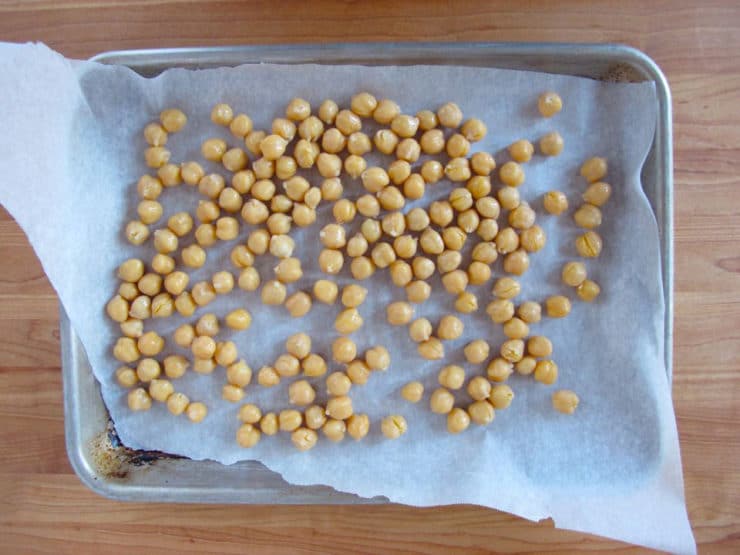
- Alternatively, you can spread out the beans in a single layer on a baking sheet lined with parchment and freeze the beans for 30 minutes.
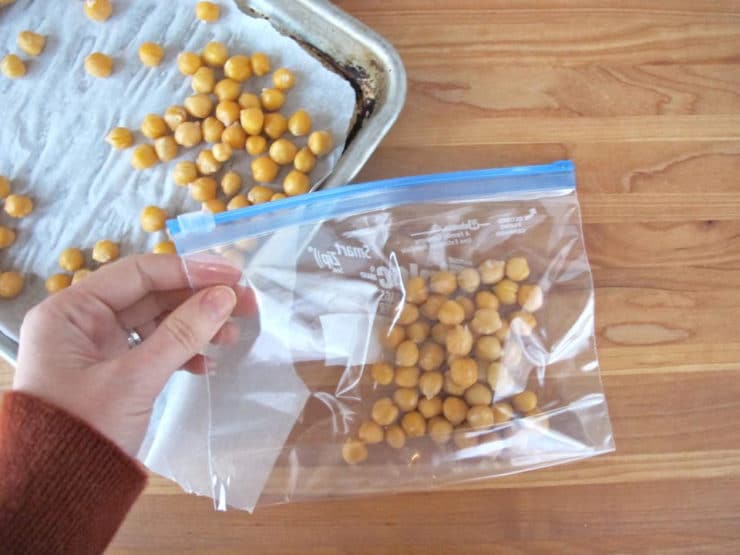
- Once they are firm, pour them into a plastic zipper bag or airtight container, seal, and put immediately back into the freezer. Using this method, you don’t need to put the chickpeas in a single layer– because they are already half frozen, they will not stick together.
- Frozen beans will keep for up to 1 year.


NOTES
Nutrition

tried this recipe?
Let us know in the comments!
Nutritional information per serving is for 1 cup of cooked chickpeas (1/3 cup dried chickpeas)– values and cook times will vary based on how what cooking method is used.
If you enjoyed this recipe, I’d love it if you left me a star rating and comment below. Also, don’t forget to share and tag us on Facebook and Instagram!
FAQs
Use dried chickpeas in any recipe that calls for garbanzo beans, adjusting the cooking time as needed. Some of my favorite dishes include butternut squash soup with chickpeas, saffron chickpea risotto, and chicken chickpea stew.
Or, toss the chickpeas in oil and seasonings such as paprika, salt, and pepper. Then, arrange them in a single layer on a parchment paper-lined baking sheet, and roast them in the oven until they’re golden brown with a crispy texture. Cool slightly, and use the crispy chickpeas as a topping for salads, pita sandwiches, and grain bowls. Or, enjoy them as a snack!
The general rule of thumb is that 1 cup of dried beans will yield 3 cups of cooked beans.
Yes, once cooked, chickpeas will keep fresh in an airtight container in the refrigerator for up to 3-4 days. Or, you can freeze them for 2-3 months. (See the recipe card for freezing tips.)


Just thought I would add my 2 cents, for what it’s worth regarding another processing step for beans/legumes/whole grains, in regards to phytic acid (an anti-nutrient). Not only do I soak and sprout my beans, but after that, I cook them and then ferment the beans using a ferment liquid I make out of crushed rye berries (they are full of phytase) and hot water. It takes about 24 hours for the germination to take hold in the liquid itself, but then, the ferment can be added to cooked beans, etc. to ferment for at least 24 hours. Why am I doing this? It’s because I am a non-secretor (Lewis gene) of my blood type, which affects at least 20% of the population at large. So, for us non-secretors, that means that the phytic acid will bind with minerals in the body, such as calcium, magnesium, etc. and set up a lot of tooth decay. Part of the reason is that non-secretors do not have bifida bacteria in their intestinal flora that the secretors (80% of population) have naturally, and thus, do not have the dental decay issues like non-secretors. But by soaking, sprouting and fermenting, you can get rid of 90 to 96% of the phytic acid (an anti-nutrient). These procedures were a big part of traditions that people used for a long time prior to canning and ready made food industry.