
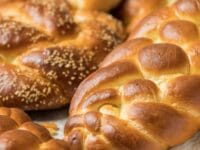
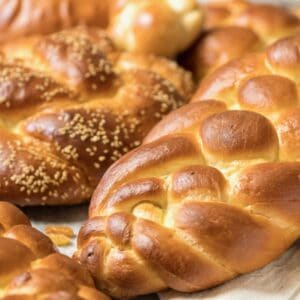
Is there any food that reflects the beauty of Judaism more than a freshly baked challah? Jews and non-Jews alike love the flavor and shape of this delicious eggy bread. But challah is so much more than just bread. The tradition of challah is a very spiritual one; for observant Jews, it is a way to directly connect with the spiritual energy of God. In fact, baking challah is considered an important blessing in the Jewish home.
Today, the word challah is used to describe the beautiful loaf of braided bread that appears on Shabbat tables all over the world. In ancient times, challah referred to a small bit of dough that was set aside for the Temple priests as an offering to God:
Of the first of your dough you shall present a loaf as a contribution; like a contribution from the threshing floor, so shall you present it.
Numbers 15:20
Burning a small portion of dough as an offering is part of the challah blessing.
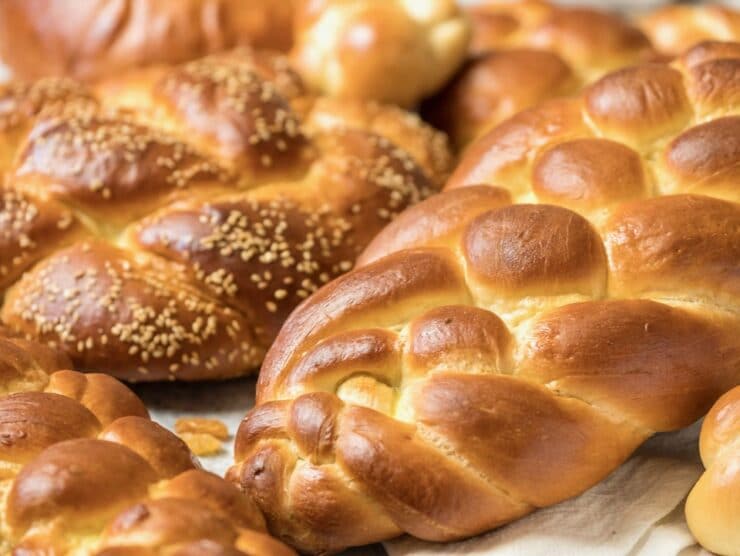
Traditionally, challah is served on Shabbat and holidays. I like to think of challah as a “special occasion” bread because of the time and effort that goes into making it. You can certainly make challah any day of the year, but in my home the process is reserved for Shabbat and the major Jewish holidays (except for Passover, of course, when leavened bread is not allowed). The smell of freshly baked challah ushers in our weekly Shabbat celebration and puts everybody in a mood of gratitude. As blog reader Rabbi Gershon Steinberg-Caudill put it—“I love it when I finish making my Shabbat Challah. It smells like Shabbat!”
The ritual associated with separating and blessing the challah is a somewhat complex process, dependent on the size of challah you are baking and your level of observance. Customs vary according to Halachic opinion; Ashkenazi and Sephardic traditions approach the blessing differently. If you are interested in learning more about the process of separating challah, there are many guides available online… or ask a trusted rabbi!
For me, baking challah is like a meditation. Kneading and rising, kneading again, shaping, braiding and baking— it all takes a lot more time than baking brownies from an instant mix. Smelling the bread baking, then seeing your gloriously braided challah on the dinner table, really makes it all worthwhile. I hope this blog inspires you to try it yourself!
The following recipe is my favorite way to make challah, developed after many attempts to create a “foolproof” challah recipe. It’s a rich, moist, eggy challah sweetened with honey. The multiple risings create a beautiful texture, and the egg wash results in a gorgeous golden crust. Feel free to sprinkle your challah with any of the toppings suggested in the recipe. You also can add raisins or chocolate chips to the dough (adding real chocolate will make it a dairy recipe). No matter which way you choose to make it, challah is a delicious way to celebrate Shabbat, or any other holiday.
If you’ve never made challah before, remember to be patient. Baking challah is a simple process, but it does take time and effort. You may need to try it a few times to get a “feel” for the dough. If you follow my instructions exactly, you should be fine— I’ve tried to describe each step very carefully and specifically. Comment me if you have any questions.
For instructions on how to braid your challah, click the following link:
Challah Part 2: How to Braid Challah.
Good luck! 🙂
Recommended Products:
We are a participant in the Amazon Services LLC Associates Program, an affiliate advertising program designed to provide a means for us to earn fees by linking to Amazon.com and affiliated sites. As an Amazon Associate I earn from qualifying purchases.
Challah
Ingredients
Dough Ingredients
- 1 1/2 cups lukewarm water, divided
- 1 packet active dry yeast (1 packet is equivalent to 2 1/4 tsp or .25 ounce active dry yeast) - you may substitute 1 3/4 teaspoons of instant yeast or .6 ounce compressed fresh yeast (1 small cake)
- 1 teaspoon sugar
- 1 large egg
- 3 large egg yolks
- 1/3 cup honey
- 2 tbsp avocado oil (I prefer avocado oil for flavor and health reasons - you may substitute sunflower oil or canola oil)
- 2 teaspoons salt
- 4 1/2-6 cups all purpose flour - PLEASE NOTE - if you are using the metric conversion tool on this recipe, the flour is not updating correctly. The correct metric measurements for flour are 562.5 to 750 grams (do not change the recipe serving sizes or it will not work)
Egg Wash Ingredients
- 1 large egg
- 1 tablespoon cold water
- 1/2 teaspoon salt
Optional Ingredients
- Raisins, chocolate chips (1 ½ cups of either)
Optional Toppings
- Sesame seeds, poppy seeds, kosher salt
NOTES
Instructions
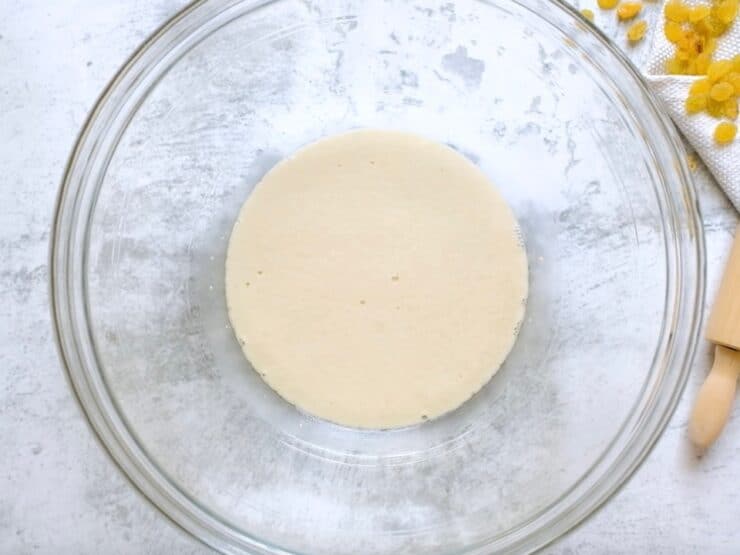
- Pour ¼ cup of the lukewarm water (about 110 degrees) into a large mixing bowl. Add 1 packet of active dry yeast and 1 tsp of sugar to the bowl, stir to dissolve. Wait 10 minutes. The yeast should have activated, meaning it will look expanded and foamy. If it doesn’t, your yeast may have expired, which means your bread won’t rise—go buy some fresh yeast! This step Is called "proofing" the yeast - if you're using instant yeast you can skip this step and simply add the yeast to your dry ingredients. If you're using fresh yeast (or compressed or cake yeast), simply stir it into the lukewarm water to dissolve, then add the remaining wet ingredients - no need to wait for proofing.

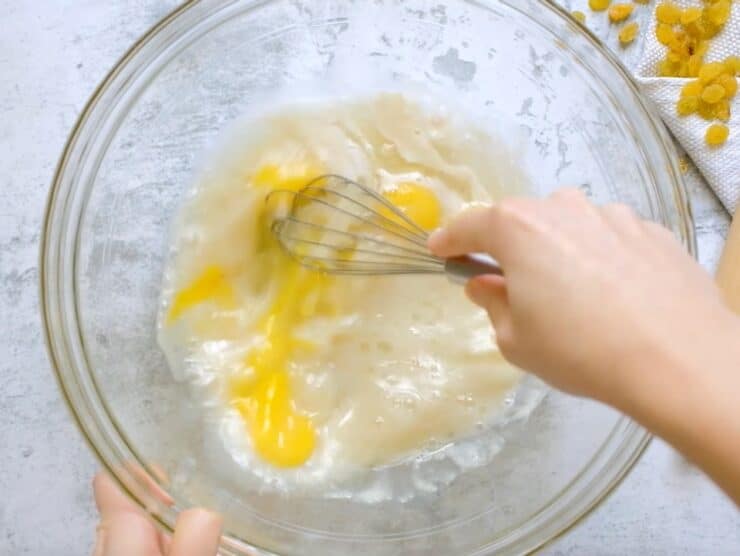
- Once your yeast has activated, add remaining 1 ¼ cup lukewarm water to the bowl along with the egg, egg yolks, honey, oil, and salt. Use a whisk to thoroughly blend the ingredients together.

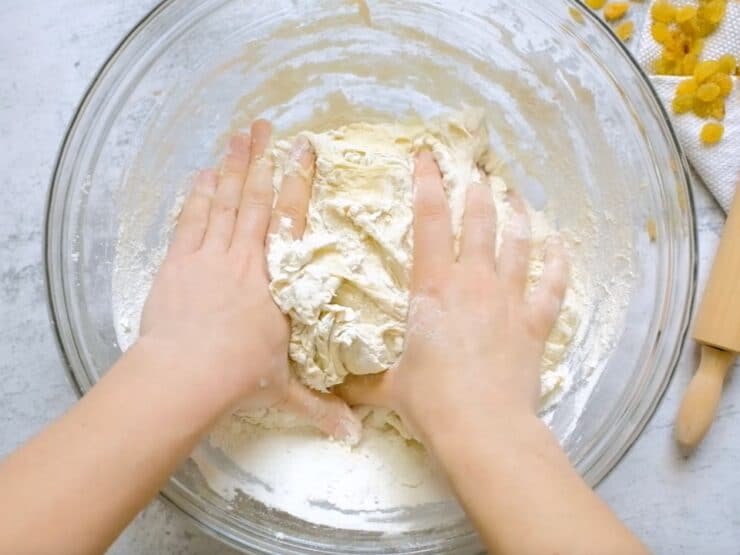
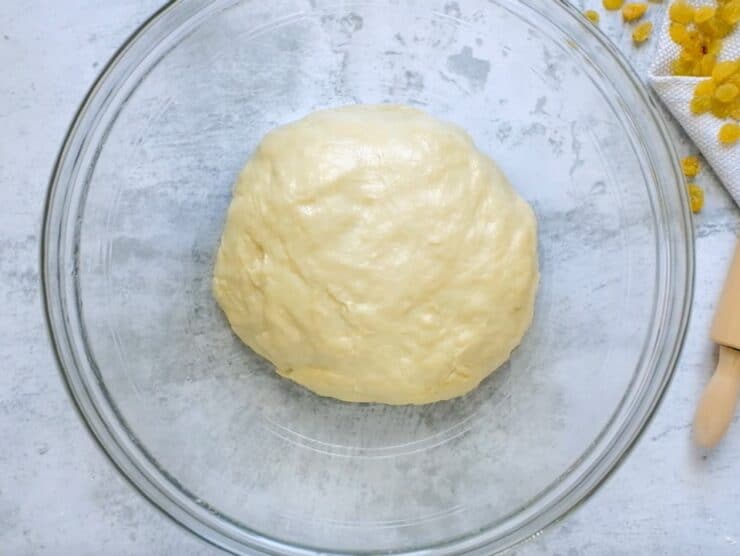
- Begin adding the flour to the bowl by half-cupfuls, stirring with a large spoon each time flour is added. When mixture becomes too thick to stir, use your hands to knead.Continue to add flour and knead the dough until it’s smooth, elastic, and not sticky. The amount of flour you will need to achieve this texture varies—only add flour until the dough feels pliable and “right.” If you plan to add raisins or chocolate chips to the challah, incorporate into the dough as you knead.
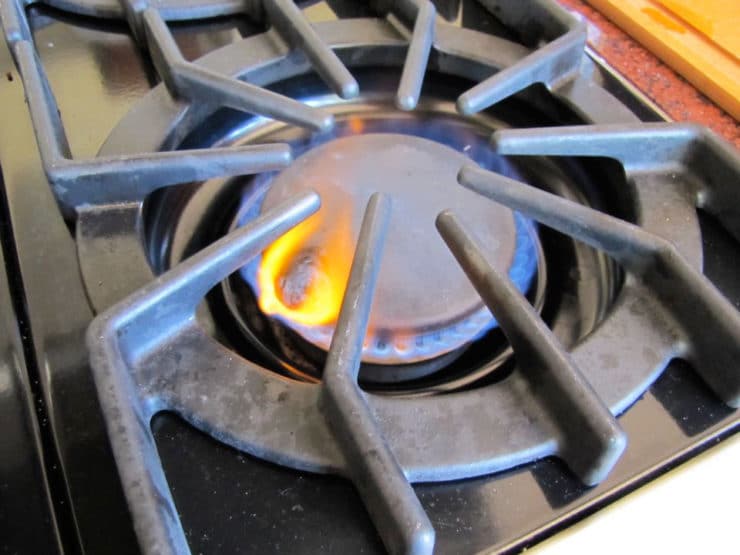
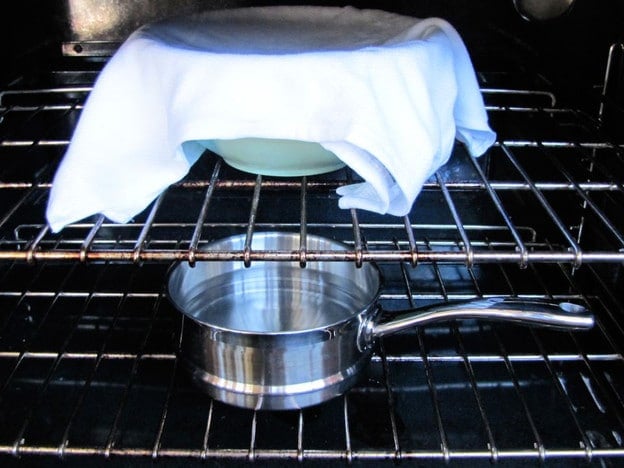
- Place a saucepan full of water on the stove to boil.Meanwhile, remove the dough from your mixing bowl and wash out the bowl. Grease the bowl with oil. Push the dough back into the bottom of the bowl, then flip it over so that both sides are slightly moistened by the oil.
- Cover the bowl with a clean, damp kitchen towel. Place the bowl of dough on the middle rack of your oven. Take the saucepan full of boiling water and place it below the rack where your dough sits. Close the oven, but do not turn it on. The pan of hot water will create a warm, moist environment for your dough to rise. Let the dough rise for 1 hour, or until the dough doubles in size. This may take longer depending on a number of things, including weather conditions... be patient! It's important to let the dough rise for best results.

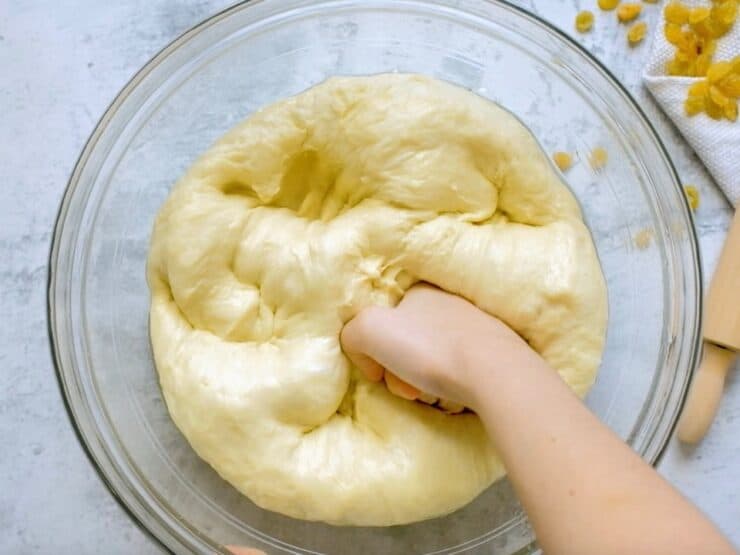
- Take the dough bowl out and punch it down several times to remove air pockets.
- Place it back inside the oven and let it rise for 1 hour longer, or until the dough doubles in size.
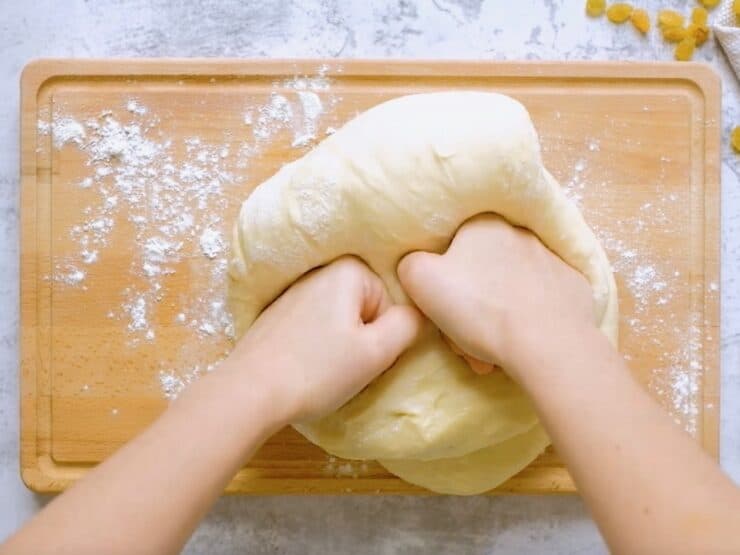
- Take the dough out of the oven. Flour a smooth surface like a cutting board. Punch the dough down into the bowl a few times, then turn the dough out onto the floured surface. Knead for a few minutes, adding flour as needed to keep the dough from feeling sticky.
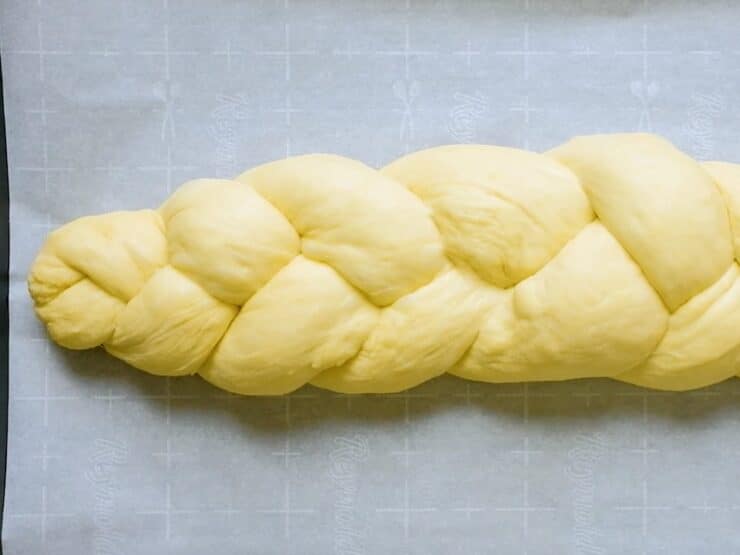
- Now your dough is ready to braid. If you plan to separate and bless the challah, do it prior to braiding. Click here to learn how to braid challah.After you’ve braided your challah, place it on a cookie sheet lined with parchment paper (this will catch any spills from your egg wash and keep your challah from sticking to the cookie sheet).Note: I usually only put a single challah braid on a cookie sheet, since they tend to expand a lot when baking.
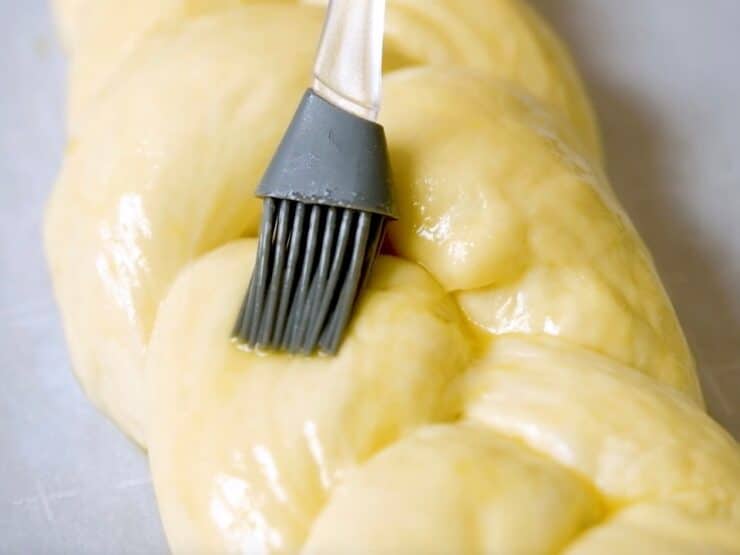
- Prepare your egg wash by beating the egg, salt and water till smooth. Use a pastry brush to brush a thin layer of the mixture onto the visible surface of your challah. If you're adding sesame seeds or some other topping, sprinkle it on the damp dough now - the egg wash helps it stick. Reserve the leftover egg wash.
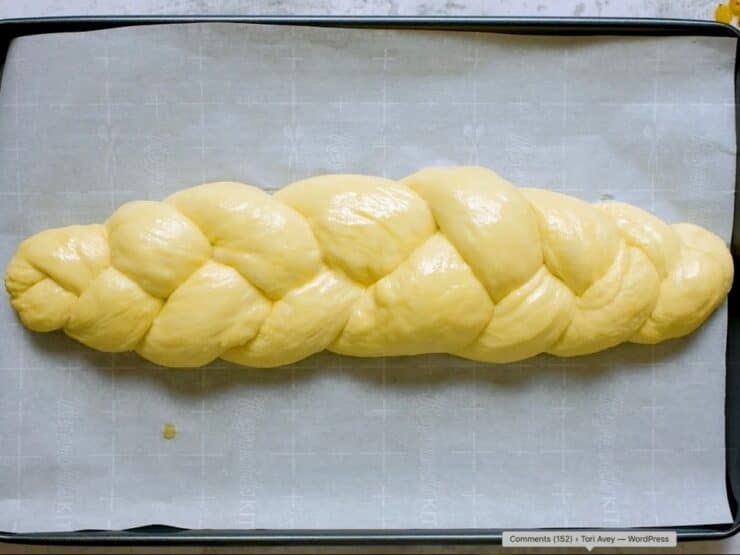
- Let the braid rise 30 to 45 minutes longer. You’ll know the dough is ready to bake when you press your finger into the dough and the indentation stays, rather than bouncing back.Heat oven to 350 degrees F. The challah needs to bake for about 40 minutes total, but to get the best result the baking should be done in stages. First, set your timer to 20 minutes and put your challah in the oven.
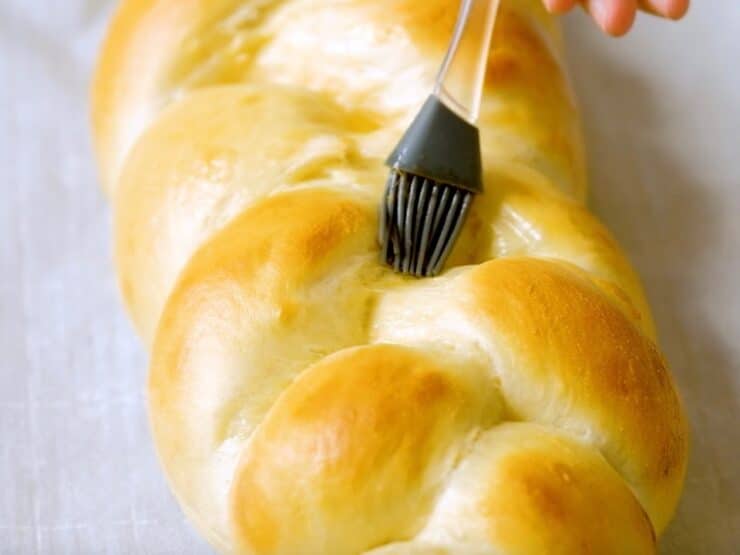
- After 20 minutes, take the challah out of the oven and coat the center of the braid with another thin layer of egg wash. This area tends to expand during baking, exposing areas that will turn white unless they are coated with egg wash.Turn the tray around, so the opposite side is facing front, and put the tray back into the oven. Turning the tray helps your challah brown evenly—the back of the oven is usually hotter than the front.
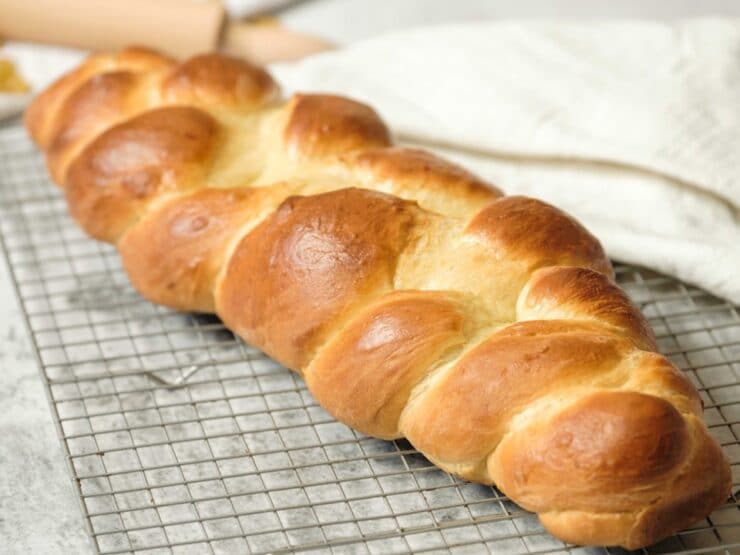
- The challah will need to bake for about 20 minutes longer. For this last part of the baking process, keep an eye on your challah—it may be browning faster than it’s baking. Once the challah is browned to your liking, take the tray out and tent it with foil, then place it back in the oven. Remove the foil for the last 2 minutes of baking time.Take the challah out of the oven. At this point your house should smell delicious. You can test the bread for doneness by turning it over and tapping on the bottom of the loaf—if it makes a hollow sound, it’s done. Let challah cool on the baking sheet or a wire cooling rack before serving.

Nutrition


Thank you so much, Tori! My 3 and 6-year old assistants and I made your challah bread yesterday. We made one medium 3-braid loaf and 12 mini rolls. We turned the loaf into a delicious French toast breakfast this morning. It was tasty. Thanks again for a perfect activity while we’re shut in.
Love your challah recipe! The best and easiest one I have found! Enjoyed the rest of the challah for French toast this morning! Thanks for your delicious recipes!
Shavua Tov!
Lisa Dayan-Berish
We’re currently on a “Stay at Home” order from the state and my wife was craving challah. I didn’t grow up with it like she had and an attempt I tried with a different recipe a couple of years ago had failed miserably. I made this recipe with four braids and it turned out great. The only issue I had was that it didn’t rise as much as I had hoped, but since this was last minute for me I rushed the proofing so entirely my fault. 🙂
She has asked for more but as a roll this time so I will be giving it proper time to proof before making dinner rolls.
Thanks for the easy to follow instructions.
OMG just made this today,soo good.Very proud of myself never made bread ever and made Sourdough Rye and Challah both turned out perfect.Will make 2 loaves next time as yes it does make a huge loaf.Im not Jewish and never met any here in Sydney to show me so im happy with result.
If I want to freeze half the dough, at what point in the process do I freeze it? Before there has been any rising? Do you have any tips for using the frozen dough–do I just let it come to room temperature and then pick the recipe back up where I left off? Thanks!
Hi Joyce, Tori’s assistant Ashley here. Challah dough is best frozen after the first rise, but before the second. After removing it from the freezer, allow 6-8 hours for the dough to complete its second rise.
Hi Tori, I love your recipes!!!! I am from Morocco, do you have some Sephardic recipes?
Thank you
Hi Celia, I have tons of Sephardic recipes on the site. Just type “Sephardic” into the search box and you’ll get lots of results. FYI it may pull up a few non-Sephardic posts as well, just scroll through those. Glad you’re enjoying the recipes!
Thanks so much for this recipe. Made challah for the first time today and it turned out wonderful. Warm regards from Iceland!
So yummy! My family gobbled this up. Can’t wait to make again.
Thank you for this wonderful recipe. What are your recommended possible substitutions for canola oil in this recipe?
Avocado oil or safflower oil will both work.
Could I refrigerate the dough overnight so I can prep it Thursday but not bake it until Friday?
Hi Sam, Tori’s assistant Ashley here. Risen dough can be kept in the refrigerator for about 24 hours during the first rise (if you haven’t let the dough rise at room temp, it will rise slowly in the fridge). Please keep in mind that refrigerated dough will need more time to rise.
Thank you! This was an easy to follow recipe. I overworked my dough a bit, re braiding a couple of times. Maybe a tad too much flour as well. Mine came out slightly dense but wonderful nonetheless! No idea how your braids look so neat and even.
I made your challa recipe today, exactly as it is printed. I used a flat pan with parchment paper lining the bottom. The bottom of my challa was almost black. Do you have any suggestions?
Hi Sari, what part of the oven did you bake it in? Some ovens run much hotter on the bottom, so if you baked it on the bottom rack you would have this issue. Try baking on the middle rack. If you continue to have this issue, you can spread an even layer of coarse-ground corn meal on the parchment paper before placing the braid on top of it. This will create some separation between the sheet and the bread, which will help to avoid this issue.
I have been wanting to make homemade Challah bread for the longest time! However, it always seemed to intimidate me. I have been reading this recipe along with how to braid since yesterday, over and over again. This is my first recipe for one of my favorite breads and I think it came out great! For my taste, I think I want it a little bit more “eggy” though…. All in all, 5 hours later, it was worth it!
I baked mine in the middle keeping that in mind…
Amazing! Made it with my stand mixer to save some of my strength, and was surprised on how easy it was! The hardest part was waiting! The dough came out sponge-like, it was so soft! I think I might add more kosher salt topping next time, I like my breads salty. Thank you for this recipe!
How long did you knead the dough using your stand mixer and what speed? I have a KitchenAid and would like to use that as well.
My egg challah is not yellow enough. How do i make it more yellow?
On the outside, use an egg wash. If you’re talking about the inside, replace a few of the eggs in your recipe with egg yolks (2 yolks for 1 egg). This will give your challah a richer flavor and also give the inside a slightly golden hue.
I’m so excited to find your well-written blog and directions! I’m wondering, in making your Challah Breads, if I can substitute INSTANT yeast for the Active yeast. Have you done that and does it work well? thank you!
I am an avid and frequent bread baker but have been somewhat unsuccessful achieving a certain type of texture and elasticity in challah baking.Having been born and raised in the boroughs of New York City we ate many Jewish bakery bought challahs that were very elastic and ‘stringy’; making it easy pull apart a piece with our fingers. Most of the challahs I have attempted to bake have had more bread-like textures. I use regular yeast (stored my my freezer) and King Arthur bread flour. Can you suggest any challah baking tips that will result in a more elastic/stringier texture? Thank you in advance for any tips!
I use all purpose flour, not bread flour, and I make sure the challah is given ample time to rise both times. I generally achieve the stringy texture you’re talking about. Not sure if that’s what makes the difference, but worth a shot!
I have made Challah a long time ago from a Black an Decker Bread Machine Book and it was ok. Your recipe on the other hand is amazing. Both my wife and I love the taste and look of these bread and has quickly become one of our favourites. We look forward to trying your other recipes.
I usually leave work around 5 pm on Fridays. If I start the process in the morning, how long can I leave the dough to rise without refrigeration?
Or should I start the night before getting to braiding but putting it into the refrigerator? After I get home on Friday night let it get to room temp, then rise, and then bake?
Also, is there any way to add the rising time u see the prep time above?
I would start the day before and refrigerate overnight for a slower rise… it will result in a flakier, tastier challah. I added the rise to the prep time, thank you for pointing that out. I had an assistant convert these recipes over to a new system recently, and I guess she didn’t take that into account when calculating prep time. Just updated the instructions to reflect rising time. Thank you for pointing it out!
Hi Tori Thanks for the Challah Recipe, today we baked for our Lord’s Celebration !!!
You’re welcome 🙂
Hi Tory! My boyfriend wanted to make challah for shabbat and I had never made challah before. We made it from your recipe and it turned out amazing! Tender, just dense enough, sweet and soft. It smelled and looked amazing. Embarrassed to say we finished it all before shabbat was out(although we did make half the recipe). Your braiding instructions were also very useful, though I ended up using a different technique to make the strands that was easier for me.
So happy you enjoyed it! And nice that you made it together for Shabbat. That makes me happy. 🙂
Thank you for this wonderful recipe. What are your recommended possible substitutions for canola oil in this recipe?
You can use avocado oil or safflower oil, both will work. 🙂