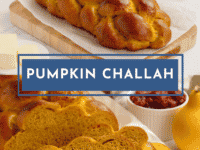
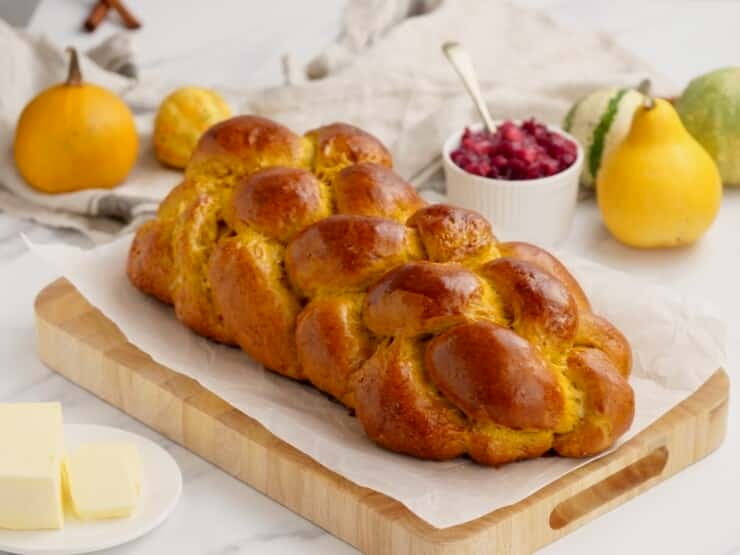
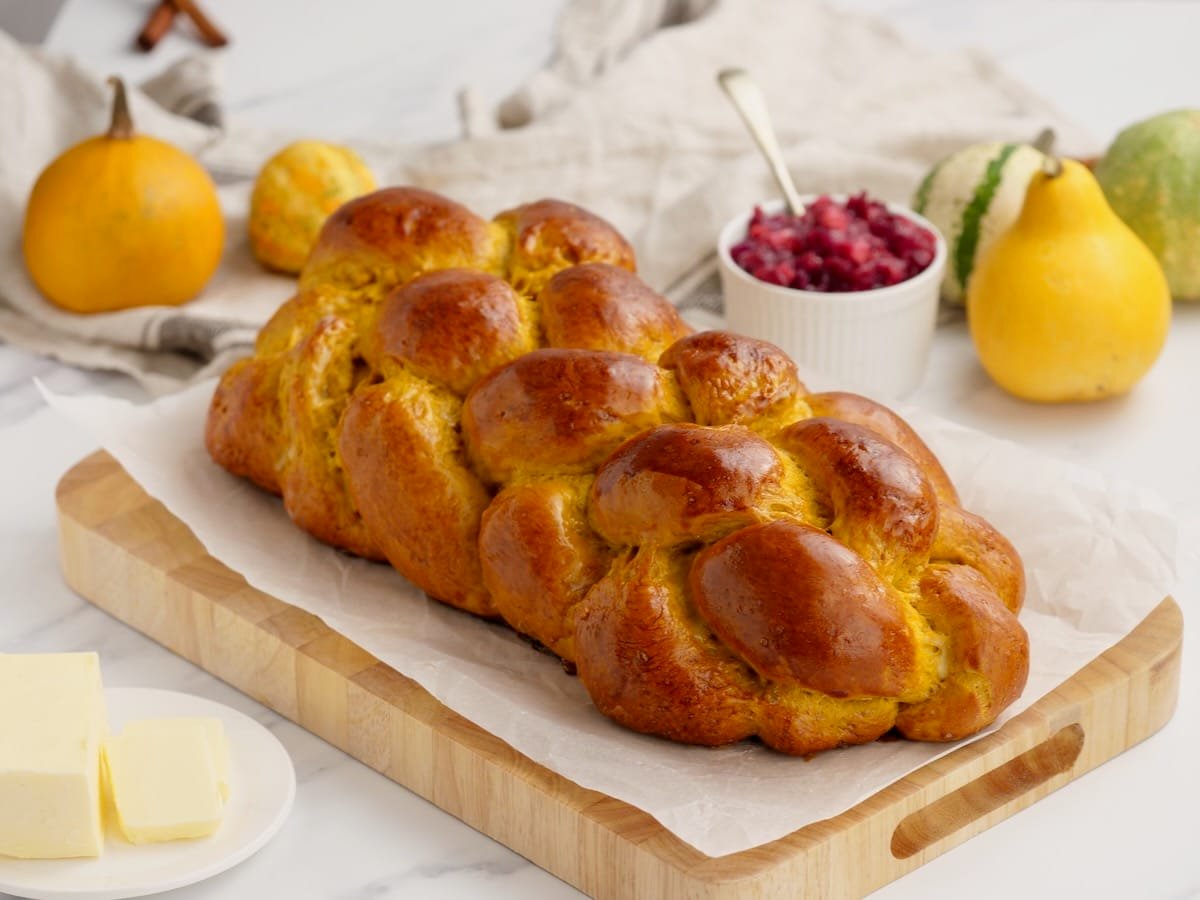
Pumpkin Challah combines two holiday traditions into one delicious, beautifully braided treat! This lightly sweet, pumpkin-scented bread is the perfect centerpiece for an autumn holiday table.
With autumn upon us and squash decorating lining the aisles of the produce section, my mind keeps drifting to pumpkins… or, more specifically, to Pumpkin Challah Bread.
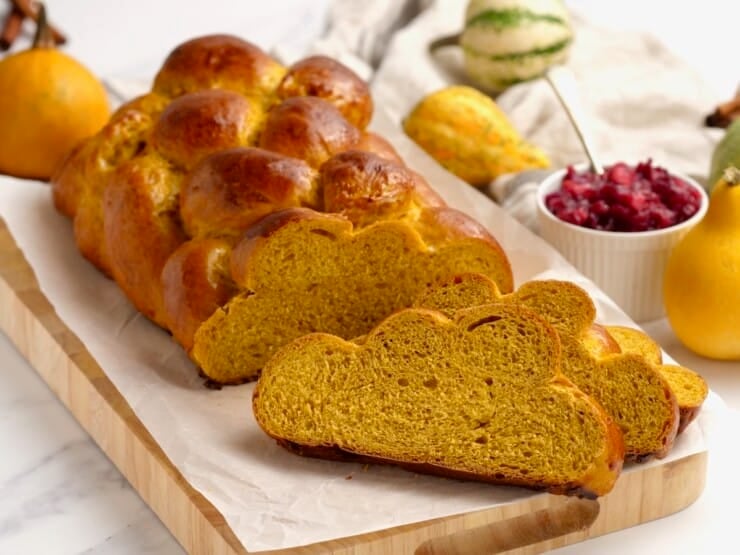
A few years ago, Rob Eshman of the Jewish Journal’s Foodaism blog sent me his Sukkot recipe for pumpkin challah. Subsequently, I decided to try my own creative spin on his inspired idea. I wanted to add more sweetness and spice to the dough to give the bread a pumpkin pie essence while still retaining that wonderful eggy challah texture. I started with my standard challah recipe, added pumpkin puree, and played with the ingredients until I came up with the right balance of sugar, spice, and everything nice.
This recipe is the result of my little baking experiment. It’s sweet, but not cloying, and would make a unique and beautiful addition to the Sukkot or Thanksgiving table. It’s really tasty dipped in hot tea or cocoa, and makes a wonderfully cozy fireside snack. Top it with melty butter and honey for extra deliciousness. And here’s the best part—it makes mind-blowingly delicious Challah French Toast.
Wow. I’m making myself hungry.
For challah braiding instructions, click here. Enjoy!
Recommended Products:
We are a participant in the Amazon Services LLC Associates Program, an affiliate advertising program designed to provide a means for us to earn fees by linking to Amazon.com and affiliated sites. As an Amazon Associate I earn from qualifying purchases.
Pumpkin Challah
Ingredients
Challah Ingredients
- 2 packages active dry yeast
- 1 cup lukewarm water, divided
- 3 tablespoons white sugar
- 1 large egg (white and yolk)
- 6 large egg yolks
- 1/4 cup honey
- 2 tablespoons avocado oil (you may substitute canola oil - I prefer avocado oil for its health benefits)
- 2 teaspoons salt
- 2 teaspoons cinnamon
- 3/4 teaspoon nutmeg
- 1/2 teaspoon allspice
- 1/4 teaspoon ginger
- Pinch cloves
- 1/2 cup brown sugar
- 2 cups pumpkin puree (homemade or canned)
- 7-9 cups all-purpose baking flour
Egg Wash Ingredients
- 2 large egg yolks
- 1 tablespoon water
Instructions
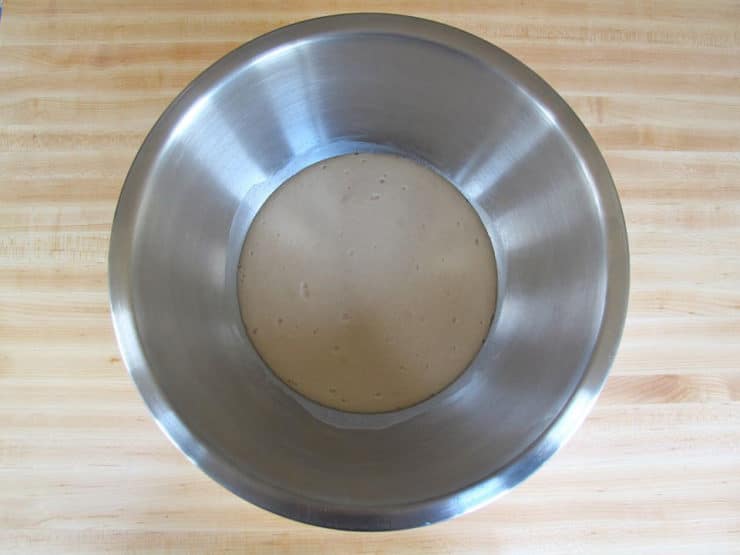
- Pour ½ cup of the lukewarm water (about 110 degrees) into a large mixing bowl. Add 2 packets of Active Dry Yeast and 1 tbsp of sugar to the bowl, stir to dissolve. Wait 10 minutes. The yeast should have activated, meaning it will look expanded and foamy. If it doesn’t, your yeast may have expired, which means your bread won’t rise—go buy some fresh yeast!

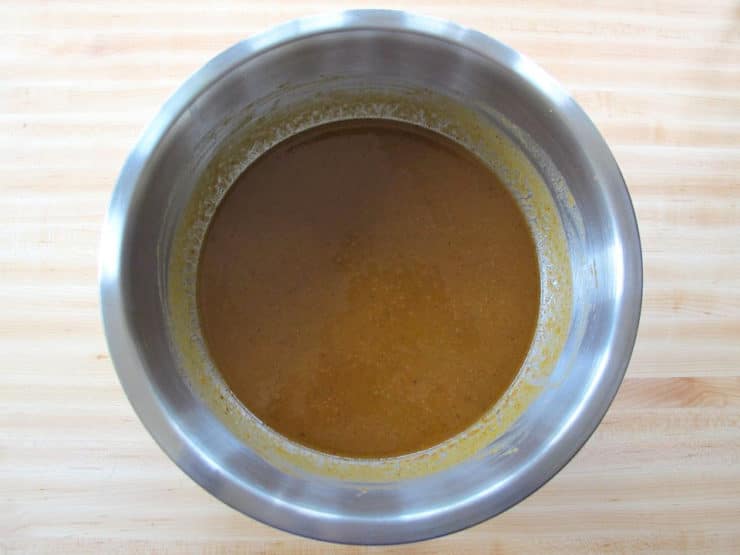
- Once your yeast has activated, add remaining ½ cup lukewarm water to the bowl along with the rest of the sugar, egg, egg yolks, honey, canola oil, salt and spices. Use a whisk to thoroughly blend the ingredients together. Whisk in the brown sugar and pumpkin puree to form a thick liquid.
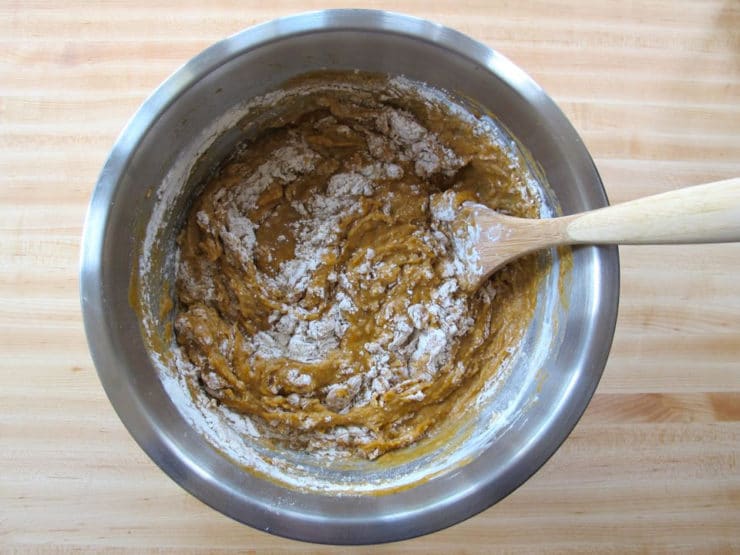
- Begin adding the flour to the bowl by half-cupfuls, stirring with a large spoon each time flour is added. When mixture becomes too thick to stir, use your hands to knead.
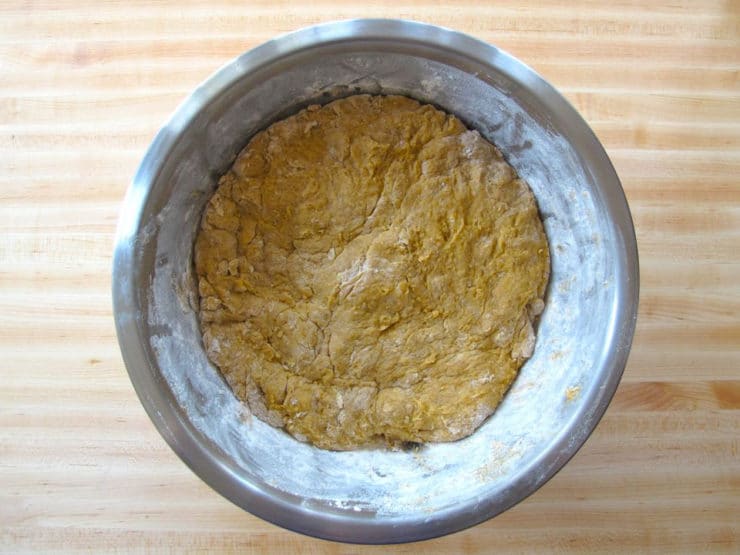
- Continue to add flour and knead the dough until it’s smooth, elastic, and not sticky. The amount of flour you will need to achieve this texture varies—only add flour until the dough feels pliable and “right.”
- Place a saucepan full of water on the stove to boil. Meanwhile, remove the dough from your mixing bowl and wash out the bowl. Grease the bowl with canola oil. Push the dough back into the bottom of the bowl, then flip it over so that both sides are slightly moistened by the oil.
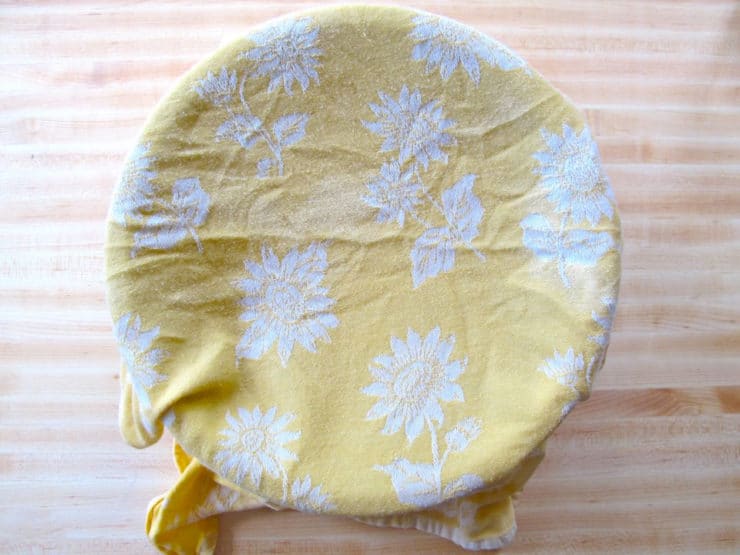
- Cover the bowl with a clean, damp kitchen towel. Place the bowl of dough on the middle rack of your oven. Take the saucepan full of boiling water and place it below the rack where your dough sits. Close the oven, but do not turn it on. The pan of hot water will create a warm, moist environment for your dough to rise. Let the dough rise for 1 hour.
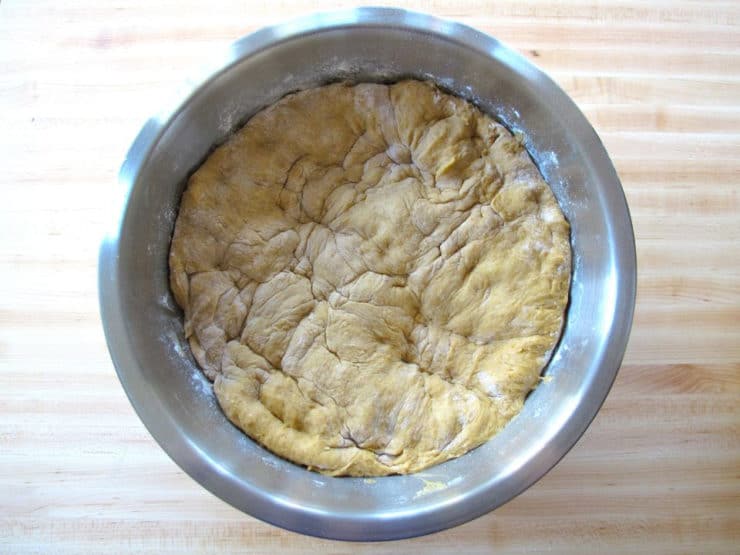
- Take the dough bowl out and punch it down several times to remove air pockets. Place it back inside the oven and let it rise for 1 hour longer.
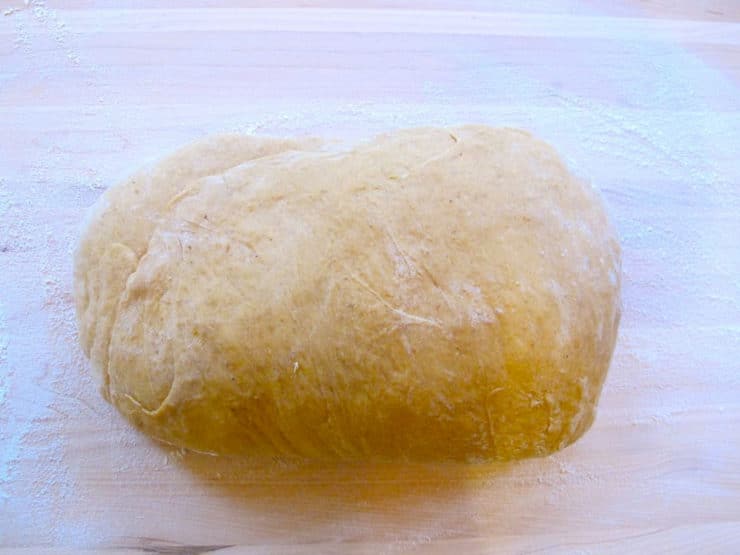
- Take the dough out of the oven. Flour a smooth surface like a cutting board. Punch the dough down into the bowl a few times, then turn the dough out onto the floured surface. Knead for a few minutes, adding flour as needed to keep the dough from feeling sticky.Now your dough is ready to braid. If you plan to separate and bless the challah, do it prior to braiding. Separate the dough into two equal portions; each portion of dough will be enough for a large loaf of challah. Click here to learn How to Braid Challah.
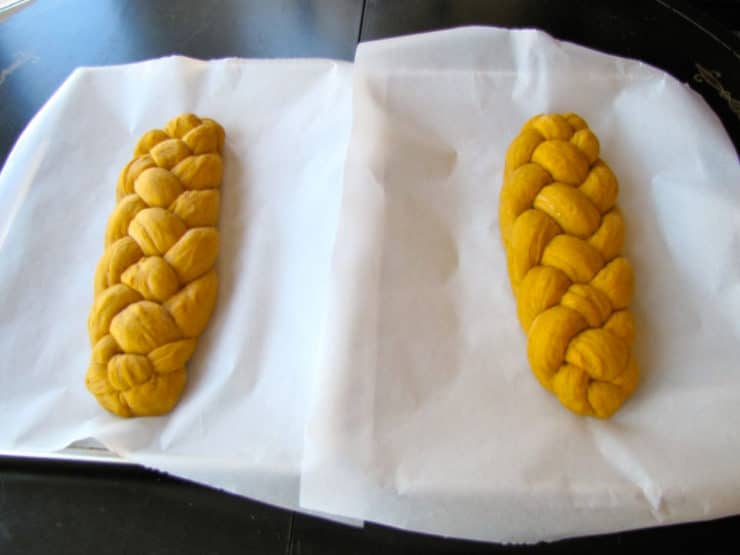
- After you’ve braided your challah loaves, place them on two separate cookie sheets lined with parchment paper (this will catch any spills from your egg wash and keep your challah from sticking to the cookie sheet).
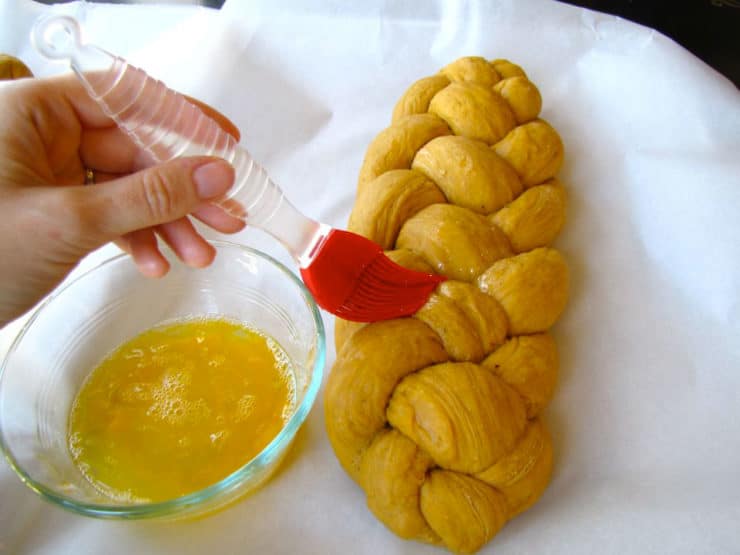
- Prepare your egg wash by beating the egg yolks and water until smooth. Use a pastry brush to brush a thin layer of the mixture onto the visible surface of your challah.Preheat the oven to 350 degrees F. Let the braids rise 30 to 45 minutes longer. You’ll know the dough is ready to bake when you press your finger into the dough and the indentation stays, rather than bouncing back.The challah will need to bake for about 40 minutes total, but to get the best result the baking should be done in stages. First, set your timer to 20 minutes and put your challah in the oven.
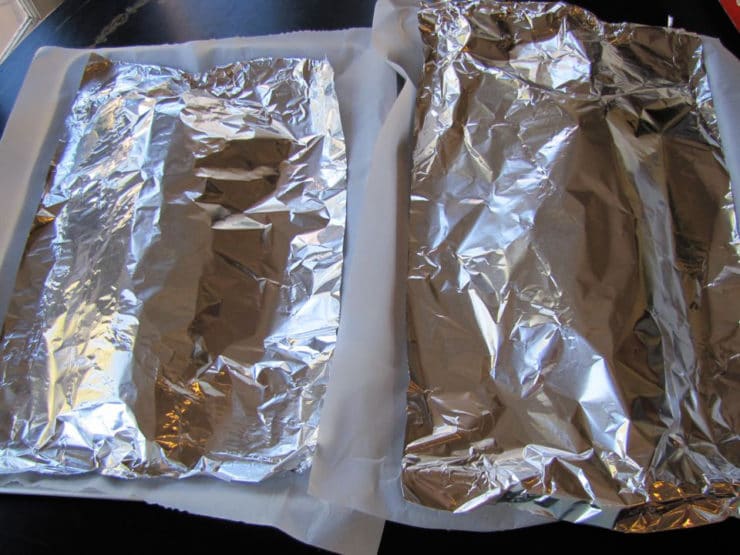
- After 20 minutes, take the challah out of the oven. Turn the tray around, so the opposite side is facing front, and put the tray back into the oven. Turning the tray helps your challah brown evenly—the back of the oven is usually hotter than the front.The challah will need to bake for about 20 minutes longer. For this last part of the baking process, keep an eye on your challah—it may be browning faster than it’s baking. Once the challah is browned to your liking, take the tray out and tent it with foil, then place it back in the oven. Remove the foil for the last 2 minutes of baking time.
- Take the challah out of the oven. You can test the bread for doneness by turning it over and tapping on the bottom of the loaf—if it makes a hollow sound, it’s done. Let challah cool on the baking sheet or a wire cooling rack before serving.


NOTES
Nutrition


Magnificent photography. Makes to want to grab a large piece.
Ooh this would be perfect for Hanukkah!! Thanks Tori. 🙂
Looks and sounds wonderful!!!
I WANT NOW!
I´ve got to try this!!!!!
THIS LOOKS AWESOME!! Perfect for Thanksgiving/Hanukkah!
I made this for a potluck last week, it was a HUGE hit… also makes excellent french toast. I paired it with apple butter, it was like early thanksgiving!
So glad you liked it Merav! I am going to make it for “Thanksgivukah” this year (Thanksgiving and Hanukkah fall on the same day)… seems perfectly appropriate, don’t you think? 🙂
Dear Ms. Tori,
Thank you so much for your blog, it has renewed my interest in making bread. I have made several Challah loaves and many, many of the little rolls. I’ve gained enough confidence to start baking for my wife’s church (she’s the pastor of an United Methodist Church) and I’m having fun doing it.
Looking forward to baking the Pumpkin Challah, perhaps for Challah-ween!
Challah-ween, ha! Enjoy JD 🙂
Hi! I would love to try this, can the dough be shaped into a regular loaf for baking? I’m a little intimidated by the braiding process 🙂
Would the baking time be different? Thank you!
Made this last night and it smelled so good i wanted to eat the raw dough!(but didn’t) and i followed your tutorial and made my first six braid challah which you describe better than anyone has tried Yup teach me! Bottom line: it looks and smells amazing can’t to wait to eat it and share with those we already asked for the recipe, thanks and happy Thanksgiving!
hi
this challah sounds amazing and I would love to make it for Thanksgiving, is there anyway I could take the pumpkin ingredients and add it to my water challah recipe? we cant have lots of eggs in my family?
Hi Seffi, not knowing your water challah recipe and having never tried it myself, it would be very difficult to advise you about this. Sorry I can’t be of more help!
Hi! I came across your recipe and can hardly wait to try it. Thank you for sharing it with the world. It looks delicious.
If I make 4 loaves out of the recipe instead of two should I just reduce the cooking time or the temperature too? I’m not a bread maker normally.
Don’t reduce temp, just keep an eye on the loaves and cover with foil if they are browning too fast. Knock on the bottom of the challah to test for doneness– if it sounds hollow, it’s done.
Great recipe! Love the huge loaves it makes. I used it to make pumpkin bread pudding. Twice the pumpkin-y goodness!
Hi! This sounds amazing! How do I cut the recipe down to one challah? Thanks! 🙂 Shana Tova!
This one was a huge hit in the sukkah. I made it with a dough hook in the mixer and it was the perfect amount for 2 large challahs.
I am in the process of making the challah. I started last night. I had to stop because I had to go to sleep. Id din’t realize the amount of time it would take. Perhaps at the beginning of the recipe you could put total time. Also, if there is a way to stop [which I will find out if how I did it is correct] and pick it up on a second day, it would be nice to have that option – I am not really a cook/baker…I let the bread rise for the 2 hours and then I put it in the fridge…
Hi Jennifer, you can definitely do one rise in the refrigerator for up to 24 hours. The refrigeration slows down the rising process. Next time, if you were to do this, I would do it before the rise, rather than after. The dough does rise in the fridge, but more slowly, and if you let it rise prior to refrigerating you run the risk of over-rising. Best of luck! Hope it turns out okay…
I’m going to make this this weekend, but I’m not sure how quickly we’ll be able to get through two whole loaves! Does challah freeze well, or am I better off halving the recipe?
Hi Gina, challah does freeze well. You can bake, then freeze, or you can freeze the dough. To freeze after baking, place the bread while it’s still warm from the oven (not hot) in a plastic zipper bag. Squeeze as much air as possible out of the bag before sealing, then freeze. You may defrost the challah straight from the freezer in the oven at 350 degrees for 15-20 minutes or until thawed and warmed through.
If you want to freeze the dough and bake later, allow the dough to rise and shape into loaves. Place the braided dough in the freezer until it gets hard. Wrap it in plastic wrap in three layers, then freeze until needed (no longer than 1 month, or you risk freezer burn). When thawing, remove plastic wrap, allow to thaw/rise for 2-3 hours, then bake as directed.
Thanks so much for responding, Tori! I made this today and it is absolutely delicious… I think it went pretty well for my first attempt at challah! And I’m very happy to have another loaf in the freezer to bake off later.
I made this for the first time yesterday and WOW is all I can say.
For the record, I made this in my stand mixer (it did not enjoy kneading 9 cups of flour!) and it turned out fabulously. It made 4 about 1 1/2 pound loaves!
I made this on Saturday and it was wonderful! A huge hit for everyone. 🙂
http://www.hungrymeetshealthy.com/2012/09/super-hero-5k-and-my-rosh-hashanah.html
Thank you for the recipe!!
Scrumptious!! I’ve read the comments – a few ppl said it was time consuming — I didn’t find it more time consuming than my regular whole wheat recipe – but I did steam the pumpkin the day before – you could probably steam up a couple of pumpkin batches and freeze them and just thaw and add. And for those using canned pumpkin – it really doesn’t take long – and it is so worth your while! Yum thanks for posting!!