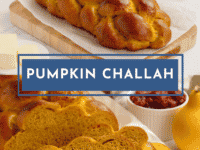
Pumpkin Challah combines two holiday traditions into one delicious, beautifully braided treat! This lightly sweet, pumpkin-scented bread is the perfect centerpiece for an autumn holiday table.
With autumn upon us and squash decorating lining the aisles of the produce section, my mind keeps drifting to pumpkins… or, more specifically, to Pumpkin Challah Bread.
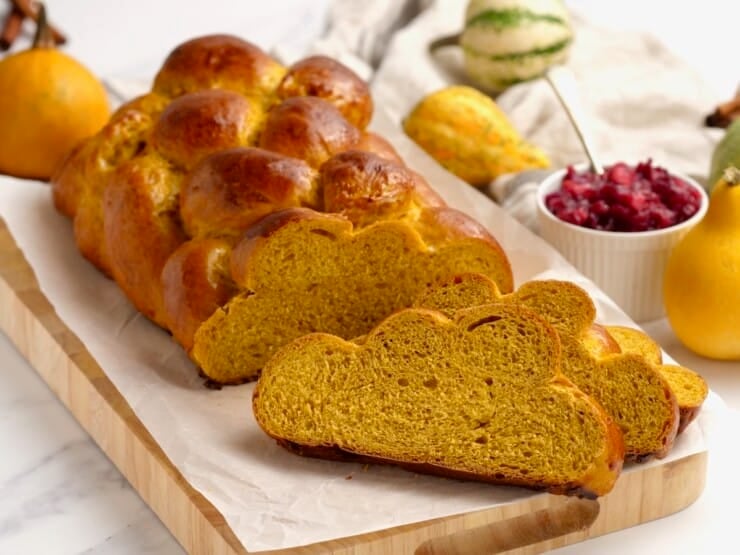
A few years ago, Rob Eshman of the Jewish Journal’s Foodaism blog sent me his Sukkot recipe for pumpkin challah. Subsequently, I decided to try my own creative spin on his inspired idea. I wanted to add more sweetness and spice to the dough to give the bread a pumpkin pie essence while still retaining that wonderful eggy challah texture. I started with my standard challah recipe, added pumpkin puree, and played with the ingredients until I came up with the right balance of sugar, spice, and everything nice.
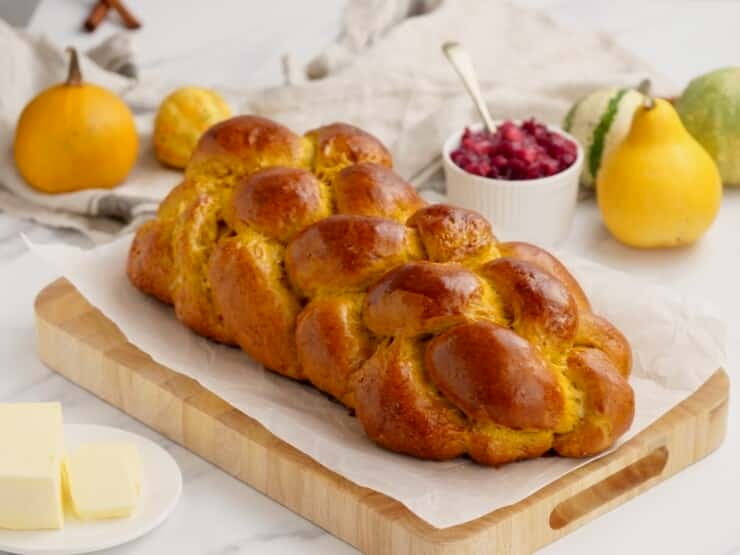
This recipe is the result of my little baking experiment. It’s sweet, but not cloying, and would make a unique and beautiful addition to the Sukkot or Thanksgiving table. It’s really tasty dipped in hot tea or cocoa, and makes a wonderfully cozy fireside snack. Top it with melty butter and honey for extra deliciousness. And here’s the best part—it makes mind-blowingly delicious Challah French Toast.
Wow. I’m making myself hungry.
For challah braiding instructions, click here. Enjoy!
Recommended Products:
We are a participant in the Amazon Services LLC Associates Program, an affiliate advertising program designed to provide a means for us to earn fees by linking to Amazon.com and affiliated sites. As an Amazon Associate I earn from qualifying purchases.
Pumpkin Challah
Ingredients
Challah Ingredients
- 2 packages active dry yeast
- 1 cup lukewarm water, divided
- 3 tablespoons white sugar
- 1 large egg (white and yolk)
- 6 large egg yolks
- 1/4 cup honey
- 2 tablespoons avocado oil (you may substitute canola oil - I prefer avocado oil for its health benefits)
- 2 teaspoons salt
- 2 teaspoons cinnamon
- 3/4 teaspoon nutmeg
- 1/2 teaspoon allspice
- 1/4 teaspoon ginger
- Pinch cloves
- 1/2 cup brown sugar
- 2 cups pumpkin puree (homemade or canned)
- 7-9 cups all-purpose baking flour
Egg Wash Ingredients
- 2 large egg yolks
- 1 tablespoon water
Instructions
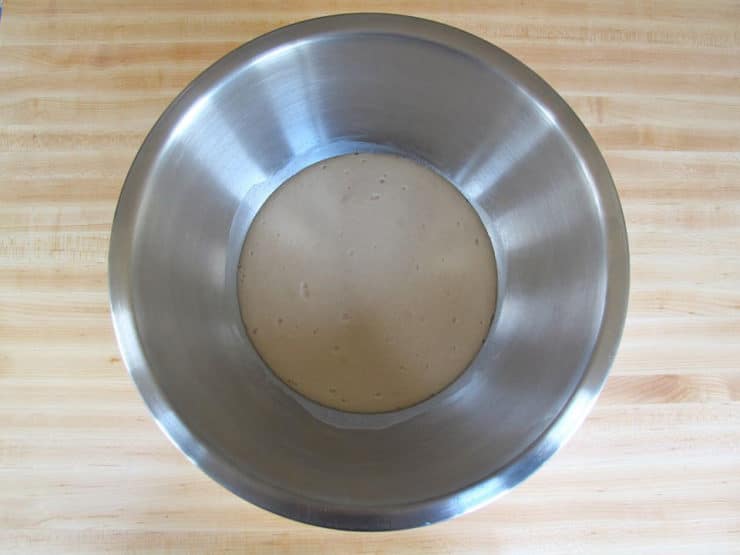
- Pour ½ cup of the lukewarm water (about 110 degrees) into a large mixing bowl. Add 2 packets of Active Dry Yeast and 1 tbsp of sugar to the bowl, stir to dissolve. Wait 10 minutes. The yeast should have activated, meaning it will look expanded and foamy. If it doesn’t, your yeast may have expired, which means your bread won’t rise—go buy some fresh yeast!

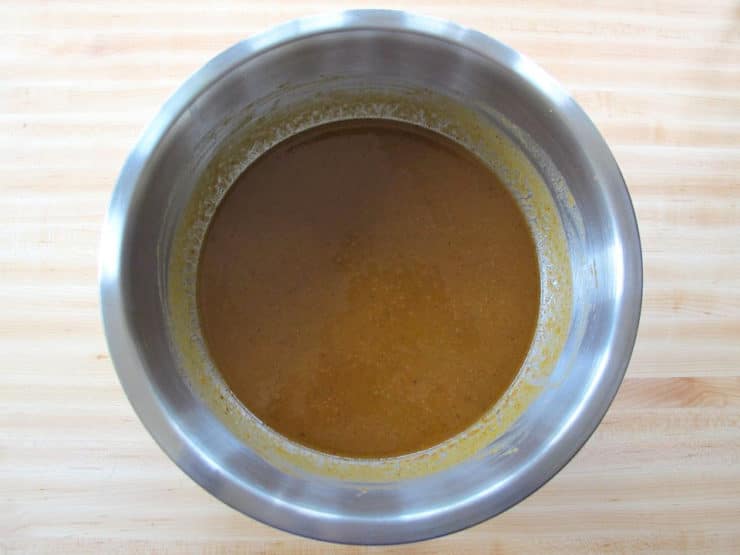
- Once your yeast has activated, add remaining ½ cup lukewarm water to the bowl along with the rest of the sugar, egg, egg yolks, honey, canola oil, salt and spices. Use a whisk to thoroughly blend the ingredients together. Whisk in the brown sugar and pumpkin puree to form a thick liquid.
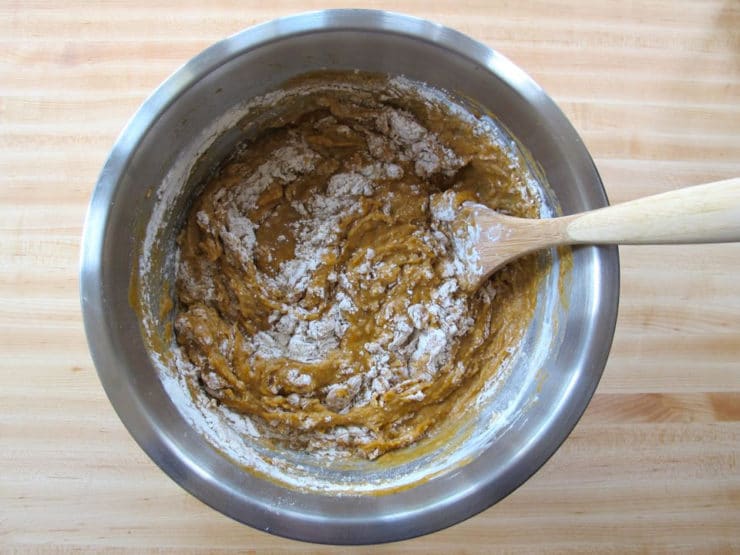
- Begin adding the flour to the bowl by half-cupfuls, stirring with a large spoon each time flour is added. When mixture becomes too thick to stir, use your hands to knead.
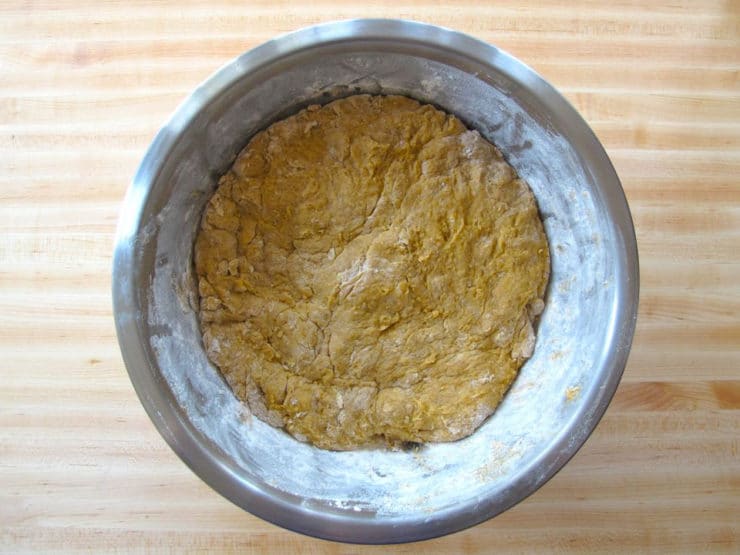
- Continue to add flour and knead the dough until it’s smooth, elastic, and not sticky. The amount of flour you will need to achieve this texture varies—only add flour until the dough feels pliable and “right.”
- Place a saucepan full of water on the stove to boil. Meanwhile, remove the dough from your mixing bowl and wash out the bowl. Grease the bowl with canola oil. Push the dough back into the bottom of the bowl, then flip it over so that both sides are slightly moistened by the oil.
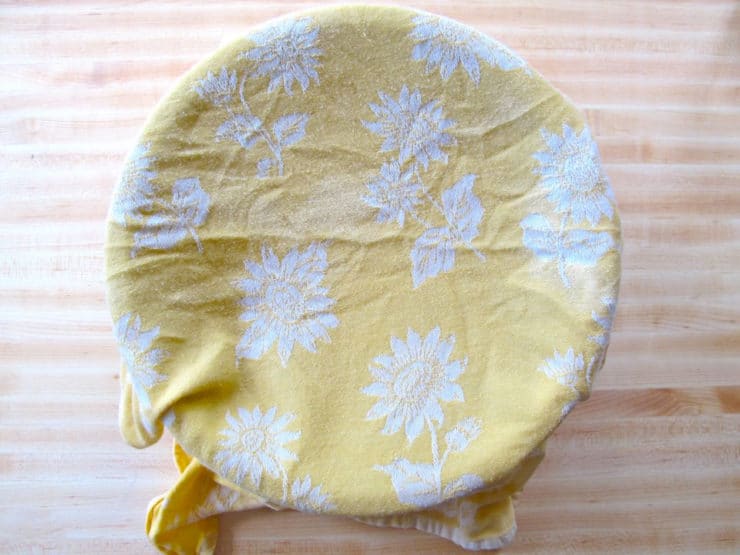
- Cover the bowl with a clean, damp kitchen towel. Place the bowl of dough on the middle rack of your oven. Take the saucepan full of boiling water and place it below the rack where your dough sits. Close the oven, but do not turn it on. The pan of hot water will create a warm, moist environment for your dough to rise. Let the dough rise for 1 hour.
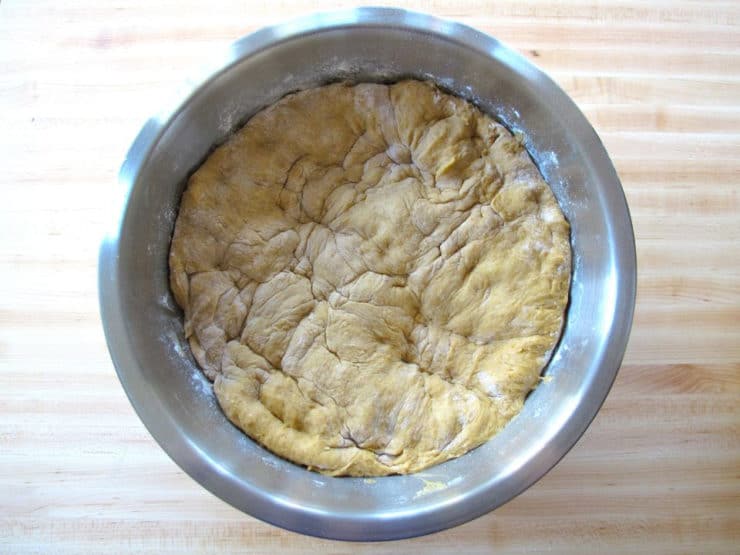
- Take the dough bowl out and punch it down several times to remove air pockets. Place it back inside the oven and let it rise for 1 hour longer.
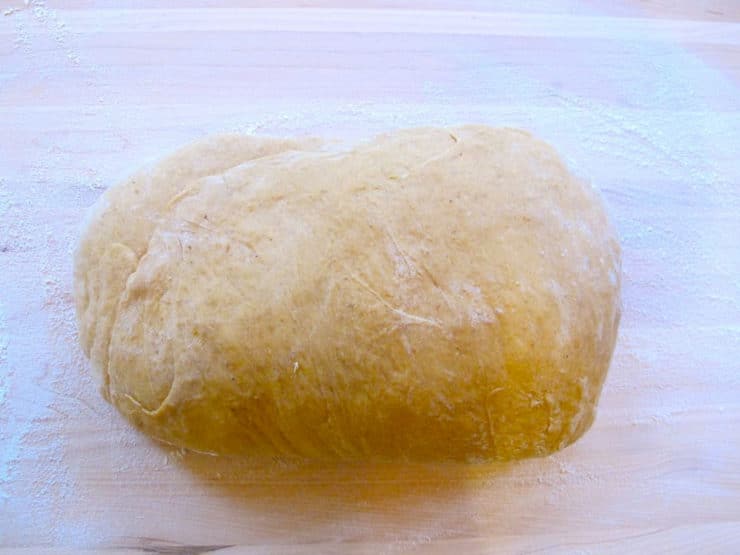
- Take the dough out of the oven. Flour a smooth surface like a cutting board. Punch the dough down into the bowl a few times, then turn the dough out onto the floured surface. Knead for a few minutes, adding flour as needed to keep the dough from feeling sticky.Now your dough is ready to braid. If you plan to separate and bless the challah, do it prior to braiding. Separate the dough into two equal portions; each portion of dough will be enough for a large loaf of challah. Click here to learn How to Braid Challah.
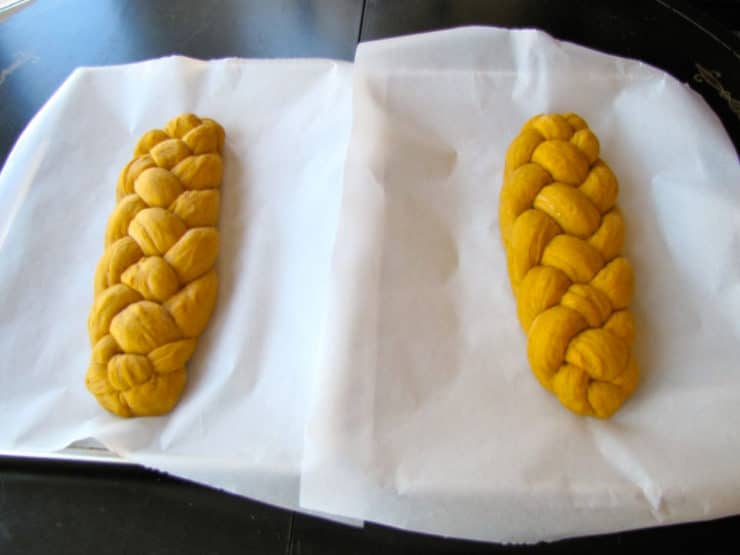
- After you’ve braided your challah loaves, place them on two separate cookie sheets lined with parchment paper (this will catch any spills from your egg wash and keep your challah from sticking to the cookie sheet).
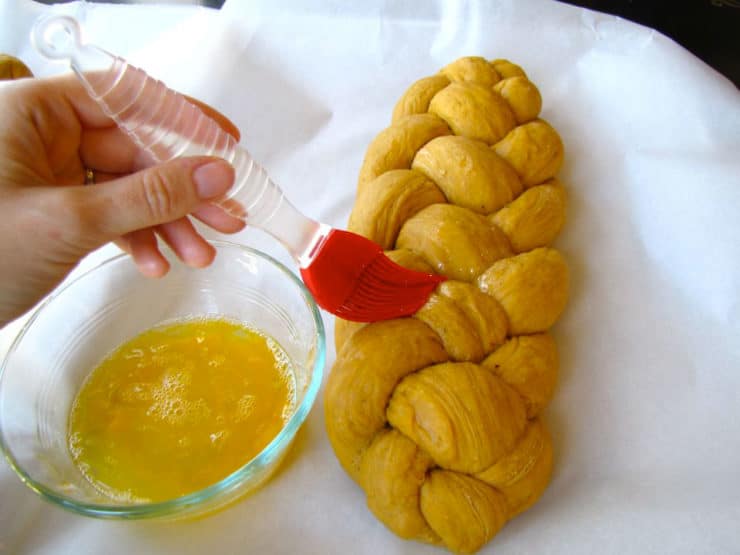
- Prepare your egg wash by beating the egg yolks and water until smooth. Use a pastry brush to brush a thin layer of the mixture onto the visible surface of your challah.Preheat the oven to 350 degrees F. Let the braids rise 30 to 45 minutes longer. You’ll know the dough is ready to bake when you press your finger into the dough and the indentation stays, rather than bouncing back.The challah will need to bake for about 40 minutes total, but to get the best result the baking should be done in stages. First, set your timer to 20 minutes and put your challah in the oven.
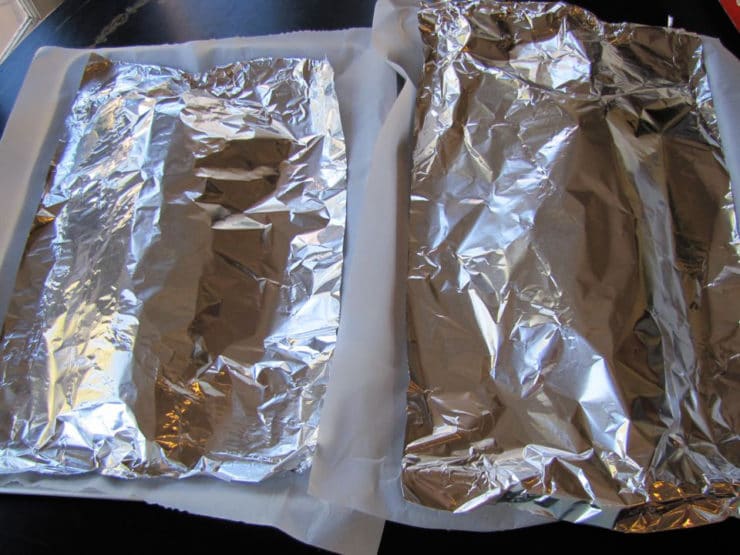
- After 20 minutes, take the challah out of the oven. Turn the tray around, so the opposite side is facing front, and put the tray back into the oven. Turning the tray helps your challah brown evenly—the back of the oven is usually hotter than the front.The challah will need to bake for about 20 minutes longer. For this last part of the baking process, keep an eye on your challah—it may be browning faster than it’s baking. Once the challah is browned to your liking, take the tray out and tent it with foil, then place it back in the oven. Remove the foil for the last 2 minutes of baking time.
- Take the challah out of the oven. You can test the bread for doneness by turning it over and tapping on the bottom of the loaf—if it makes a hollow sound, it’s done. Let challah cool on the baking sheet or a wire cooling rack before serving.


NOTES
Nutrition


A restaurant/bakery I used to go to since I was a child made a Challah bread that I could not find anywhere else. I no longer live near the restaurant, and have been searching for a recipe like theirs. This is it!!! Thank you so much for sharing this recipe, it’s perfect, and my whole family loves it!
Hi Tori.
We love your pumpkin challah and make it for the holidays every year. This year we are having a smaller group and I would like to make a smaller challah. Can you give me the formula or amounts for halving your recipe? I don’t want to make the full amount and store or freeze half. Please and Thanks. Kathleen
I have been making challah for years, but learnt some amazing tricks from you! Thank you for helping make my challah so gorgeous!
So happy to hear that Sari! 🙂
I love this recipe and have made it for every Thanksgiving for the past four years and will be doing so again. It’s really perfect as-is. Thank you!
Thanks for letting me know! 🙂
Hi Tori-
I really want to make this challah, but my brother is highly allergic to honey. Can I substitute with maple syrup or agave? Thanks, Beth
I’ve made this recipe several times over the last few years. Always excellent. My favorite pumpkin bread. I might use a bit more cinnamon, but that’s how I roll. My braiding is getting better. Thanks for those tips as well.
I made this last night and I’m not sure what I did wrong, but my bread didn’t seem to rise much after braiding and came out very dense. Also, the ends of the bottom sounded hollow, but the middle of the bottom was still quite soft. I’m not sure if I made an error or if it could be attributed to using homemade pumpkin puree? I did have to use a little more flour than the recipe called for because my dough was perpetually sticky.
Any thoughts / insight into where I went wrong? I *loved* my first attempt at challah and desperately want to get the pumpkin version to work.
This sounds like it didn’t rise enough. For the first rise you really want it to double or more in size, even if it takes longer than the suggested time in the recipe – and for the second rise, it needs to puff up quite a bit before baking (again, it can take longer than the suggested times here depending on a number of factors including colder weather). Yeast is slow sometimes, you want that dough pushing out of the bowl like it wants to escape because it’s risen so much. You may also have added too much flour during the kneading process. I’m wondering if the homemade pumpkin puree was wetter than the thick puree that is offered at most stores, which may have thrown off the moisture balance here, resulting in you having to add too much flour to the dough.
Thanks for the response!! I wondered if my puree was too wet, as well — I’ll definitely try canned next time. I got a good first rise, but the second one was lacking a bit. And just to be sure I followed the directions, it’s rise in the bowl, punch down, rise in the bowl, punch down, braid, rise, bake? I definitely had good rises in the bowl, but my braid seemed to struggle. What is the purpose between two rises in the bowl rather than rising in the bowl once, then braiding and rising before baking?
This challah was the highlight of our Thanksgiving weekend!!!! It’s officially been added to the family’s list of “must haves” for our gathering.
I can’t wait to try this challah! I love your recipes and on Rosh Hashana your apple challah was a huge hit! I am sure this will be equally wonderful and I look forward to making it to serve in our succot! One question – can I use the dough hook in the stand mixer to knead it?
I always hand knead, but I think some people use the dough hook. I think it’s just a matter of preference. The main thing to make sure of is that you don’t over-knead the dough.
Hi Tori
In your recipe you include 6 egg yolks. I wonder why you use just egg white and not the whole egg?
What does the egg white contribute to the challah?
Hi Esti, after a lot of experimentation with challah dough I found that the yolks create a richer flavor in the dough, and a better texture. That is just my preference.
I’ve made this for Thanksgiving and Sukkot for the past several years (since “the shiksa in the kitchen” days) and it is a HUGE hit every time. Thanks for a winner of a recipe!
Aww, nice to know you’ve been here so long! 🙂
Hi Tori! I’m definitely going to make this for Thanksgiving but I’m thinking of making it into rolls instead of a big loaf. How many rolls do you think this would make and how should I adjust the baking time?
Thanks and happy thanksgiving!
Hi Carin, rolls will be a shorter bake time. I would start checking them around 20 minutes or so.
HAPPY BIRTHDAY, TORI!!!
Hey thanks Christine! 🙂 🙂
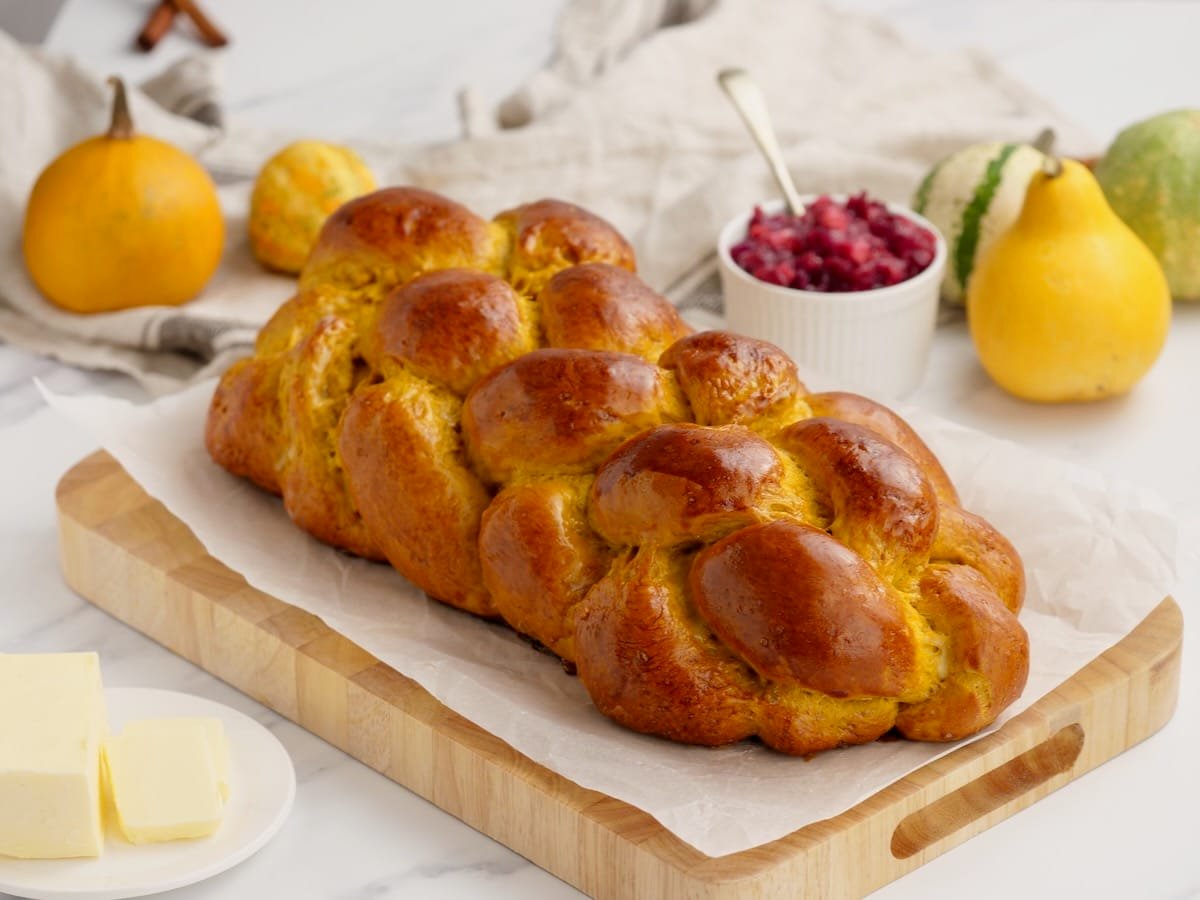
Is the challah pictured braided using the 4-strand or 6-strand method?
It’s a 4 strand, which is my favorite way to braid. 🙂
This is an excellent recipe. I even like it better than regular (non-pumpkin) challah because the pumpkin adds moisture and makes the dough easier to work with.
How do you recommend wrapping this as it is only Wednesday and I will not arrive at my holiday destination until Thursday at 330? Someone suggested Saran Wrap. Thanks!@
Hi Ilana, wrapping tightly with saran wrap would be fine! 🙂
I want to bring this as a dish to a Thanksgiving party I’m going to, but we already have quite a lot of desserts, so I don’t want to add too much to the sweet stuff! How sweet is this… Do you have this after dinner as dessert or do you normally enjoy this with the main meal?
It’s slightly sweet, not like a dessert. If you’ve ever had Hawaiian rolls, that is about the sweetness level. Enjoy!
Looks amazing.
Do you have baking instructions for individual rolls?
Hello Tori.
This recipe is a favourite of my husband’s and mine.
This year we are going to make it for T’giving and I’d like to half the recipe as we are having a smaller than normal group for dinner.
Can you give me any tips for cutting the recipe back? I always want to just cut every ingredient in half but someone….I seem to remember that it’s not as simple as that!
Thoughts?
Glad you like the recipe Kathleen! Cutting baked recipes without testing them can lead to issues. If I were you, I would go ahead and make the full recipe and freeze the leftover loaf… or give to one of your guests as a gift! Halving the recipe might work, but I hesitate to tell you to try it without first testing it myself.
Freezing the extra loaf is a great idea Tori! I’ll save it for a real cold day when I need a slice of warm bread!
And…thanks for replying!! : )
Everyone loves the flavor of your pumpkin challah; I’ve now made it twice. I am at a quandary though. I tend to use a bread machine for preparing the dough for rising. This time, even more than the first time, the bread result when the dough was supposedly ready for baking, was half just dry and the other side wet glop. We ended up pouring it into a bow to knead by hand and added several cups more flour until it was the right consistency to rise. Help! I really don’t know what to do with this, especially as it happend twice. We too love your Date Orange Challah which works perfectly in the bread machine.
Hi Chava, Tori’s assistant Ashley here. We’ve never experimented with a bread maker when making challah, so unfortunately I’m not sure what went wrong. Tori doesn’t have a recipe for Date Orange Challah, so perhaps you found that recipe on another site that uses a bread maker. 🙂
Since I’ve never made challah, would it be possible to use a frozen challah dough & add pumpkin puree and spices to it?
Hi Jackie, Tori’s assistant Ashley here. Unfortunately we have not experimented with this recipe using a pre-made challah dough, so I cannot guarantee the outcome. If you decide to give it a try please let us know how it goes!