
Trick-or-treating in America grew popular between 1920 and 1950. Prior to World War II, the holiday became notorious as teenaged “pranksters” took the opportunity to wreak mayhem on their neighborhoods, egging cars and shattering windows with rocks.
After the war, an effort was made to redirect the holiday towards young children. Candy, which had been scarce during the war due to rationing, was given out freely to young trick-or-treaters in order to discourage the often destructive pranking trend.
As cookie cutters became commercially available for the first time, holiday cookies were made in the shapes of pumpkins and witches. In addition, neighborhood housewives baked up devil’s food cupcakes topped with frosting in Halloween colors of orange and black. These cupcakes became a popular Halloween treat during the 50’s, given out the same way candy is today.
Despite the name, there is nothing very “devilish” about Devil’s Food Cake. The first printed recipes for the cake appeared in two 1902 cookbooks, Mrs. Rorer’s New Cookbook and The New Dixie Receipt Book. In the late 1800’s, chocolate was used to give flavor to frosting, not as a flavoring for cake batter itself.
At that time, when somebody referred to a “chocolate cake,” they generally meant a yellow cake with chocolate frosting. In the late 1870’s, when cocoa processing improved, the American taste for chocolate skyrocketed.
For the first time, chocolate was added to cake batter to enrich the flavor and darken the color. At that time, foods that were dark or richly spiced were often referred to as “devilled,” a term which would naturally suit a darker chocolate cake.
The name Devil’s Food Cake was also used differentiate the dark, rich chocolate cake from light, spongy Angel’s Food Cake.
I thought it would be fun to make Devil’s Food Cupcakes as a nod to the 1950’s Halloween tradition. After some searching, I located a vintage Devil’s Food Cake recipe in my cookbook files. It was part of a 1943 booklet called “Baker’s Favorite Chocolate Recipes,” a promotional cookbook produced by the General Mills Corporation. Here is the original recipe as it appears in the booklet:

The recipe caught my eye because it claims to be Martha Washington’s recipe for Devil’s Food Cake. I have explored the colonial time period, and I can assure you that this recipe is not even remotely close to the cakes that Martha cooked for George at Mount Vernon.
That said, I appreciated the quaint reference to history, so I decided to give the cake a try. I made the recipe as written, modifying it for cupcakes; the modern transcription appears below.
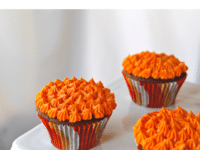
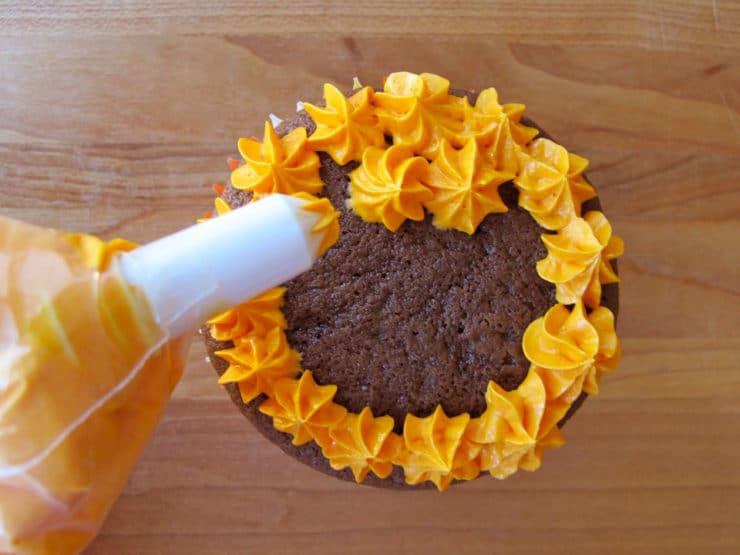
Instead of the chocolate icing that is suggested, I used orange-tinted buttercream icing as a nod to the 1950’s practice of frosting cupcakes in Halloween colors. They turned out lovely. The frosted cakes were vibrant and beautiful, especially when paired with a pretty set of colorful cupcake wrappers. Happy Halloween!
Recommended Products:
We are a participant in the Amazon Services LLC Associates Program, an affiliate advertising program designed to provide a means for us to earn fees by linking to Amazon.com and affiliated sites. As an Amazon Associate I earn from qualifying purchases.

Halloween Devil's Food Cupcakes
Ingredients
Devil's Food Cupcake Ingredients
- 2 1/2 cups sifted white cake flour
- 1 1/2 teaspoons baking powder
- 3/4 teaspoon baking soda
- 1/2 teaspoon salt
- 4 ounces unsweetened dark chocolate
- 1 3/4 cups sugar, divided
- 1 1/2 cups buttermilk, divided
- 1/2 cup unsalted butter, room temperature
- 3 large eggs, room temperature, well beaten
- 1 teaspoon vanilla
Orange Buttercream Frosting Ingredients
- 1 cup unsalted butter, room temperature
- 3-4 cups powdered sugar, sifted
- 1/4 teaspoon salt
- 2 teaspoons vanilla, coconut, or orange flavoring extract (I like to use a combination of vanilla and coconut with these cupcakes)
- 1-4 tablespoons milk
- Red and yellow food coloring
Instructions
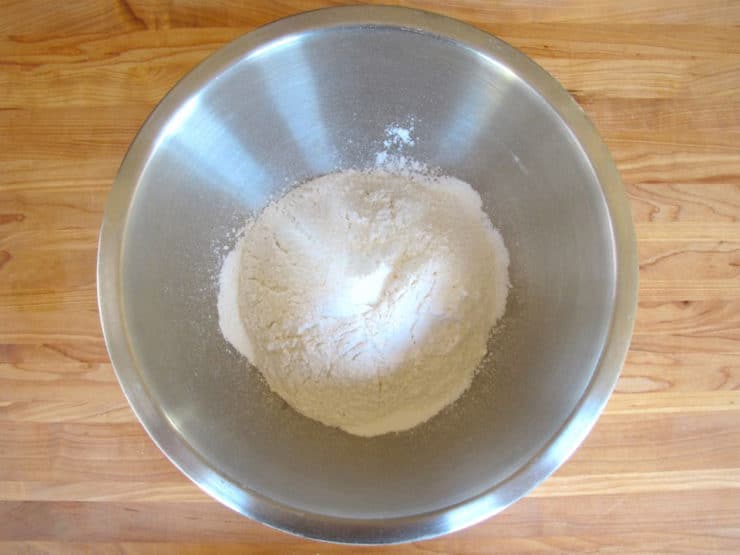
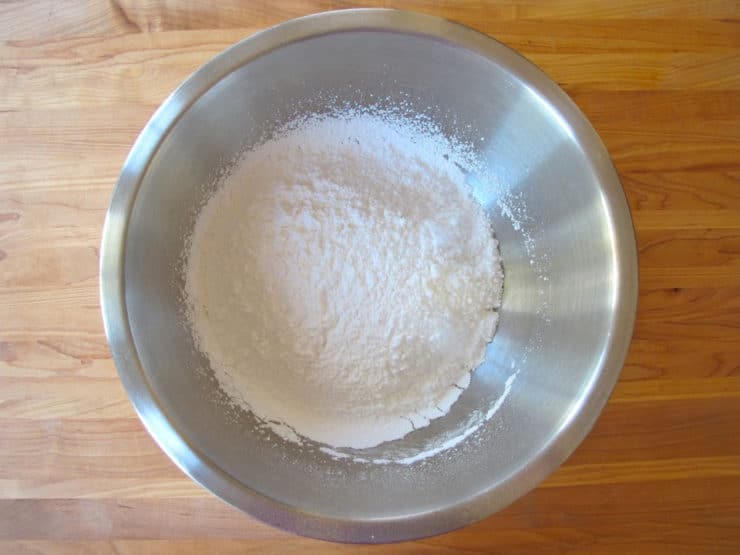
- Preheat oven to 350 degrees F. Sift together the flour, baking powder, baking soda and salt. Sift the mixture again three more times. Reserve.

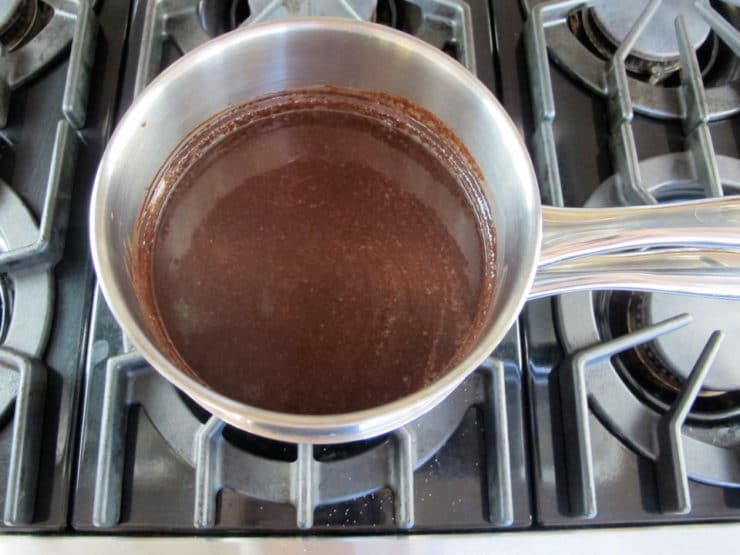
- Chop the chocolate into small pieces and melt it in a double boiler or in a glass bowl over a pot of boiling water, stirring frequently with a rubber spatula, till the chocolate is smooth. Whisk in ½ cup sugar and ½ cup buttermilk till they are melted and well blended into the chocolate. Remove from heat and set aside.
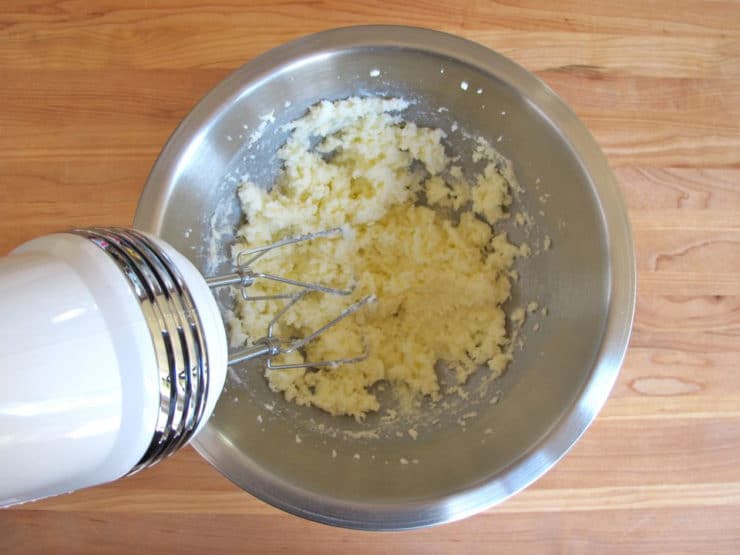
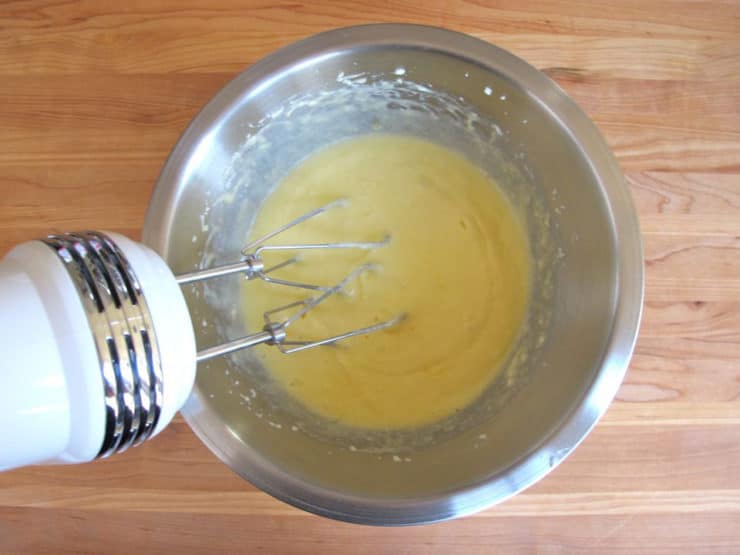
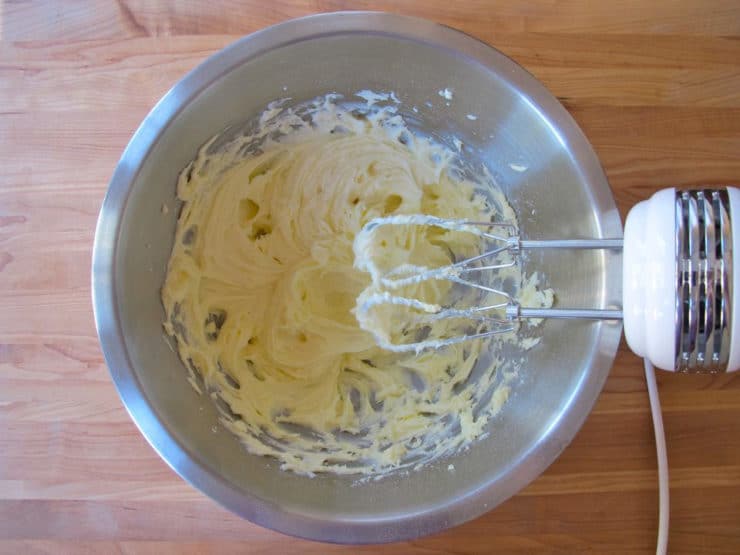
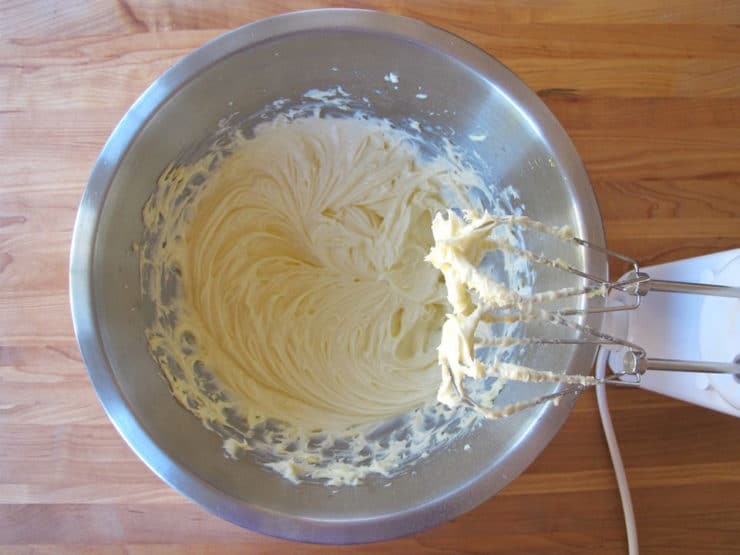
- In a large mixing bowl, cream together 1/2 cup butter and 1 ¼ cups sugar for several minutes till light, fluffy, and no longer grainy looking. Note: it's very important that the butter is at room temperature, or it won't cream properly.
- Beat in the eggs.
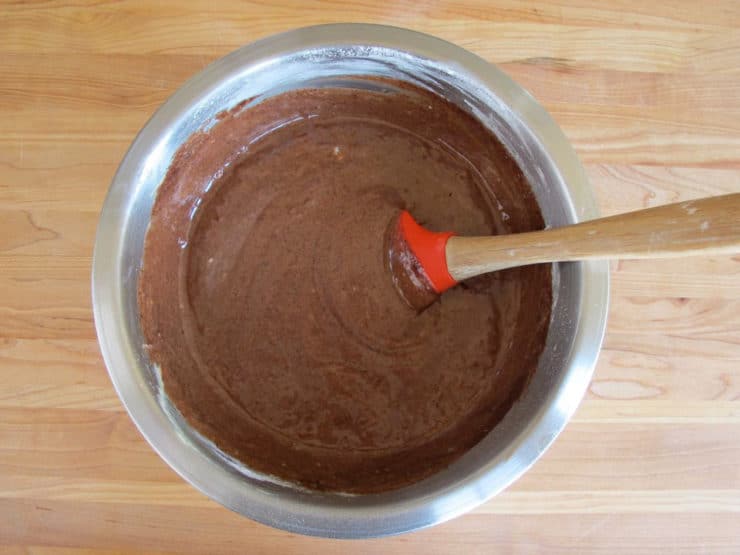
- Beat in a quarter of the flour mixture along with all of the melted chocolate mixture.
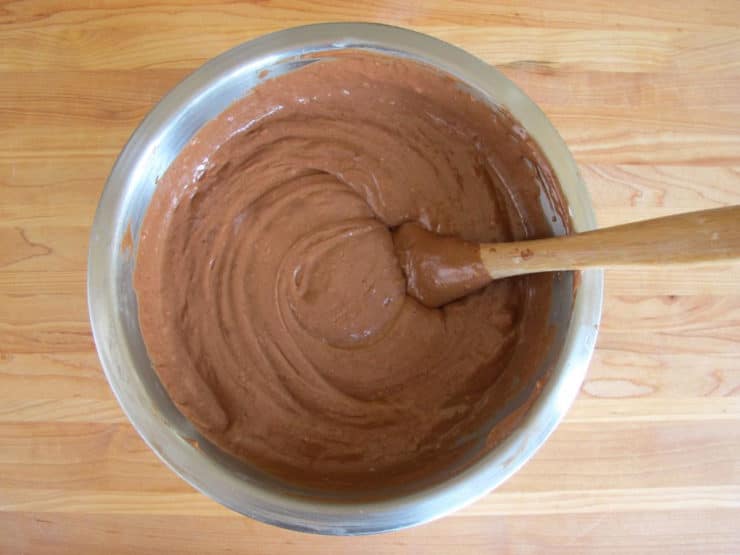
- Add the remaining flour mixture and 1 cup of buttermilk to the batter alternately in small amounts, beating thoroughly after each addition. Stir in the vanilla.
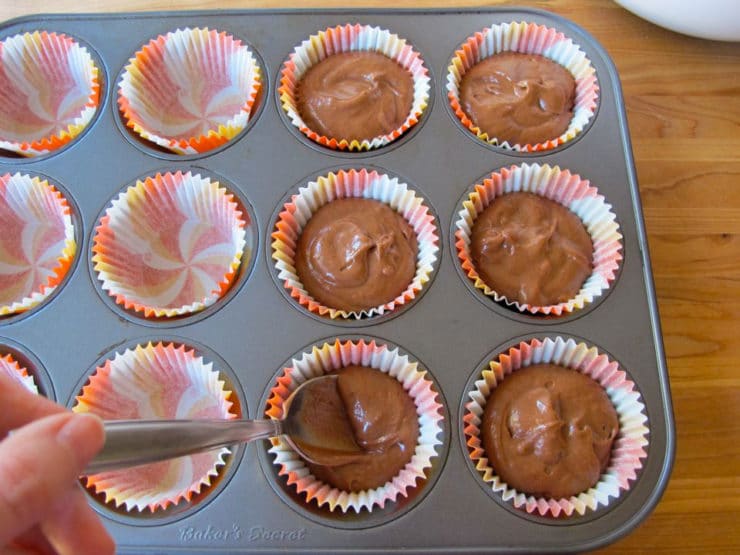
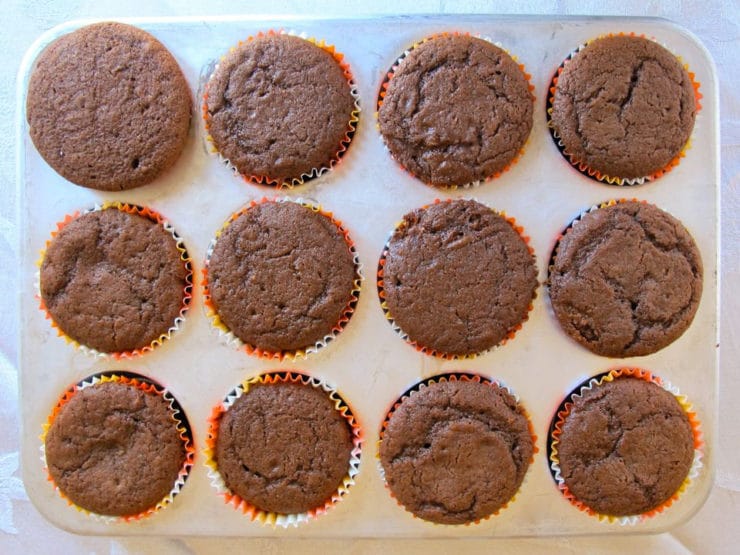
- Line two cupcake tins with paper liners. Fill each liner about 2/3 full with batter (don’t fill them too high or they will overflow).
- Bake the cupcakes for 20-25 minutes, until the center of the cupcakes spring back when they’re pressed gently. Don’t bake them too long or the tops will become tough. Let the cupcakes cool in the tin slightly, then remove and continue cooling on a wire rack.
- While the cupcakes are baking, make the frosting. Sift together 3 cups of powdered sugar and salt into a large mixing bowl. Don't skip the sifting, if you do your frosting will turn out chunky.
- Add 1 cup room temperature butter to the mixing bowl. Beat the butter into the sugar, starting on low speed and gradually increasing to medium, till the sugar is fully incorporated into the butter.
- Beat in the flavoring, then add the milk, a teaspoon at a time, till the desired consistency is reached. A little liquid goes a long way, so add milk with care. For frosting cupcakes, you'll want a consistency somewhere between soft and stiff-- a medium texture, which will work well both for spreading with a knife, and for using a decorating tip. Adjust the texture by adding more powdered sugar to thicken the frosting and stiffen it, or more milk to thin out the frosting and make it softer.
- Color the frosting by adding equal amounts of red and yellow food coloring. Use a few drops for a light orange frosting, or several drops for a more vibrant color. Adjust the color by adding more red or yellow till it looks right to your eye.
- Decorate the cupcakes with orange buttercream frosting after the cupcakes have completely cooled. Store frosted cupcakes in the refrigerator, take them out 15-20 minutes before serving to let the frosting soften a bit.
- Note: the frosting recipe above will provide enough frosting for using a knife to spread on 24 cupcakes. If you are using a decorating tip or a more advanced frosting technique like the florets pictured here, I recommend doubling the amount of frosting to ensure that you have enough for decorating all the cupcakes.

Nutrition

tried this recipe?
Let us know in the comments!
—
Research Sources
Bannatyne, Lesley Pratt (1990). Halloween: An American Holiday, an American History. Pelican Publishing Company, Inc., Gretna, LA.
Smith, Andrew F. (2007). The Oxford Companion to American Food and Drink. Oxford University Press, New York, NY.


These were wonderful! A fun treat at our Halloween costume party. Thanks for sharing!
this looks like it is amazing
I like cup cakes and would definitely try these on 31st. Fingers crossed.
Maybe the Martha Washington referred to in the recipe was not George’s wife but the Martha Washington Flour. This brand is quite popular in the south.
Interesting thought Betsy, it might very well be true!
Loved hearing the background on this! 🙂