
Pressure canning low acid foods can seem a bit scary, if you don’t know the process. Any pressure cooking process should be approached with caution, but if you take the time to learn the correct steps and safety procedures, it’s really not so difficult. In this step-by-step photo tutorial, I will walk you through how to pressure can low acid foods safely and effectively.

Last week, I covered canning fruits, pickles and preserves using the Boiling Water Method. Most vegetables do not contain enough acid to can using the simple boiling water method; they need the high heat of a pressure canner to safely ward off contaminants. For food safety, it is best to can vegetables using a pressure canner.
In addition to vegetable canning, I also pressure can my tomato products. There is some debate as to whether or not tomatoes are acidic enough to ward off contaminants on their own. Unless you have a stock of pH strips for testing acidity, it’s best to be safe and use a pressure canner.
You might come across recipes for tomato sauce that include a good dose lemon juice or vinegar, which increases their acid and makes them suitable for canning with the boiling water method. In my opinion that additional acid detracts from the taste of the tomatoes. I prefer the pure, clean flavor of pressure-canned tomatoes and tomato sauces.
Pressure canning is essential for low-acid foods. If you’re wondering which foods are considered high acid and which are low, it’s always best to keep a copy of a Ball Complete Book of Home Preserving handy. Lots of vegetables fall into this category, as do meat and seafood, if you’re feeling adventurous!
It is not advisable to can low acid food in a simple boiling water bath, because the boiling temperature is not high enough to kill off Clostridium botulinum, the bacteria that causes botulism. Low acid foods should be processed at a temperature of 240 – 250 degrees, which can be reached in a pressure canner set between 10 – 15 lbs. Every recipe should include the correct pressure poundage and time period needed for the type of food you are processing.
According to a document supplied by the USDA to the National Center for Home Food Preservation, “Empty jars used for vegetables, meats, and fruits to be processed in a pressure canner need not be presterilized.” This means that while your jars should be clean, you can skip sterilizing them in boiling water before you fill them with your product.
However, if you’re feeling super thorough and want to do the pre-sterilization, I’ve provided a link to my Boiling Water Method, which will walk you through the process step-by-step. Always use new canning lids, which should only be used one time.
Before you start, you will need to purchase or borrow a pressure canning pot. Do not use a regular pressure cooker; pressure canners are built larger with special inserts for canning.
Putting this tutorial together was somewhat tricky due to differences between pressure canner models and brands. I wanted to guide you clearly through the steps, but it’s difficult because each pressure canner is uniquely constructed. I decided the best way to illustrate the process was to use my own 16 Quart Pressure Canner and Cooker. Your model may vary in terms of process. While I have tried to keep the instructions general and somewhat broad, it is very important that you refer to your pressure canner’s specific instruction manual due to differences between brands and models.
Pressure canning can be dangerous if you don’t follow your manufacturer’s instructions carefully; pressure cookers and canners can explode if not used properly. Please use caution and proceed at your own risk. Even if you’re using the Presto Canner that I use, please read the instruction manual in addition to using my tutorial here. Always better to be safe than sorry.
Okay, enough caution statements. I don’t mean to scare you off of pressure canning; I just want to make it clear that it needs to be done carefully. Once you understand the process, pressure canning isn’t all that different from regular canning. It’s actually a terrific skill to have, particularly when your garden is overflowing and you want to save your veggies for the coming year. I’ve worked hard to put together a comprehensive tutorial here. I hope you find it useful!
Recommended Products:
16 Quart Pressure Canner and Cooker
Canning Jars – Quart, Pint
Ball Canning Lids – Regular and Wide Mouth
Canning Books (linked in “Research Sources” below)
We are a participant in the Amazon Services LLC Associates Program, an affiliate advertising program designed to provide a means for us to earn fees by linking to Amazon.com and affiliated sites. As an Amazon Associate I earn from qualifying purchases.
Home Canning - Pressure Canning Method

Ingredients
- Pressure canner
- 3-piece canning jars
- Wide mouth funnel
- Jar lifter
- 2 tbsp white vinegar optional, recommended
Notes
Instructions
- Before you start, make sure your hands and all of the tools you'll be using are very clean. According to FDA guidelines, while the jars should be clean before starting, they do not need to be boiled to sterilize before pressure canning due to the high temperature levels in the pressure canner. If you would prefer to boil and sterilize the jars prior to pressure canning, please refer to my previous post: Home Canning - Boiling Water Method.
- Remove the lids and rings from your canning jars. If you are re-using jars, be sure that you aren’t using any with cracks or chips. Keep in mind that canning lids can only be used once, so don't reuse old ones-- buy fresh lids before you begin.
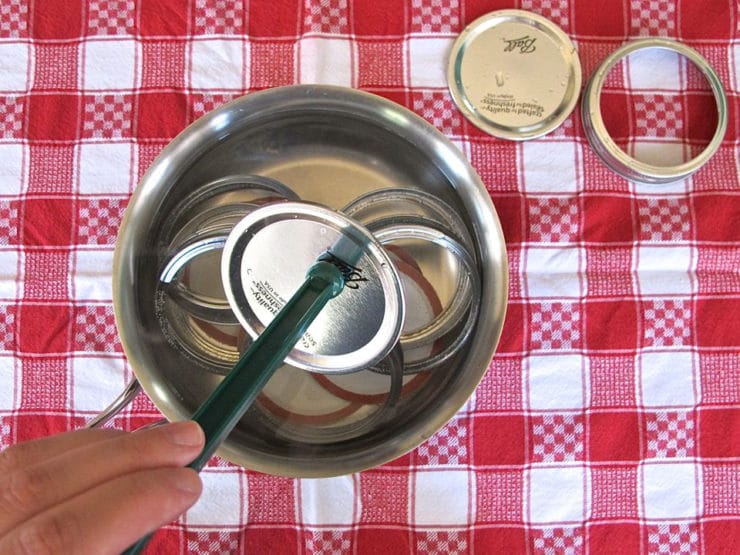
- Place the canning lids and rings into a small saucepan. Cover with water and bring to a low simmer for a few minutes. This will soften the sealing strips around the edges of the lids.
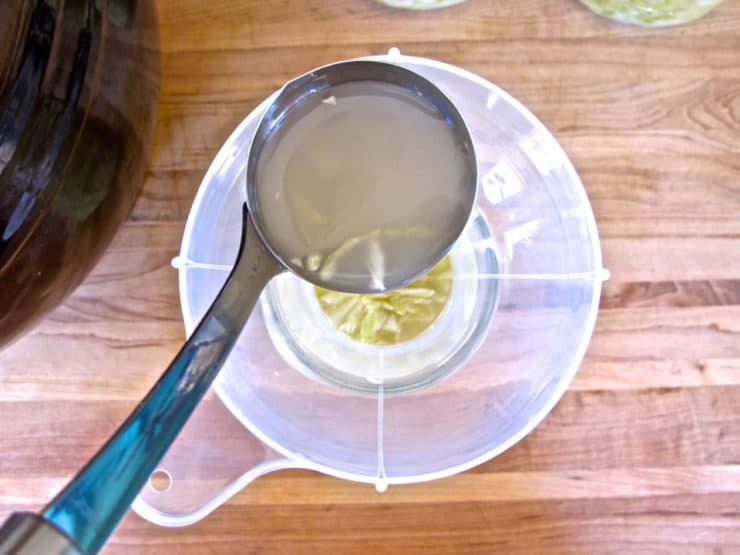
- Meanwhile, using a wide mouth funnel, carefully fill the jars with your product. Depending on what you will be canning, you will need to leave 1/2 – 1/4 inch of space at the top of the jar. Most recipes will specify what is necessary, but as a general guideline, most jams or jellies will need 1/4 inch, while pickles and thicker products will need 1/2 inch.

- With tongs or a magnetic lid lifter, remove the lids from the simmering water and place on a clean towel.
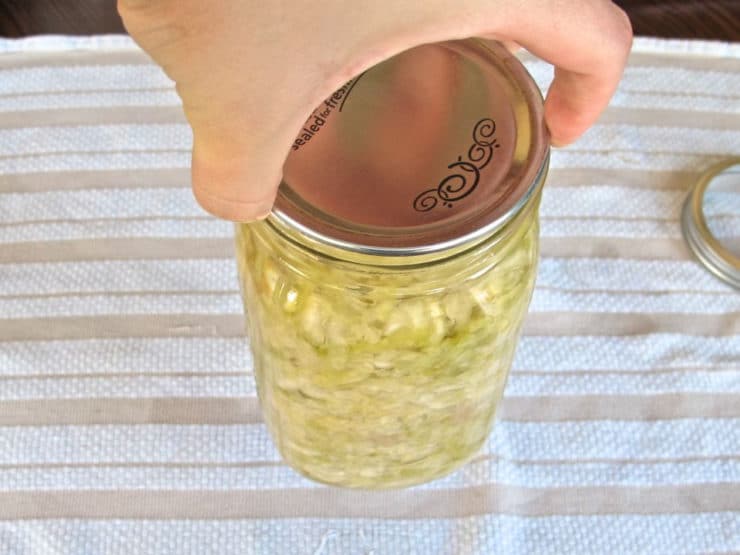
- Place the lids with warm seals directly onto the jars and seal with the circular bands using just your fingertips so that they are secure, but not too tight. Wipe any spills or excess product from the lid and sides of your jars using a damp cloth.
- Before you start canning, be sure your pressure canner has been thoroughly cleaned. Also check that the sealing ring, the black overpressure plug on the cover and the white compression gasket are not cracked or deformed.
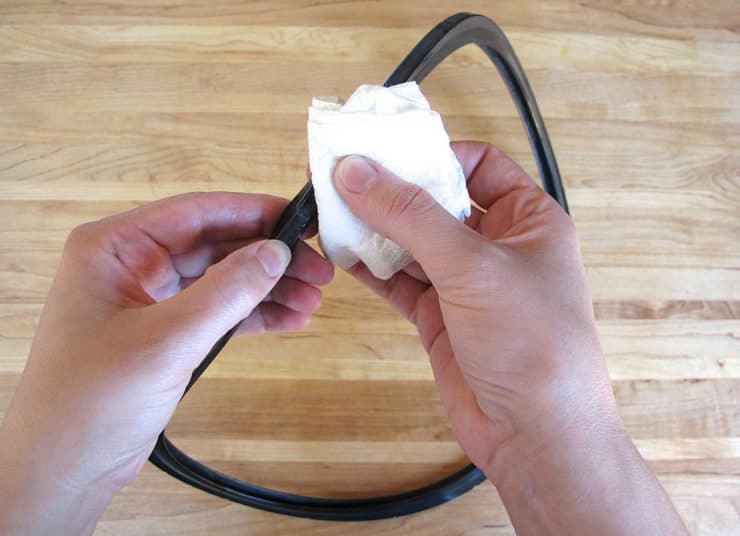
- Prepare your pressure canner pot lid based on your manufacturer's instructions. Ours has a rubber sealing ring that fits into the edge of the pressure canner lid. This rubber seal usually comes pre-lubricated, but if it feels a bit dry you can apply a light coating of cooking oil around the ring (I usually do this step just to be safe).

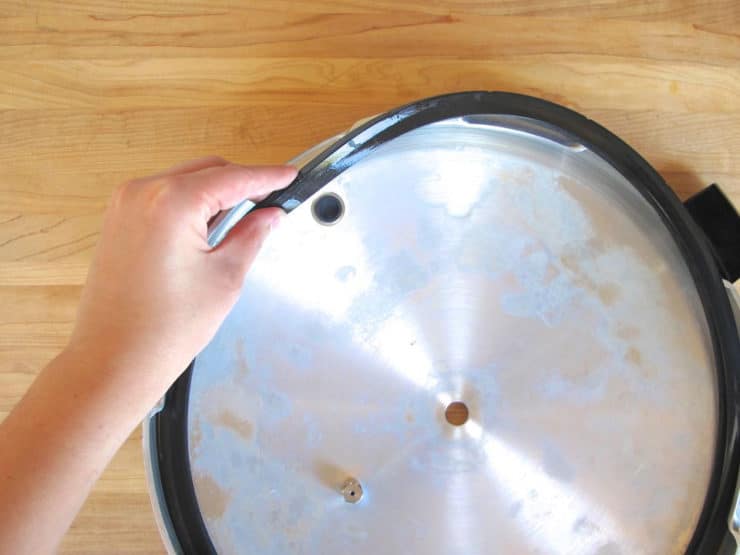
- Fit the lubricated rubber sealing ring into the edge of the lid.
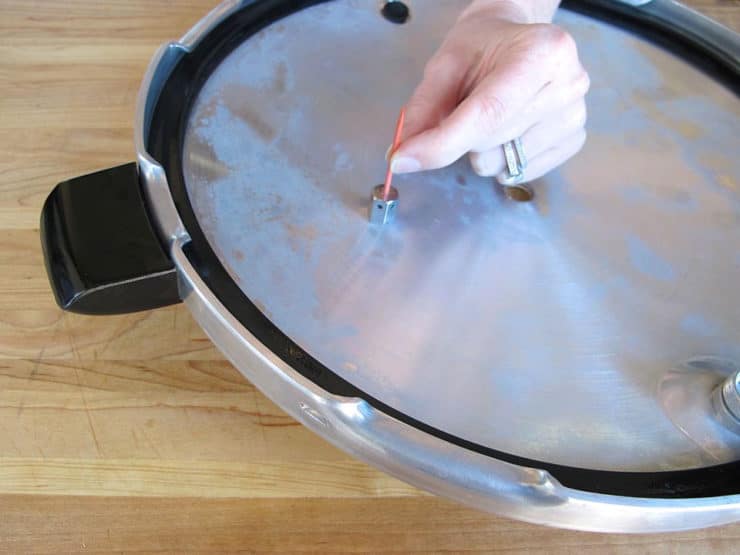
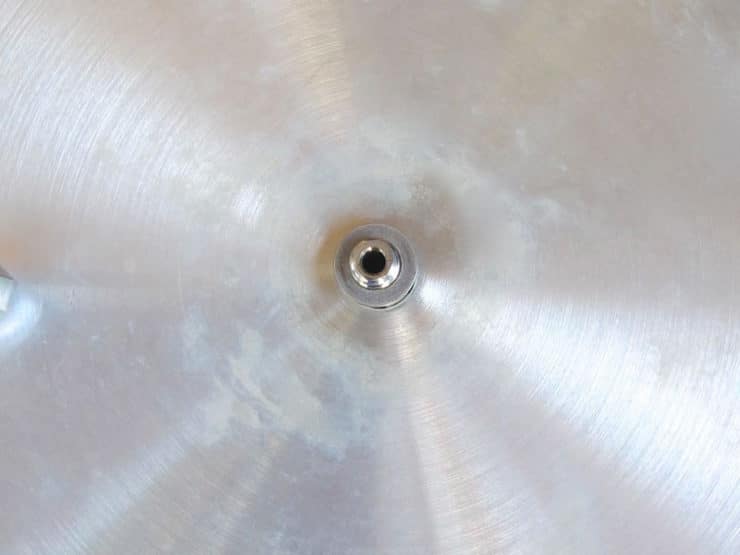
- Check the vent pipe for any food or debris that may be clogging the opening. If something is blocking the opening you can clear the vent pipe with a toothpick or a pipe cleaner.
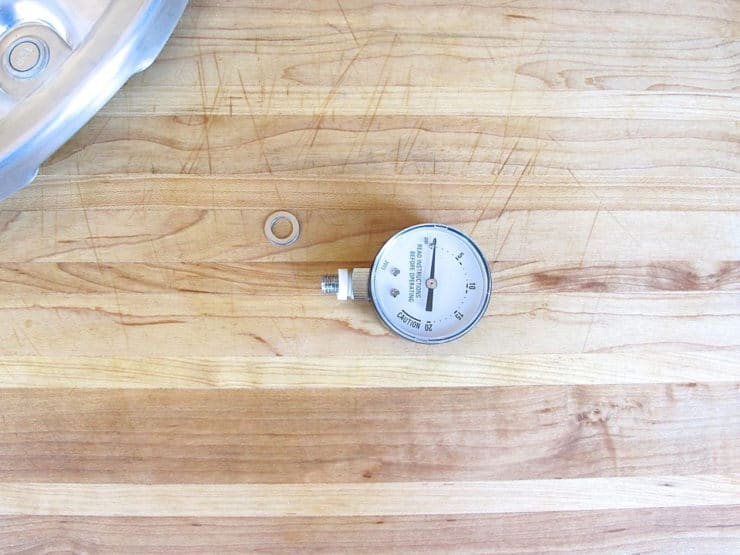
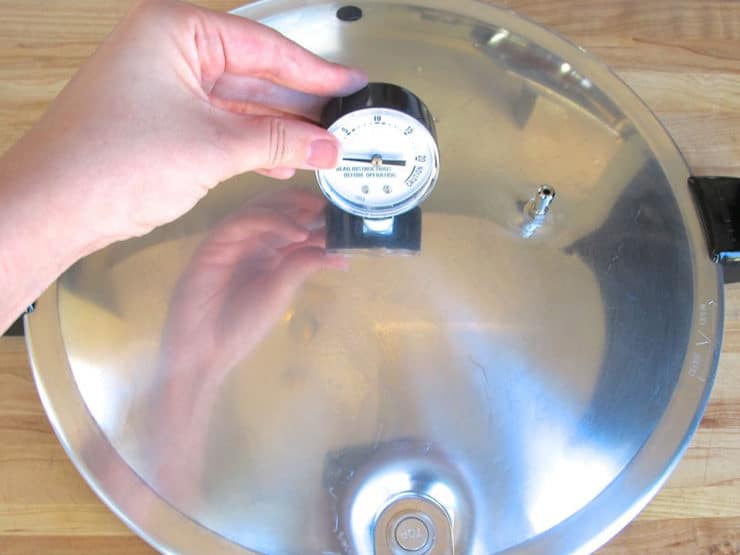
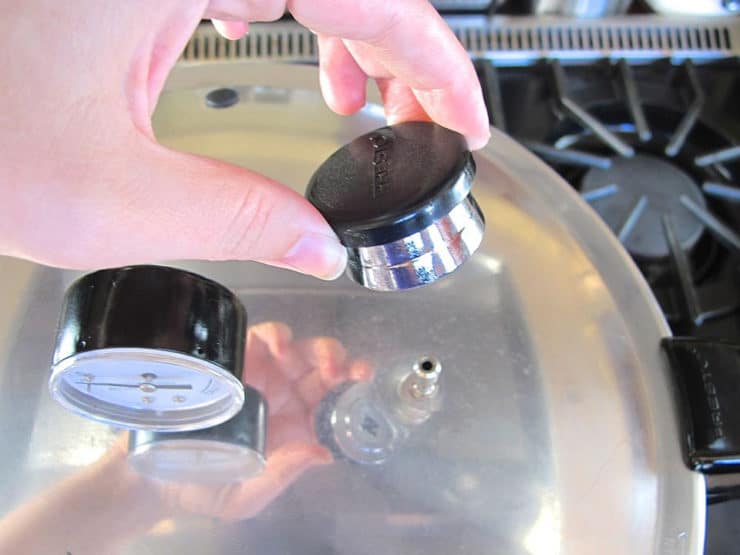
- Attach the dial gauge to the canner based on your manufacturer's instructions. On our model, we first place the white compression gasket onto the end of the dial gauge.
- Then we insert the dial gauge and the compression gasket into the hole at the center of the cover. The compression gasket should sit within the cover hole.
- Turn the cover upside down and place the metal washer onto the dial gauge.
- Place the nut onto the end of the dial gauge and tighten very tightly with your fingers. You can use a wrench if necessary.
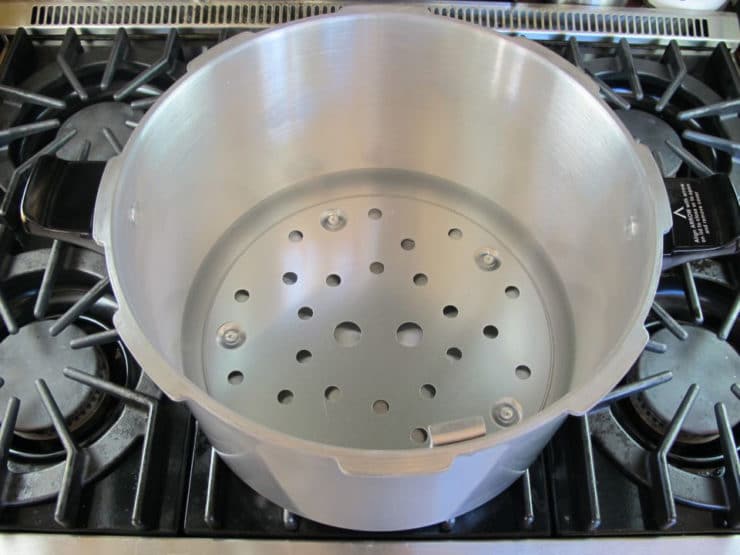
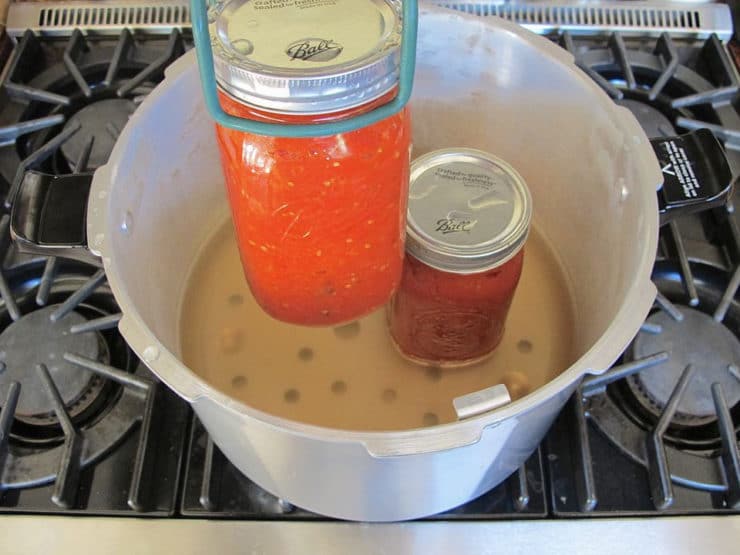
- Place the canning rack into the bottom of your pressure canner along with 3 quarts of hot water (the amount of water may vary based on the size of your canner-- refer to manufacturers instructions for your specific amount). To prevent water stains on your jars, you can add 2 tbsp of white vinegar to the water.
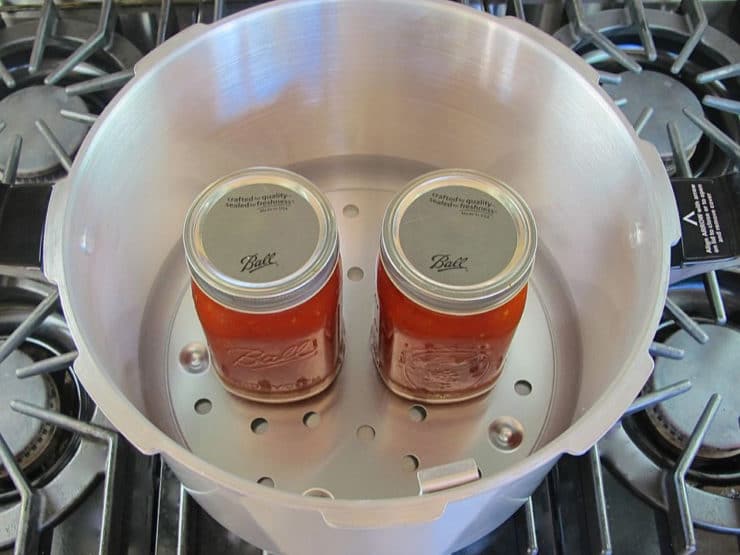
- Place your filled jars with secured lids on top of the canning rack. You must always use a canning rack to keep the jars away from the direct heat of the burner, which can lead to breaking or cracking.
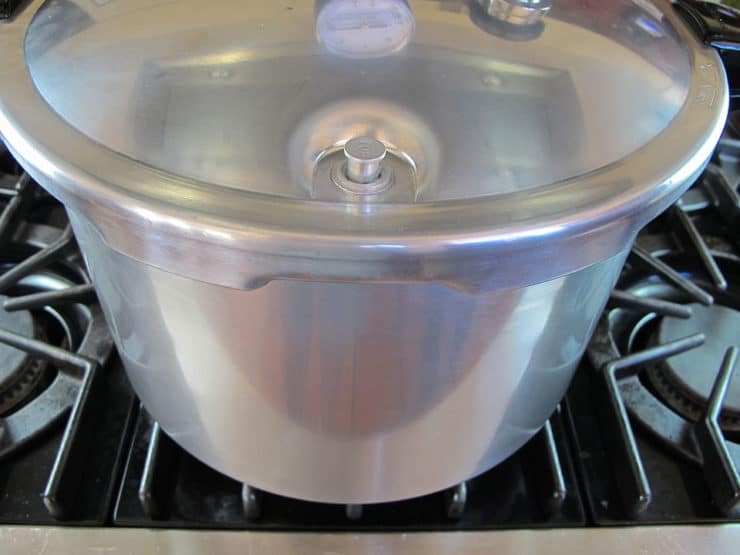
- Place the lid on the pressure canner and secure the lid tightly based on your manufacturer’s instructions. On our model, we apply pressure to the handles to compress the sealing ring and turn clockwise until the lid handles are directly above the pot handles. Your model may have a different method for securing the lid.
- Heat the pressure canner over medium-high until a steady flow of steam can be seen or heard coming from the vent pipe. Allow the steam to flow from the vent pipe for 10 minutes. If necessary, reduce the heat to maintain a steady, moderate flow of steam with minimal sputtering. It's kind of difficult to capture that flow of steam on camera, but it's there-- trust me. 🙂
- Once the 10 minutes have passed, place the pressure regulator (a cap-like piece) on top of the vent pipe. Adjust stove heat to a relatively high setting to heat the water within.
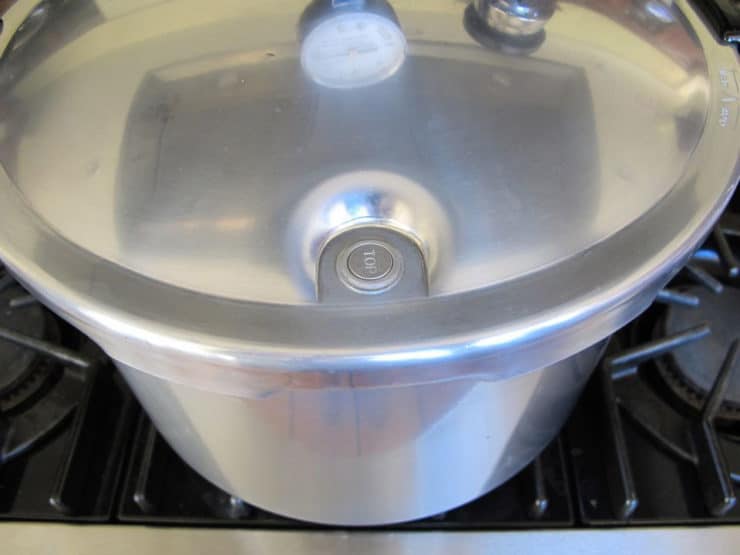
- On our canner, as the heat rises and pressure develops inside, the air vent/cover lock (a small metal knob) will lift and lock the cover on the canner. Your model may have a different "signal" to let you know there is pressure in the canner. Once that cover is locked, DO NOT open the canner until the vent/cover lock lowers again, or until your canner signals that there is no longer any pressure inside the canner (more details below). Likewise, do not remove the pressure regulator cap from the top of the vent pipe.
- As the heat rises inside and pressure builds, the pointer of the gauge will move up. Your goal is to build to the amount of pressure specified in your canning recipe (each recipe is different, so refer to your specific canning recipe for the correct poundage). Continue heating until the pressure on the dial gauge reads the desired poundage. You may want to reduce the heat a bit when you are 1-2 pounds away from the desired pressure weight, so that the heat does not rise too high too quickly and surpass the desired poundage by a large amount.
- When the pressure gauge reads the desired poundage, start your timer. Adjust heat to maintain correct pressure on the dial gauge. Going slightly above the recommended poundage is ok, though you should try to keep it as close to level as possible. If at any time the pressure drops below the desired poundage, you must return pressure to the correct setting and start the timer over. The cans need to cook at the recommended poundage for the full recommended time period as stated in your pressure canning recipe, or you risk spoilage.
- When the timer goes off, turn off the heat and leave the canner to cool. DO NOT open the canner.
- Allow the pressure to drop on its own; this will take some time. On our model, we know that the pressure has reduced once the air vent/cover lock has dropped. Your model may have a different "signal." Do not use the dial gauge as an indicator that the pressure has reduced, since the gauge can read zero while there is still an amount of pressure in the pot.
- When pressure has completely reduced and the air vent/cover lock has dropped, remove the pressure regulator from the vent pipe and allow the canner to cool for another 10 minutes before attempting to open.
- Remove the cover of your pressure canner. On our model, we turn the lid counter-clockwise until it cannot go any farther and lift towards us so that the steam is released in the opposite direction. If for some reason the cover sticks, do not force it open. Allow the canner to cool for 10 minutes more and try again. Repeat as necessary.
- With a jar lifter, remove the jars from the canner.
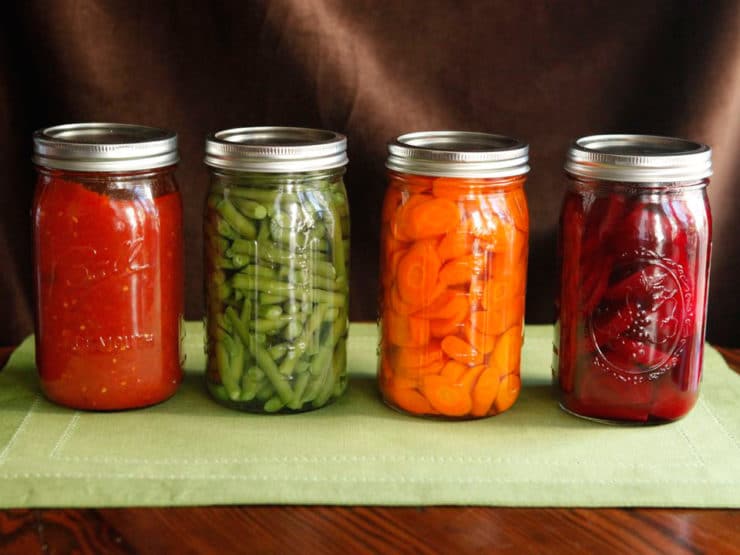
- Allow your jars to cool for 24 hours. Remove the round outer bands from your lids and test your seals by lifting the jar by the flat lid a few inches from the countertop. The jar should lift without any separation. Jars with good seals can be kept in a cool dark place for up to a year.
- A broken seal doesn’t mean that your product has gone bad, it just has a shorter shelf life. Those jars should be placed directly into the refrigerator and used within two weeks or until the product has spoilage, whichever occurs first.


Research Sources:
Brady, Pamela L. “Canning Low Acid Vegetables.” University of Arkansas Division of Agriculture. University of Arkansas, United States Department of Agriculture, and County Governments Cooperating, n.d. Web. 20 Sept. 2013.
Kingry, Judi and Devine, Lauren. Ball Complete Book of Home Preserving. Robert Rose, Inc. Toronto, Ontario, Canada.
McClellan, Marisa, (2012). Food in Jars: Preserving in Small Batches Year-round. Running Press, Philadelphia, PA.
&n


Great tutorial !!! It went into the detail and answered the questions I was looking for to feel confident when my garden is ready.
Thanks Tori
I would like to order one of your pressure cooker canning books telling me how long to cook something if I am goibg to do it in a pressure cooker
I’m sorry April I don’t understand your question. Can you be more specific?
Saved to my phone screen. I just got a pressure Canning cooker for x mas. I can’t wait to start. Spring hurry so we can plant and can!! Very well explained. Awesome Job!
Tori! I did mean it for you, so sorry about the mix ip. I had just read the comment before mine. 🙂 thank you for the reply. I did check the seals, I will do more research. Tha k you again for the help!!!!
Sheri,
Thank you for sharing!! I have just made my first attwmpt at pressure canning. I canned chili. I did everything except letting the canner release the pressure on its own. I took the cap off the steam vent then let the canner sit over night. I’m worried that the chili is spoiled. Any recommendations or advice?
Hi Cassie, I assume your question is for me (Tori, the writer of this site). I don’t have a definite answer to your question, unfortunately. Perhaps another reader will be able to weigh in. My guess is if you followed proper canning procedure and cooked at the recommended poundage for the recommended amount of time, and you double check the seals, the chili should be fine. The cooling procedures are there more for safety as far as I know (pressure canners should not be opened too quickly or you risk an explosion). But please don’t take my word for it; this tutorial is provided as a guide for new canners, but I don’t consider myself a canning expert.
Thank you for your tutorial!! Should you keep the ring on or take it off for storage?
You’re welcome Sherry. 🙂 You can leave the ring on or off, it doesn’t really matter. I usually store them with the ring off because I take it off to test the seals, and there is no need to put it back on.
I have a 23qt. Presto canner. In the manual, it says not to pressure can applesauce. A few pages over, there is a recipe for canning applesauce. Is it OK to do?
Hi Lee– as far as I know, applesauce should be canned using the boiling water method, not the pressure method. Here is a link to the boiling water method: http://theshiksa.com/2013/09/23/how-to-can-boiling-water-method/
Are you sure it doesn’t say not to pressure COOK applesauce due to foaming. You can water bath but I prefer using my pressure canner. Here is the link to the presto canner manual and it say 8 mins for pints 10mins for quarts at 5lbs pressure for applesauce. https://www.gopresto.com/downloads/instructions/0174510.pdf
my electric puck pressure cooker turns itself off. no danger and keeps food hot for hours. not dried out.
EXCELLENT ADVISE..I WATER CAN ALL THE SUMMERTIME BUT HAVE FEAR
OF PRESSURE CANNER.WILL LOOK MINE OVER..OLDER MODEL.INFORMATION EXCELLENT. THANKS!!! RECENTLY GOT A PUCK PRESSURE COOKER.AUTOMATIC TIMER,TURNS ITSELF AND MINUTES FOR MEALS..SOUPS EVERY BUSY FAMILY SHOULD HAVE ONE.
As a Master Canner/Food Preserver & Educator, it is very important to note that whether a recipe is canned by the pressure canning method or the boiling water bath, if the tested recipe calls for acidification, lemon juice or citric acid, this cannot be omitted. Boiling water and pressure method are equal processes with different time/temperature combinations. This may be found in the USDA publication #539, page 3-5., 2009. Thank you.
how did you received this Master Canner/ Food Preserver & Educator title?
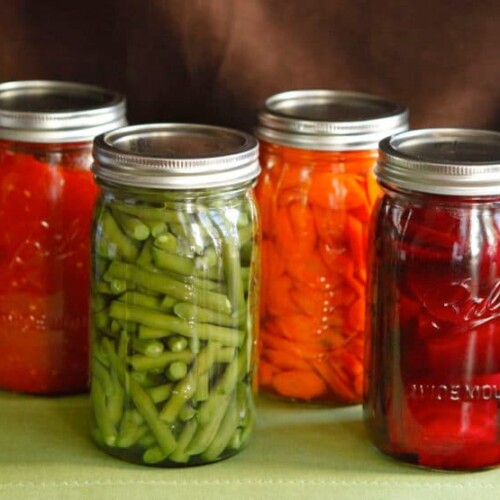
Good information Tori! Nice photos.
Thanks so much for the tutorial. You certainly made it seem easier to accomplish than I thought. Hope you enjoyed you time in Hawaii. Aloha from Honolulu
Thanks Robin! I had a terrific time, wish I could have stayed longer.
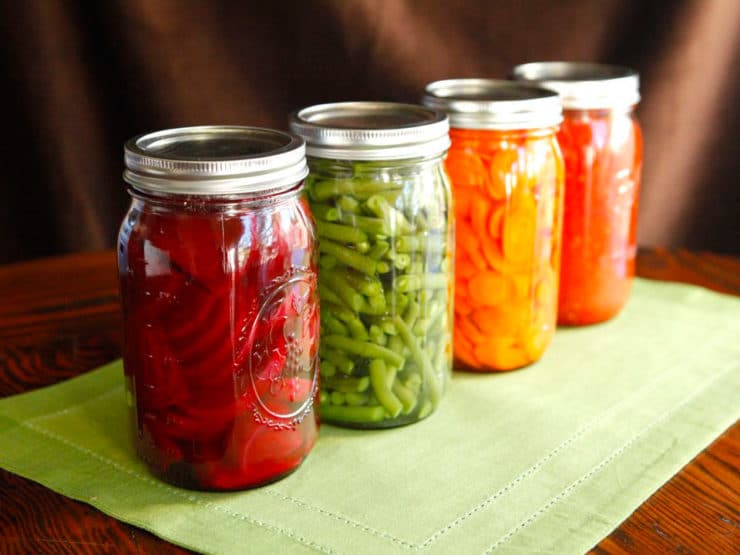
Beautiful photo! It brings back a lot of pleasant memories for me of helping my mother can vegetables. I should have paid wayyyy more attention!
Thanks for noticing Susan! I got a special lens filter just for these canning posts, to help cut the glare from the reflections. It really helped!
How beautiful! True works of art 🙂
Very informative Tori – thank you! I just got a pressure cooker and have been having lots of fun with it. I’ve been wondering about pressure canning so this is very helpful. Sounds like I need another pressure cooker to do that job.
Depending on how big your pressure cooker is, it may also be dual-purpose for canning– some models have inserts available for canning. Google your model and “canning insert” to see if there is one available that’s model specific. Good luck!
hafta admit, canning always seems so daunting …
I know it can seem that way Kimberly Ann! The good news is it’s really not as daunting as it seems. The first time is the most difficult; it becomes second nature after you can a few batches. And it’s fun!
Have always done this if you ate careful, no bravery needed!
Nice work Tori !
Thanks Chris Gunn! I worked hard on this tutorial to make sure it’s as clear as possible. You don’t want to mess around with pressure canning. 🙂
Thank you!
Beautiful!