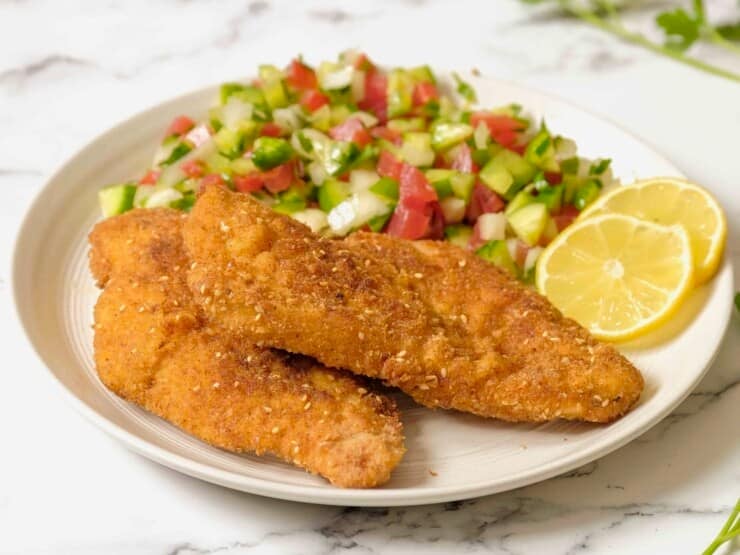
Chicken schnitzel is one of life’s great pleasures. This traditional Austrian recipe is popular in both Germany and Israel, as well as throughout the world. A well made schnitzel is fried golden and crisp on the outside, tender and moist within. Of course this simple, budget-friendly dish is easy to prepare, if you know a few key tips. In this post I share everything you need to know for cooking amazing schnitzel. In due time, this easy chicken schnitzel recipe is sure to become a mainstay in your kitchen. After all, it’s so simple and tasty!
What is Chicken Schnitzel?
Chicken schnitzel is, quite simply, crispy fried chicken breasts. Schnitzel is Austrian in origin and traditionally made with veal (known as wiener schnitzel) or pork. Likewise, it has also been a popular dish in Germany for centuries. Fried schnitzel later found its way to Israel with European Jews. Like many other foods, Jews adapted this regional dish to suit their unique dietary kosher laws. For example, Jewish cooks replaced pork (which is treif) and veal (which was expensive and difficult to obtain) with chicken and turkey. As a matter of fact, most modern Israeli restaurants have some version of chicken or turkey schnitzel on their menu.
How to Make Chicken Schnitzel
We enjoy schnitzel year-round in our home. It is very easy to make, as long as you know a few important tips. A good recipe, like the one below, is key. I like to butterfly the chicken breasts, then pound them thin. Consequently this makes the chicken cook more evenly, and results in a crispier result. You can use a variety of ingredients for coating the schnitzel, including breadcrumbs, matzo meal, and Japanese panko. Overall breadcrumbs are the most popular choice. Matzo meal is used during Passover, when Jewish cooks have a kosher restriction on leavened grains. Panko breadcrumbs produce a very light, crisp, and airy coating. Additionally, I like to add sesame to the coating for even more crunch, and a slightly nutty flavor. Finally, the oil temperature is also important; frying at about 350 degrees Fahrenheit will ensure that your schnitzel is evenly cooked and perfectly crisp.
Here are a couple of other ways to prepare schnitzel for various dietary restrictions.
Vegan Portobello Mushroom Schnitzel
What to Serve with Chicken Schnitzel
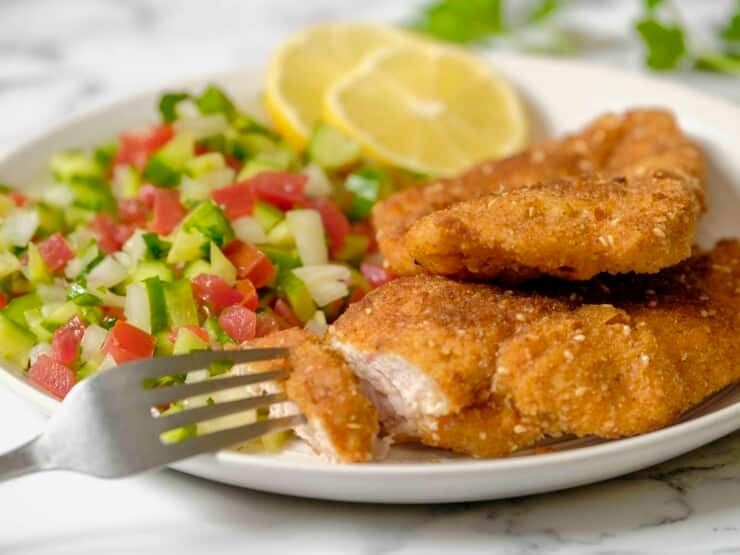
This tasty, crispy main dish is often served with a starchy side dish like French fries or mashed potatoes. For the most part, I prefer to serve it with a fresh salad to cut down on calories. Lemon slices are the traditional garnish for schnitzel. While I do love my schnitzel with lemon, I also like to dip it in spicy mustard or hot sauce. You can’t go wrong either way! Here are some amazing side dishes to pair with your chicken schnitzel.
Olive Oil Mashed Potatoes with Garlic and Rosemary
Middle Eastern Roasted Vegetable Rice
Schnitzel FAQ’s
Boneless meat cuts are used to make all kinds of schnitzel. Chicken schnitzel is made with chicken breast. Pork schnitzel is cooked with boneless pork chops. Wiener schnitzel is prepared using boneless veal chops. Beef schnitzel is made from thin sliced boneless shoulder or topside, or beef escalopes.
All varieties of schnitzel are made from thinly pounded boneless cuts of meat. After preparing the meat, it is then breaded and fried. No matter which cut of meat is used, schnitzel is always boneless, pounded thin, breaded, and fried.
Schnitzel is typically pan friend, but it can also be deep fried.
Recommended Products:
Chicken Schnitzel
Ingredients
- 1 pound boneless skinless chicken breasts (2 large breasts)
- 1/2 cup flour
- 2 large eggs
- 1 cup breadcrumbs, matzo meal, or panko
- 1 tablespoon paprika
- 1 tablespoon sesame seeds (optional)
- 1/4 teaspoon salt, or more to taste
- Oil with a high smoke point for frying – avocado oil preferred, grapeseed oil also works well
- Fresh lemon wedges for garnish
NOTES
Instructions
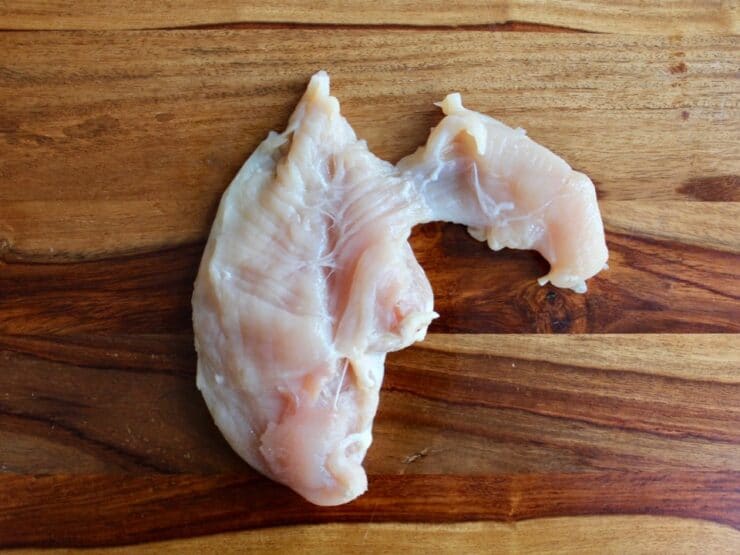
- For each breast, check to see if there is a tenderloin (an extra flap of meat that sort of hangs off).

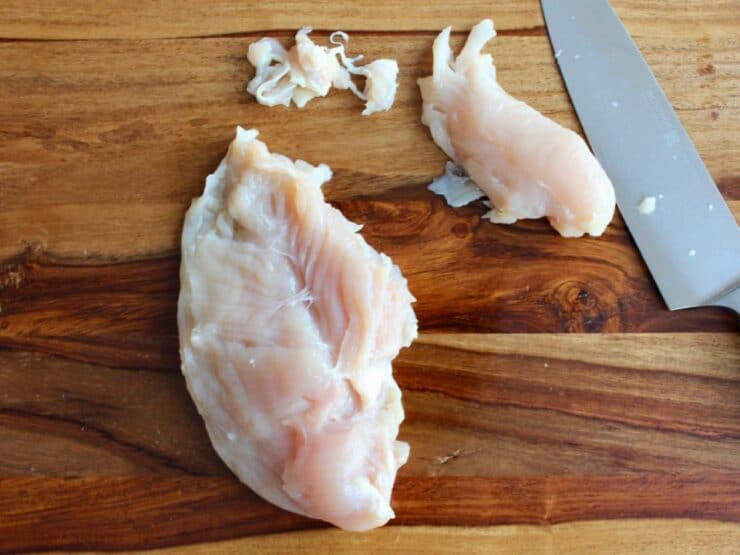
- If there is a tenderloin, slice it off of the breast. Trim any visible tendons or extra bits of fat from the breast and the tenderloin. Set tenderloin aside.

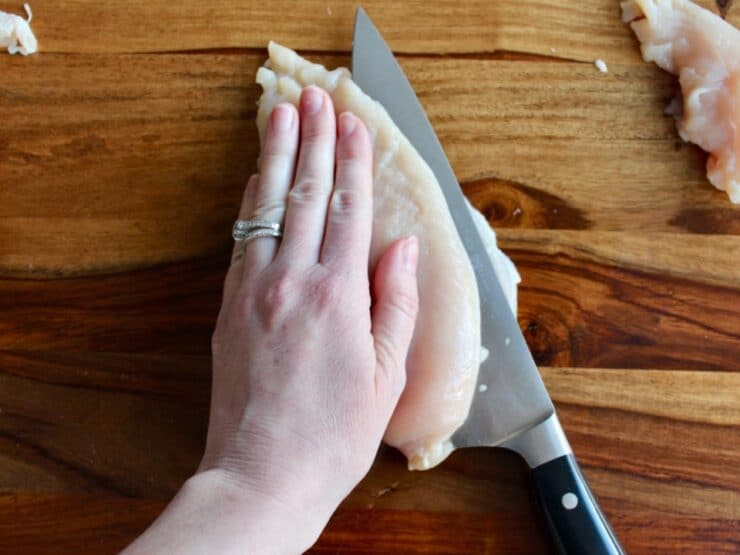
- Lay the breast on cutting board with smooth side facing upward. Identify the thickest round edge of the breast. Place your hand flat on the top of the breast. Slice carefully horizontally into the thickest round edge, slicing about three quarters of the way into the breast (divinding top half of breast from bottom). Do not slice all the way through.

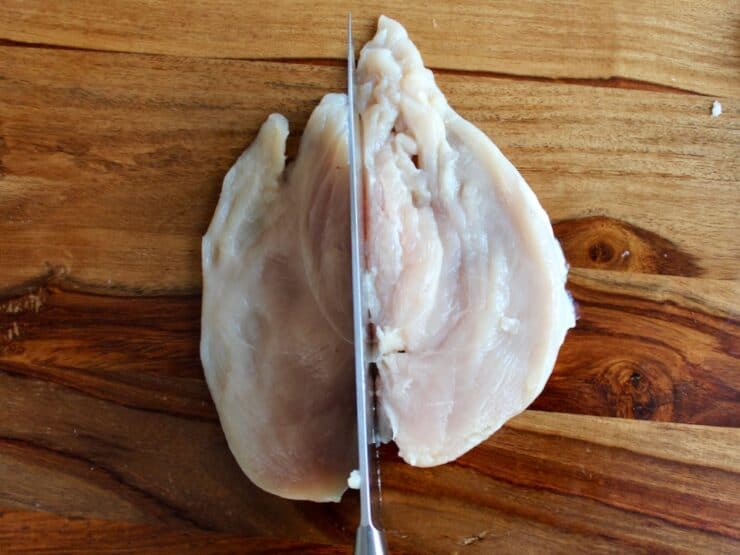
- Unfold the breast to reveal two symmetrical halves (this is a "butterfly" of the breast). Slice down the middle to divide the breast into two equal pieces. When finished with the pound of chicken, you should have 4 breasts of relatively equal size, and perhaps a couple of tenderloins as well.

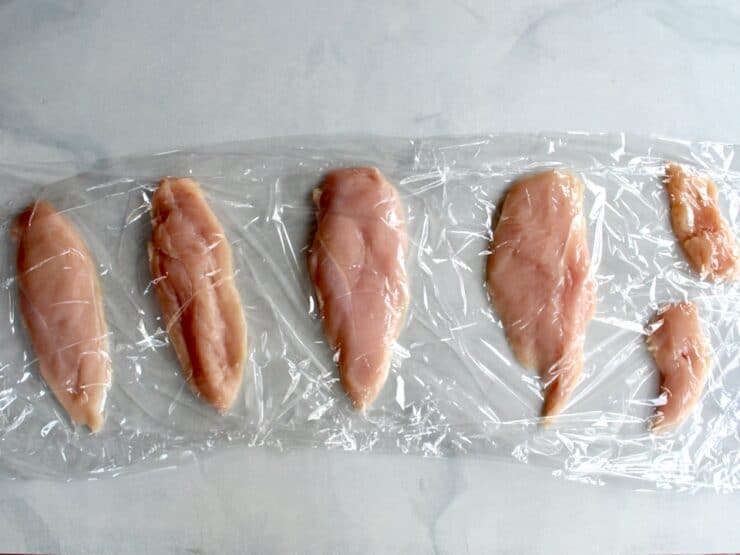
- Lay down a 2- to 3-foot long strip of plastic wrap on your kitchen countertop. Place chicken breasts and tenderloins on the plastic, leaving a 2-inch space between each piece of meat. Cover the breasts with another strip of plastic, so the meat is sandwiched between two layers of plastic.

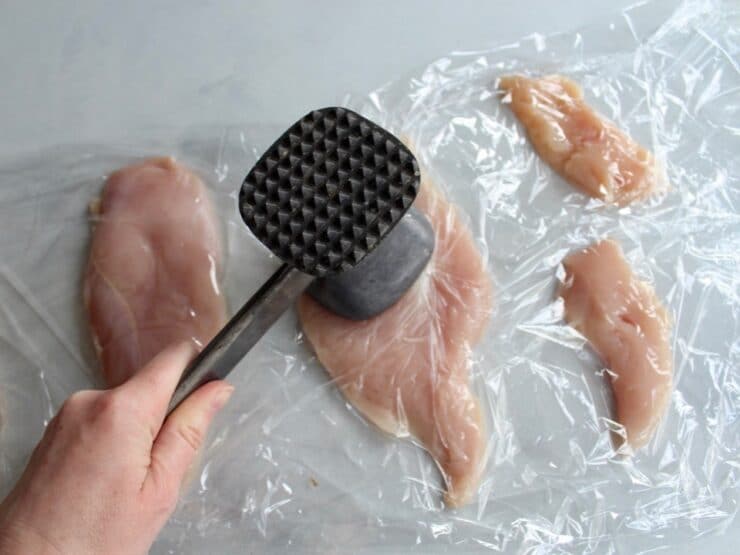
- Use the flat side of a mallet to pound the breasts thin until they are of a uniform thickness, roughly 1/8 inch thin throughout.

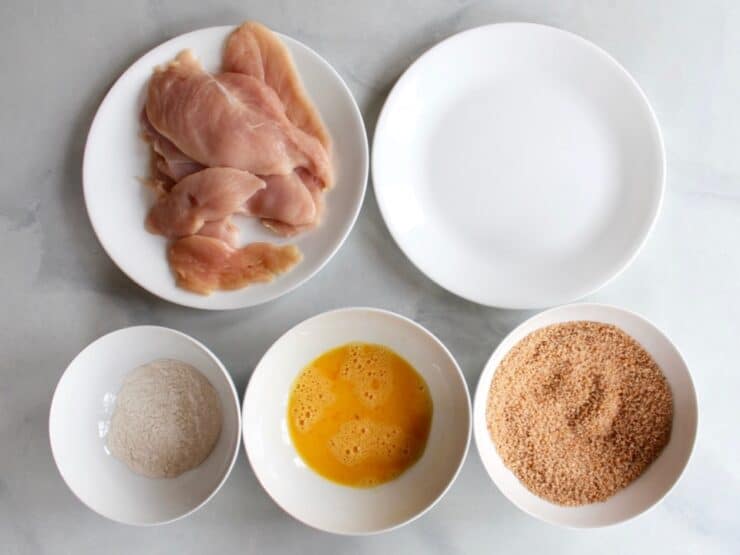
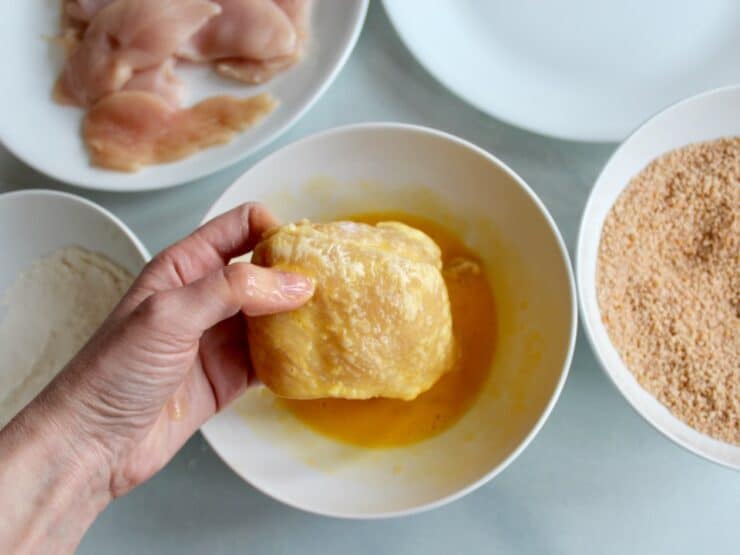
- Place all the pounded breasts and tenderloins on a plate. Set up three wide, shallow bowls and a large empty plate on your countertop. In your first bowl, put the flour. In your second bowl, beat the eggs together with 2 tsp of water until well mixed. In your third bowl, stir together the breadcrumbs, paprika, 1/4 tsp salt and sesame seeds (optional) until well blended. Place empty plate nearby where you will put your coated schnitzels.

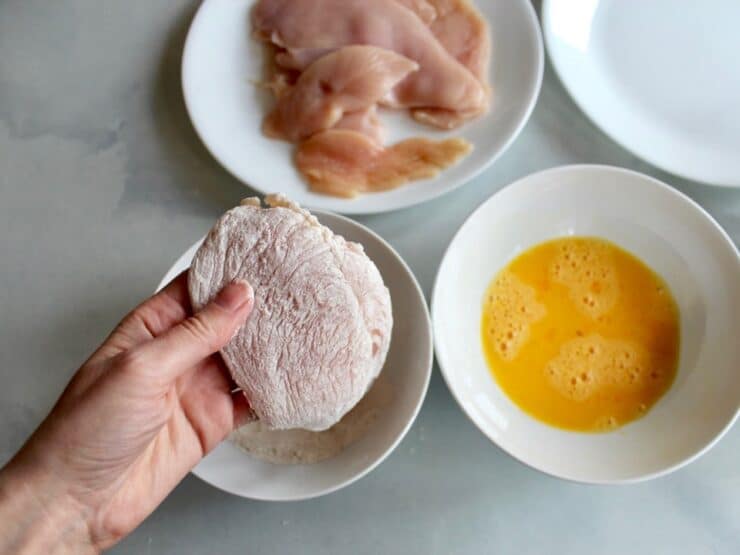
- Pour oil into a skillet or sauté pan until it’s deep enough for frying (about ½ inch). Heat the oil slowly over medium. While oil is heating, dip each breast one by one into your breading bowls—first dredge with flour.

- Next, dip the floured breast in the egg mixture until well coated.

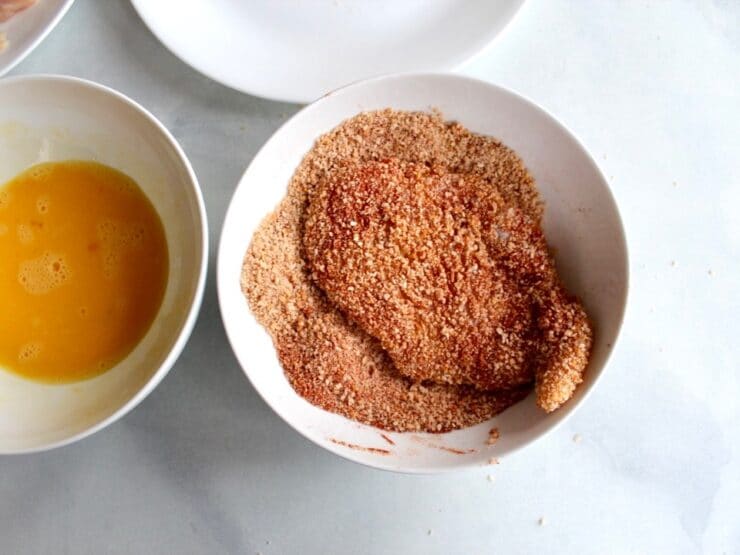
- Finally, place the egg-covered breast into the bowl of breadcrumb mixture. Use a dry hand to coat the breast evenly with breadcrumbs. Repeat process for remaining breasts and tenderloins.

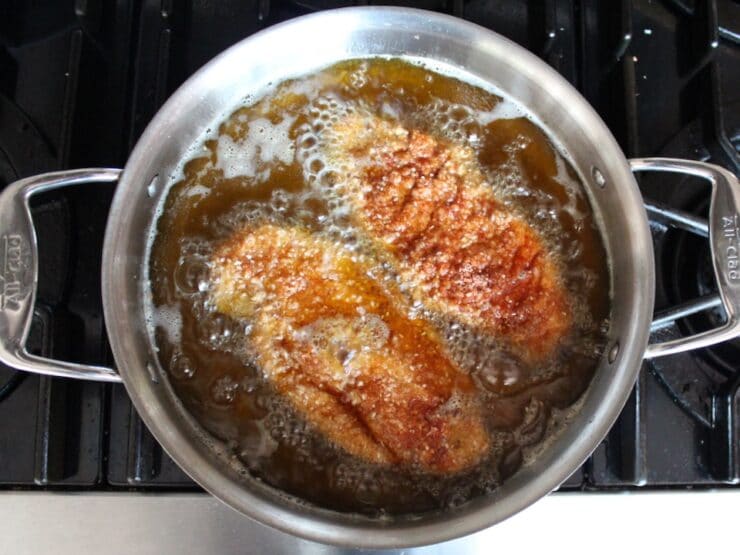
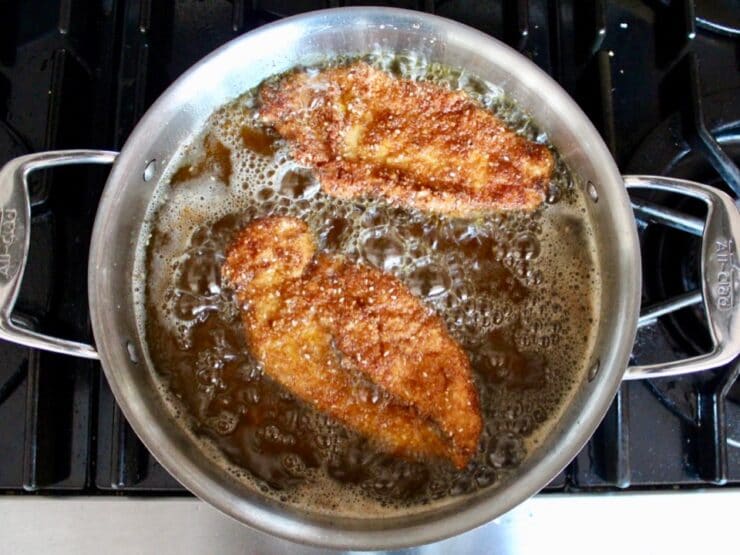
- You want your frying oil to be around 350 degreees F – hot, but not so hot that the oil smokes or splatters. You can test the oil temperature with a tenderloin first, if you have one. Fry the coated breasts in single-layer batches until they are golden brown on both sides. If your oil is at the right temperature, it should take about 2-3 minutes per side to cook the schnitzels.

- Don’t fry more than two breasts at a time in a regular sized skillet, or the oil temperature will drop and the schnitzels will become greasy. When the oil is at the right temperature, the schnitzels will absorb very little oil and cook up light and crisp.

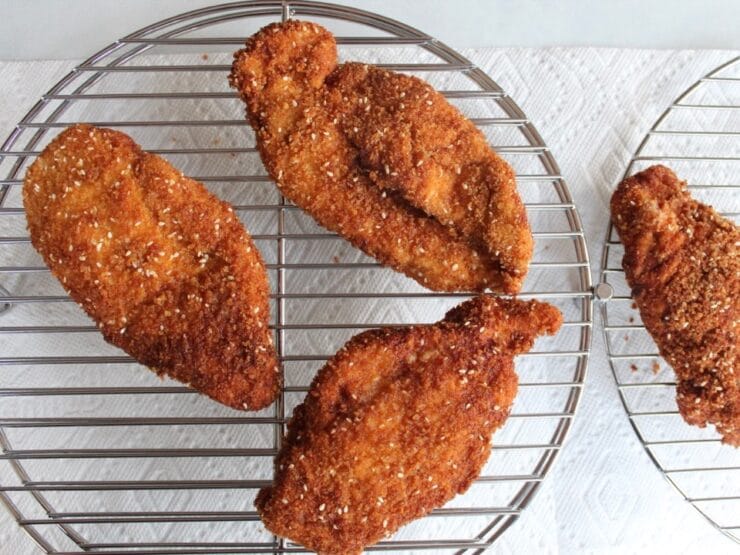
- After frying, set the schnitzels on a wire rack (or on a paper towel-lined plate or baking sheet) to drain excess oil.

- Sprinkle the schnitzels with additional salt to taste, if desired. Serve hot garnished with lemon wedges or your favorite condiment. Mustard and hot sauce both pair well with schnitzel. If you have any tenderloins, take dibs on who gets to eat them – that meat is especially tender (hence the name "tenderloin"). Enjoy!

Nutrition

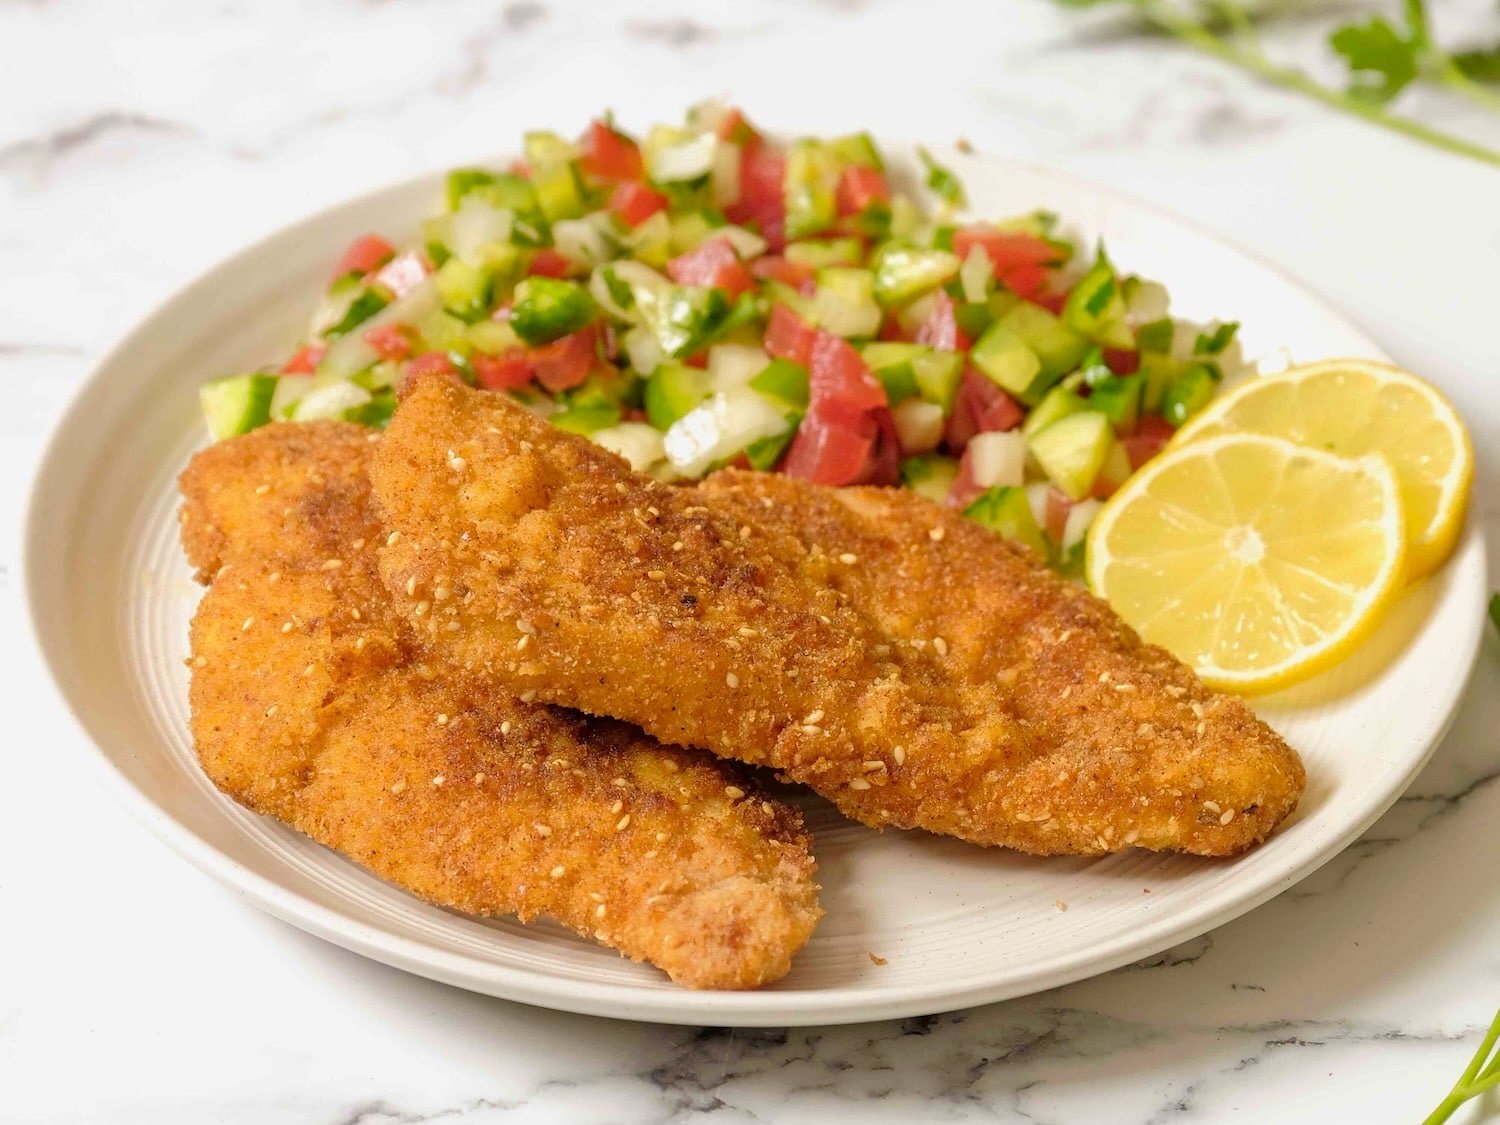


I was actually nervous about making this recipe. The explanation was very reassuring to make. Well this recipe will definitely be made again Thanks B.C Canada
I’ve lost count at how many times I made this recipe. It’s my go-to for chicken schnitzel every time. The instructions are easy to follow and it cooks up perfectly every time. I made a big batch with 1.5kg of chicken breast and served it with your Israeli salad recipe, mashed potato, honey glazed roasted carrots and peppercorn gravy. It was a hit! Even my mother in law who is a picky eater loved it.
I made a few adjustments to the recipe as I’ve cooked it so many times and adjusted it to my taste. I swapped the paprika for garlic powder, used panko breadcrumbs, deep fried instead of shallow fried (takes only 3 mins each to cook) and used peanut oil for frying.